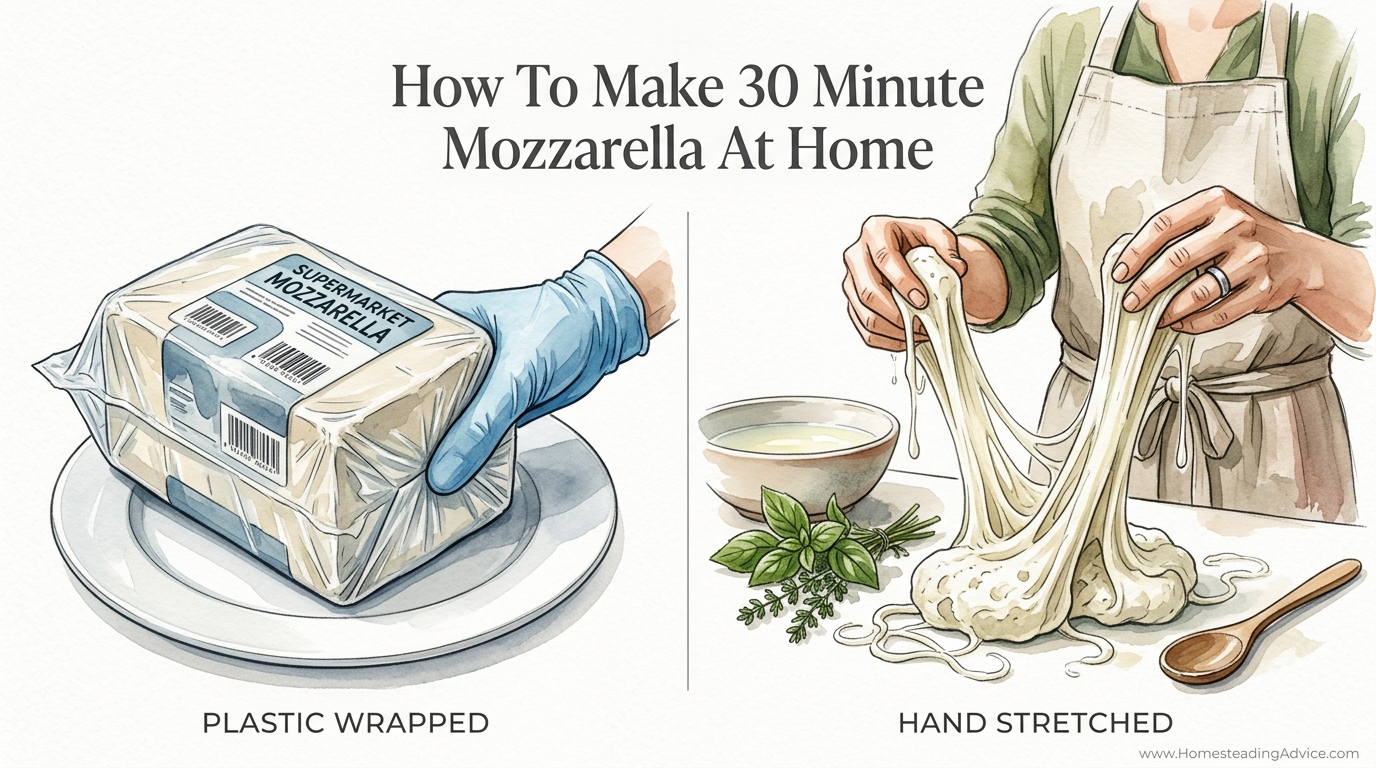
Why are you paying for ‘fresh’ mozzarella that was packaged three months ago and tastes like salt-water plastic? The ‘fresh’ mozzarella in your grocery store aisle is a lie. It’s designed for shelf-life, not for your palate. In the time it takes to drive to the store and back, you could have transformed a gallon of milk into a steaming, tender ball of cheese that actually melts. Reclaiming your kitchen starts with the curd.
Hand-stretched cheese is a gateway to self-reliance. For centuries, the “pasta filata” or “spun paste” method has been used to turn the daily yield of milk into something sublime. While the industrial food complex wants you to believe cheesemaking is a laboratory science requiring white coats and expensive vats, the truth is far simpler. If you can boil water and follow a clock, you can make mozzarella.
There is a visceral satisfaction in feeling the curd transform under your palms. One moment it is a heavy, sluggish mass, and the next, it becomes a shimmering ribbon of white gold. This is the difference between PLASTIC WRAPPED industrial blocks and HAND STRETCHED artisan spheres. One is a commodity; the other is a craft.
Making your own food is a quiet rebellion against a system that prioritizes logistics over flavor. When you make your own mozzarella, you control the salt, the texture, and most importantly, the freshness. You are not just making cheese; you are practicing a skill that connects you to generations of makers who didn’t need a barcode to know what was good.
How To Make 30 Minute Mozzarella At Home
The 30-minute mozzarella method is a modern shortcut to an ancient result. Traditionally, mozzarella was made using a slow-fermentation process where natural lactic acid bacteria would slowly sour the milk over several hours. This lowered the pH until the cheese was ready to stretch. In our modern kitchen, we use citric acid to achieve that same acidity in minutes rather than hours.
This method exists because our lives are fast, but our appetites remain rooted in tradition. It allows a home cook to produce a pound (454 grams) of fresh cheese on a Tuesday night without clearing their entire schedule. It is used everywhere from small Italian homesteads to bustling city apartments where the smell of warm milk and basil is a welcome reprieve from the outside world.
Think of the process as a controlled chemical reaction. We are taking the proteins in the milk, which usually float around like bumper cars, and forcing them to link hands into a long, elastic chain. This chain is what gives mozzarella its famous “pull.” Without the right acidity and the right enzyme (rennet), you just have sour milk. With them, you have a miracle in a pot.
The real-world application is simple: better pizza, better salads, and a better understanding of where your food comes from. When you see a ball of mozzarella sitting in its own whey, still warm from the stretch, you realize that the refrigerated version in the store is a pale shadow of the real thing.
The Science of the Stretch: How It Works
To succeed at home, you must understand the “Stretch Window.” The proteins in milk, specifically casein, are held together by calcium. If the milk is too alkaline (high pH), the calcium bond is too strong, and the cheese will be tough and won’t stretch. If the milk is too acidic (low pH), the calcium dissolves entirely, and the cheese will fall apart into a grainy mess like ricotta.
The goal is to hit a pH level of approximately 5.2 to 5.4. At this precise point, the calcium has dissolved just enough to let the protein chains slide past one another without breaking. This creates the “plasticity” that allows you to pull the cheese into long, shimmering ropes.
Rennet is the second half of the equation. It is an enzyme that acts like a pair of scissors, clipping the “hairs” off the protein micelles so they can stick together. This forms the curd. Without rennet, you could add all the acid you want, but you would only get soft, crumbly curds. You need that enzyme to build the structural lattice of the cheese.
The final element is heat. You cannot stretch cold curd. You must heat the curds to at least 160°F to 175°F (71°C to 79°C) to make them pliable. This is often done by dipping the curds into hot whey or water. The heat melts the fat and softens the protein, allowing the hand-stretching process to begin.
A Step-by-Step Guide to the 30-Minute Method
Follow these steps carefully. Precision in temperature and measurements is the difference between a masterpiece and a pot of rubber.
1. Prepare Your Ingredients
- 1 Gallon (3.8 Liters) of Whole Milk (NOT ultra-pasteurized).
- 1.5 Teaspoons (7.5 ml) of Citric Acid powder dissolved in 1/2 cup (120 ml) of cool, chlorine-free water.
- 1/4 Teaspoon (1.25 ml) of Liquid Rennet (or 1/4 tablet) dissolved in 1/4 cup (60 ml) of cool, chlorine-free water.
- 1 to 2 Teaspoons (5-10 ml) of Cheese Salt or Non-Iodized Sea Salt.
2. Acidify the Milk
Pour the cold milk into a stainless steel pot. While stirring gently, pour in the citric acid solution. This prepares the pH of the milk before the heat is applied. Slowly heat the milk to 90°F (32°C). Use a thermometer; do not guess. If you go too fast, you risk scorching the bottom of the milk, which will ruin the flavor.
3. Coagulate the Curds
Once the milk hits 90°F (32°C), remove the pot from the heat. Pour in the rennet solution and stir with an up-and-down motion for exactly 30 seconds. Do not over-stir. Stop the movement of the milk with your spoon, cover the pot, and let it sit undisturbed for 5 to 10 minutes.
4. Check the Break
After 10 minutes, the milk should look like a firm custard. Test it by inserting a knife; if it comes out clean and the curd “breaks” away from the knife, it is ready. If it is still liquid, let it sit for another 5 minutes. Once set, cut the curd into 1-inch (2.5 cm) cubes using a long knife that reaches the bottom of the pot.
5. Cook the Curds
Place the pot back on the stove and slowly heat the curds to 105°F (41°C) while stirring very gently. You want the curds to firm up and express their whey. Once you reach the temperature, remove from heat and continue stirring gently for 2 to 5 minutes. This “cooking” phase determines the final moisture content of your cheese.
6. The Stretch
Drain the curds using a slotted spoon and place them in a microwave-safe bowl (or use the hot whey method described later). Microwave the curds for 1 minute, then drain any excess whey. Fold the curds over themselves to distribute the heat. Microwave for another 30 seconds until the internal temperature of the cheese reaches 160°F (71°C).
7. Knead and Shape
Add the salt. Begin stretching the curd. Pull it out, fold it back, and repeat. If it resists stretching or starts to tear, it needs more heat. Once it is shiny and smooth, shape it into balls or one large log. Drop the finished cheese into a bowl of cold water or cold whey for 15 minutes to set the shape.
Benefits of Making Your Own Mozzarella
The most immediate benefit is the flavor. Store-bought mozzarella is often bland because it is made for a long shelf life. Homemade mozzarella has a delicate, milky sweetness and a soft, pillowy texture that disappears the moment cheese is vacuum-sealed and refrigerated for weeks.
Control over ingredients is another major advantage. When you make it yourself, you ensure there are no anti-caking agents, preservatives, or artificial stabilizers. You are using four basic ingredients: milk, acid, salt, and enzymes. This is “clean eating” in its most traditional form.
Cost efficiency is also notable. A gallon of milk typically costs significantly less than a pound of high-quality artisan mozzarella. By putting in 30 minutes of labor, you are essentially “upcycling” your grocery list into a premium product.
Finally, there is the development of a kitchen “sense.” Learning to make cheese teaches you about temperature control, protein structures, and the importance of timing. These skills carry over into every other aspect of cooking, making you a more intuitive and capable chef.
Challenges and Common Mistakes
The biggest mistake beginners make is using the wrong milk. Most “Organic” or “Long-Life” milks found in supermarkets are Ultra-Pasteurized (UP or UHT). This process heats the milk to such high temperatures that the proteins are denatured. They will never form a solid curd. No matter what you do, UP milk will only ever produce a grainy soup. Always look for “Pasteurized” but NOT “Ultra-Pasteurized.”
Temperature neglect is the second most common pitfall. If your milk is too cold when you add rennet, the curd won’t set. If your curds are too cold when you try to stretch them, they will break like old bread. Invest in a fast, digital thermometer. Accurate readings at 90°F (32°C), 105°F (41°C), and 160°F (71°C) are mandatory for success.
Chlorinated water is a silent killer of rennet. Rennet is a living enzyme, and the chlorine in tap water can neutralize it instantly. Always use distilled water or filtered water for your citric acid and rennet solutions. If your curd fails to set despite having the right milk, your water is likely the culprit.
Over-working the cheese during the stretch can also lead to a rubbery texture. You want to stretch it just enough to make it shiny. If you continue to pull and knead it after it has reached that point, you squeeze out all the moisture and fat, leaving behind a ball of protein that feels like a pencil eraser.
Limitations: When This Method May Not Work
While the 30-minute method is efficient, it has its limits. It does not produce the complex, tangy flavor of traditionally cultured mozzarella. Because we are using citric acid instead of a slow bacterial ferment, the flavor profile is very mild and “milky” rather than deep and “cheesy.”
This method also struggles with raw milk if the milk has a high “buffering capacity.” Some raw milks are naturally more resistant to pH changes, meaning the standard 1.5 teaspoons of citric acid might not be enough to get you into the stretch window. If you are using raw milk, you may need to experiment with slightly more acid or switch to the traditional culture method.
Shelf life is another trade-off. Because this cheese is fresh and lacks preservatives, it should be eaten within 2 to 3 days. It does not age well. If you try to keep it for a week, it will often become slimy or lose its texture. This is a “make it and eat it” style of cheese.
Lastly, this method is not ideal for large-scale production. Hand-stretching five gallons of milk at once is physically demanding and requires keeping a large volume of curd at a very specific temperature. For bulk needs, professional equipment or different cheese varieties are more practical.
Quick Method vs. Traditional Cultured Method
| Factor | 30-Minute (Direct Acid) | Traditional (Cultured) |
|---|---|---|
| Total Time | 30–45 Minutes | 5–8 Hours |
| Acidification | Citric Acid (Instant) | Bacterial Culture (Slow) |
| Flavor Profile | Sweet, Milky, Mild | Tangy, Complex, Rich |
| Difficulty | Beginner | Intermediate/Advanced |
| Equipment | Basic Kitchen Tools | pH Meter recommended |
The 30-minute method is perfect for beginners or quick meals, while the cultured method is for those seeking the authentic Neapolitan flavor. Neither is “better,” but they serve different purposes in the kitchen.
Practical Tips and Best Practices
If you want the best possible results, find a local dairy that uses “Vat Pasteurization.” This is a lower-heat, longer-time process that leaves the milk proteins in much better shape for cheesemaking than the standard “High-Temperature Short-Time” (HTST) method used by most industrial brands.
When stretching the cheese, wear clean rubber gloves. The water needs to be hot enough that it is uncomfortable for bare hands. If the water is cool enough for you to touch comfortably, it is likely too cool to properly melt the curd for a smooth stretch.
Salt the water, not just the cheese. If you are using the hot-water bath method to stretch your curds, add salt to that water. This ensures the salt penetrates the cheese evenly as it stretches. Use about 1/4 cup of salt per gallon of water.
Don’t throw away the whey! The leftover liquid is full of protein and minerals. Use it as a base for soups, use it to bake bread (it makes the crust incredibly soft), or use it to boil your pasta. It is a valuable resource that should never go down the drain.
Advanced Considerations for the Serious Maker
Once you have mastered the basic stretch, consider adding Lipase. Lipase is an enzyme that breaks down milk fats into flavorful free fatty acids. It provides that classic “Italian” aroma and a slightly sharper taste that is often missing from quick-method cheeses. A small pinch added with the rennet can transform the end product.
If you find yourself making cheese regularly, invest in a pH meter. While the “stretch test” is a great way to learn by feel, a pH meter takes the guesswork out of the process. Knowing exactly when your curd hits 5.2 allows you to produce a consistent texture every single time, regardless of the brand of milk you use.
Experiment with different “shapes” of mozzarella. You can make “Bocconcini” (small balls), “Ciliegine” (cherry-sized), or even “Treccia” (braided). Braiding the cheese requires a slightly firmer curd and a very steady hand, but it creates a beautiful presentation for a dinner party.
For those with access to raw milk, the 30-minute method can be tricky. Raw milk changes seasonally. In the spring, when cows are on fresh grass, the milk is higher in fat and may require a longer set time. In the winter, the protein levels may be different. Keeping a notebook of your results will help you adjust to these natural cycles.
A Scenario: The Friday Night Pizza
Imagine it is Friday evening. You have a ball of dough that has been rising all afternoon. Instead of reaching for a bag of pre-shredded, cellulose-coated cheese, you pull a gallon of milk from the fridge at 5:30 PM.
By 5:45 PM, you have cut the curds and are gently warming them on the stove. By 6:00 PM, you are stretching a long, glossy ribbon of cheese that smells like fresh cream. You pinch off a piece—it’s warm, salty, and tender.
You slice that ball of mozzarella and place it onto your pizza. In the 500°F (260°C) oven, the cheese doesn’t just “melt”; it bubbles and flows, releasing a little bit of milky whey that mingles with the tomato sauce. This is the “Fior di Latte” experience. This is the difference between a meal that sustains you and a meal that restores you.
Final Thoughts
Homemade mozzarella is more than a recipe; it is a fundamental shift in how you interact with your kitchen. It proves that the most “complicated” foods in the grocery store are often the simplest to make if you have the right knowledge. You don’t need a factory to make world-class cheese. You only need milk, a little bit of acid, and 30 minutes of your time.
The 30-minute method is a bridge between the convenience of the modern world and the wisdom of the past. It respects your schedule while honoring the chemistry of the milk. Whether you are topping a pizza or serving a simple Caprese salad, the effort you put into stretching that curd will be evident in every bite.
Start with a single gallon of milk. Don’t be afraid if your first batch is a little rubbery or if it takes a few tries to find the right milk source. Cheesemaking is a craft, and like any craft, it rewards patience and observation. Once you taste mozzarella that you stretched with your own hands, the supermarket aisle will never look the same again.