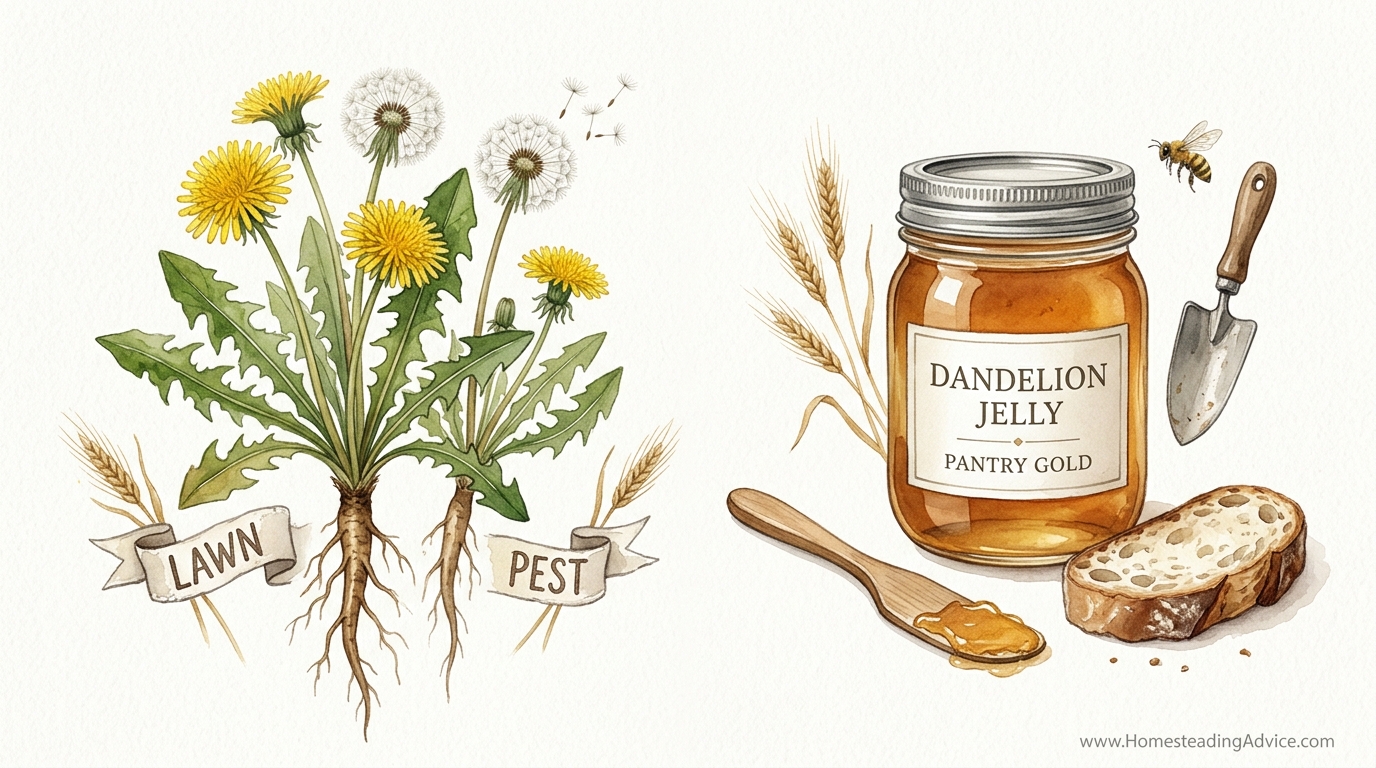
Your neighbors are trying to kill the main ingredient for the best jelly you have ever tasted. While the rest of the world sees a weed, the master preserver sees a spring harvest. Dandelion jelly tastes like honey and sunshine – and it’s growing right under your feet.
The common dandelion, often dismissed as a suburban nuisance, is one of the most versatile plants in the world. It is a persistent survivor that has traveled across oceans, tucked into the pockets of settlers who valued it as both food and medicine. Today, we spend millions on chemicals to eradicate it from our lawns, yet we pay premium prices for honey that mimics its very flavor.
Making dandelion jelly is an act of defiance against the modern obsession with sterile, grass-only landscapes. It is a return to a time when the pantry was filled by the seasons rather than a supermarket aisle. If you can learn to see the gold in the grass, you will never look at your backyard the same way again.
This guide will take you from the first yellow bloom to the final click of a sealing canning jar. We will cover the botany, the chemistry of the set, and the ancestral wisdom required to turn a “lawn pest” into a delicacy that rivals the finest orchard preserves.
Understanding Your Harvest: Lawn Pest vs Pantry Gold
The dandelion (Taraxacum officinale) is a perennial herb that thrives in almost every climate on earth. Its name comes from the French dent de lion, meaning “lion’s tooth,” a reference to its jagged, deeply lobed leaves. Every part of this plant is useful, but for jelly, we focus solely on the brilliant yellow ray florets.
For centuries, the dandelion was a staple in the “living pharmacy” of the home. It was brought to North America on the Mayflower not by accident, but as a deliberate crop. Early pioneers relied on the flowers for wine and jelly, the leaves for bitter spring tonics, and the roasted roots as a coffee substitute during times of scarcity.
In modern terms, the dandelion is a nutritional powerhouse. The petals contain high concentrations of antioxidants, flavonoids, and Vitamin A. When infused into a tea and transformed into jelly, these properties create a flavor profile that is strikingly similar to clover honey, with subtle notes of citrus and meadow grass.
Choosing to forage dandelions requires a shift in perspective. You are not just picking flowers; you are harvesting a crop that requires no irrigation, no fertilizer, and no tilling. It is the ultimate sustainable harvest, provided you know where to look and how to prepare it safely.
The Forager’s Code: Safety and Identification
Before you step out with your harvest basket, you must ensure your source is safe. The biggest threat to your dandelion jelly isn’t a lookalike plant; it is the chemicals your neighbors use to maintain their “perfect” lawns.
Pesticides and Herbicides: Never harvest dandelions from a lawn that has been treated with chemical fertilizers or weed killers. Likewise, avoid the edges of busy roads where exhaust fumes and runoff accumulate. Look for “wild” spots—back corners of your yard, organic farms, or meadows far from industrial activity.
Animal Contamination: Be mindful of where pets frequent. A clean harvest starts with a clean environment. If you aren’t 100% certain about the history of the soil, do not pick there.
Identifying True Dandelions: While dandelions are easy to recognize, there are several “false dandelions” or lookalikes such as Catsear (Hypochaeris radicata) and Hawkweed. True dandelions have a single, hollow, leafless stalk for every flower. If the stem is solid or has leaves branching off it, you are likely looking at a lookalike. While most lookalikes are not toxic, they lack the honey-sweet flavor of the true dandelion.
Timing the Harvest: Dandelions open their petals in the morning sun and close them as the light fades or when rain approaches. For the best jelly, harvest on a sunny morning once the dew has dried but before the heat of the day causes the flowers to begin closing. This ensures the nectar is at its peak concentration.
Foraged Dandelion Jelly Recipe
This recipe creates a preserve often called “Cramaillotte” in the Franche-Comté region of France. It is a delicate, translucent jelly with a vibrant gold color. Because dandelions are naturally low in acid, we use citrus to ensure a safe pH level for preservation and to brighten the floral notes.
Ingredients and Measurements
- Dandelion Petals: 4 cups (approx. 500g) of tightly packed yellow petals. This usually requires picking about 100 to 150 large flower heads.
- Boiling Water: 4 cups (1 liter). This will be used to create the “dandelion tea” base.
- Lemon Juice: 2 tablespoons (30ml) of bottled lemon juice. Bottled juice is preferred for canning to ensure consistent acidity.
- Powdered Pectin: 1 box (1.75 oz / 49g) of regular fruit pectin.
- Granulated Sugar: 4 cups (800g). Do not reduce the sugar, as it is essential for the structure and preservation of the jelly.
- Optional: 1 teaspoon of butter to reduce foaming during the boil.
Equipment Needed
- A large heavy-bottomed stockpot for boiling the jelly.
- A fine-mesh strainer or several layers of cheesecloth.
- Half-pint (250ml) or 4oz (125ml) canning jars with new lids and rings.
- A water bath canner or a deep pot with a rack.
- A jar lifter and canning funnel.
The Labor of Love: Preparing the Petals
The most critical step in making dandelion jelly is the preparation of the flowers. This is a slow, meditative process, but it is the difference between a sweet, honey-like spread and a bitter, unpalatable mess.
Removing the Greens: You must remove every bit of the green base (the receptacle) and the sepals from the yellow petals. The green parts of the dandelion contain a milky latex that is extremely bitter. If you boil the whole flower head, your jelly will taste like medicine rather than meadow grass.
The easiest way to do this is to grip the green base firmly in one hand and “pinch and pull” the yellow tufts out with the other. Some foragers prefer to use kitchen shears to snip the yellow tops off, but pinching often results in a cleaner separation. You want a bowl of pure, fluffy yellow gold.
Washing: Once you have your petals, give them a quick rinse in a colander with cool water to remove any lingering dust or tiny insects. Do not soak them for long, as you want to preserve the pollen, which carries much of the honey-like flavor.
Step-by-Step Process: From Field to Jar
Once your petals are prepped, the process moves into the kitchen. There are two main stages: creating the dandelion tea and then boiling the jelly.
Step 1: The Dandelion Infusion
Place your 4 cups of cleaned petals into a large heat-proof bowl or jar. Pour the 4 cups of boiling water over the petals and stir gently to ensure they are all submerged. Cover the container and let it steep. For a mild flavor, 2 hours is sufficient. For a deep, robust “honey” flavor, let the tea steep overnight in the refrigerator.
Step 2: Straining
Pour the mixture through a fine-mesh strainer lined with cheesecloth. Squeeze the petals firmly to extract every drop of liquid. You should have roughly 3 to 3.5 cups of golden liquid. If you are short, you can add a small amount of water to reach the 3-cup mark required for most pectin recipes.
Step 3: The Initial Boil
Pour the dandelion tea into your stockpot. Stir in the lemon juice and the powdered pectin. If you are worried about the jelly boiling over, add the teaspoon of butter now. Bring this mixture to a full rolling boil—one that cannot be stirred down—over high heat.
Step 4: Adding Sugar
Once the rolling boil is achieved, pour in the sugar all at once. Stir constantly. Bring the mixture back to a full rolling boil and let it boil hard for exactly one minute. This timing is crucial for the pectin to bond with the sugar and acid.
Step 5: Skimming and Jarring
Remove the pot from the heat. Use a metal spoon to skim off any white foam from the surface. Quickly ladle the hot jelly into sterilized jars, leaving 1/4 inch (6mm) of headspace. Wipe the rims clean, center the lids, and screw the bands on until fingertip tight.
Safety and Preservation: Water Bath Canning
Dandelion jelly is a low-acid product that has been acidified with lemon juice and preserved with high sugar content. To make it shelf-stable, you must process the jars in a boiling water bath.
Place the filled jars onto the rack in your canner. Ensure the water covers the tops of the jars by at least one inch (2.5cm). Bring the water to a boil and process for 10 minutes (adjusting for altitude: add 5 minutes for 1,000–3,000ft, and 10 minutes for 3,000–6,000ft). When the time is up, turn off the heat, let the jars sit in the water for 5 minutes, and then remove them to a towel-lined counter.
Let the jars sit undisturbed for 24 hours. You should hear the satisfying “ping” of the lids sealing. If a jar fails to seal, store it in the refrigerator and eat it first. Properly sealed jars will keep in a cool, dark pantry for up to a year.
Benefits of Dandelion Jelly
Beyond the novelty of eating your weeds, dandelion jelly offers several practical and sensory advantages over store-bought preserves.
A Unique Flavor Profile: Unlike fruit jellies which are often dominated by acid, dandelion jelly has a mellow, floral sweetness. It is frequently mistaken for high-end artisanal honey, making it a perfect conversation starter at the dinner table.
Cost-Efficiency: If you have a yard, your main ingredient is free. The only costs involved are sugar, pectin, and a bit of lemon juice. This makes it an incredibly frugal way to stock your pantry with high-quality preserves.
Seasonal Resilience: Dandelions are often the first flowers to bloom in the spring, sometimes weeks before the first strawberries or rhubarb are ready. Making this jelly allows you to start your canning season early and take advantage of the very first “crop” of the year.
Vitamin Retention: While the boiling process does reduce some nutrient levels, dandelion petals are rich in polyphenols and antioxidants. Using the whole infusion ensures that the essence of the plant is captured in the jar.
Challenges and Common Mistakes
Even for experienced canners, dandelion jelly can be finicky. Understanding where things go wrong will help you achieve a perfect set every time.
The “Green” Bitterness: This is the most common failure. If you find your jelly is bitter or has a “grassy” medicinal aftertaste, it is almost always because too many green sepals were left on the petals. Be ruthless when cleaning your flowers.
Cloudy Jelly: Cloudiness usually happens if you squeeze the cheesecloth too hard or if there was a lot of sediment in your tea. For a crystal-clear, jewel-like jelly, let the tea drip through the cloth naturally without squeezing, though you will get a smaller yield.
Failure to Set: If your jelly remains liquid after 24 hours, the balance of sugar, acid, or pectin was off. This often happens if you try to double the recipe. Pectin works best in small batches. If it doesn’t set, you can call it “Dandelion Syrup” and use it on pancakes, or you can re-cook it with additional pectin and lemon juice.
Limitations and Environmental Considerations
While dandelions are abundant, there are moments when you should hold back your harvest. Dandelions are a vital “first food” for pollinators, including honeybees and early-season butterflies, especially in regions where native wildflowers have been displaced.
The Pollinator Rule: Never strip a field bare. A good rule of thumb is to take no more than 10-15% of the blooms in any given area. This ensures there is plenty of nectar left for the insects that rely on these early blooms for survival.
Regional Variation: In the Northern Hemisphere, dandelions peak in April and May. In the Southern Hemisphere, this occurs in October and November. However, in temperate climates, they may bloom sporadically all year. Always harvest during the primary “flush” for the best flavor.
Allergies: Dandelions are part of the Asteraceae family. If you have a known allergy to ragweed, daisies, or marigolds, use caution when consuming dandelion products, as they may trigger a similar reaction.
Dandelion Jelly vs. Honey: A Comparison
Many people call dandelion jelly “poor man’s honey” or “vegan honey.” While they share similarities, they are distinct products with different uses.
| Feature | Dandelion Jelly | Raw Honey |
|---|---|---|
| Main Ingredient | Floral infusion & sugar | Bee-processed nectar |
| Texture | Gelatinous, spreadable | Viscous, syrupy |
| Vegan Friendly | Yes | No (animal byproduct) |
| Heat Stability | High (can be baked) | Moderate (enzymes die at high heat) |
| Cost to Produce | Very Low | High (requires hives/maintenance) |
Practical Tips for Best Results
To move from beginner to master preserver, pay attention to these small details that elevate the final product.
- The “Freezer Test”: Before jarring your jelly, put a small spoonful on a plate in the freezer for two minutes. If it wrinkles when pushed with a finger, it will set properly. If it stays liquid, boil for another 2 minutes and test again.
- Enhance the Tea: For a more complex flavor, you can add a vanilla bean or a few slices of orange to the dandelion tea while it steeps. This adds depth to the honey notes.
- Use Bottled Lemon Juice: Fresh lemons vary in acidity. When canning, bottled lemon juice provides a guaranteed pH level, which is critical for safety in low-acid floral jellies.
- Pick Small Flowers: The smaller, younger flowers often have more nectar and less potential for bitterness than the giant, older “puffs.”
Advanced Considerations: Low Sugar and Alternatives
For those who want to avoid the high sugar content of traditional jelly, you can use a low-methoxyl pectin (like Pomona’s Universal Pectin). This allows you to use half the sugar or even alternative sweeteners like honey or maple syrup.
Keep in mind that sugar is a preservative. If you significantly reduce the sugar, the shelf life of the jelly may be shorter, and the texture will be different. Low-sugar jellies often have a more “natural” floral taste but lack the brilliant, clear transparency of traditional recipes.
Another advanced technique is “sun steeping.” Instead of using boiling water, place your petals in a glass jar with room-temperature water and leave it in a sunny spot for 6-8 hours. This mimics the traditional way of making sun tea and can result in a more delicate, less “cooked” floral flavor.
Scenario: The First Spring Brunch
Imagine it is the first warm Saturday of the year. You’ve hosted a brunch for friends who still think of dandelions as a lawn problem. You serve warm, sourdough biscuits with a small crock of shimmering, golden jelly.
When they ask where you bought the “floral honey,” you tell them it came from the very yard they walked across to get to your front door. This is the power of foraging—it turns the mundane into the extraordinary and provides a tangible connection to the land around you. Using simple ingredients—just petals, water, sugar, and lemon—you have created a preserve that costs pennies but tastes like a luxury.
Final Thoughts
Dandelion jelly is more than just a sweet spread; it is a lesson in patience and perspective. It forces you to slow down, to sit in the grass, and to work with your hands to separate the bitter from the sweet. It is the perfect entry point for anyone interested in self-reliance and ancestral foodways.
Once you master the basic recipe, you can begin to experiment with other wild edibles. The same techniques used here can be applied to violet jelly, lilac preserves, or elderflower syrup. Each blossom offers a different window into the season and a different way to fill your pantry with the gifts of the earth.
Don’t let the yellow faces in your yard go to waste this year. Grab a basket, find a clean patch of grass, and start picking. You are just a few hours of work away from tasting the best “honey” you have ever had—and you won’t even need a beehive to get it.