The world’s most expensive umami secret is actually just garlic plus time – and you are overpaying for it. High-end chefs want you to think black garlic requires a laboratory. In reality, it just needs a steady heat source and a little patience. Stop paying the ‘gourmet tax’ and start turning bulk supermarket garlic into the richest, balsamic-sweet cloves you’ve ever tasted using a device already sitting in your cupboard.
Black garlic is a culinary wonder that has migrated from ancient East Asian traditions into the high-pressure kitchens of Michelin-starred restaurants. To the uninitiated, it looks like a spoiled bulb, but one bite reveals a texture like a gummy bear and a flavor profile reminiscent of molasses, tamarind, and aged balsamic vinegar. You don’t need a degree in food science to master this transformation; you just need to understand how to manage heat and humidity over a period of weeks.
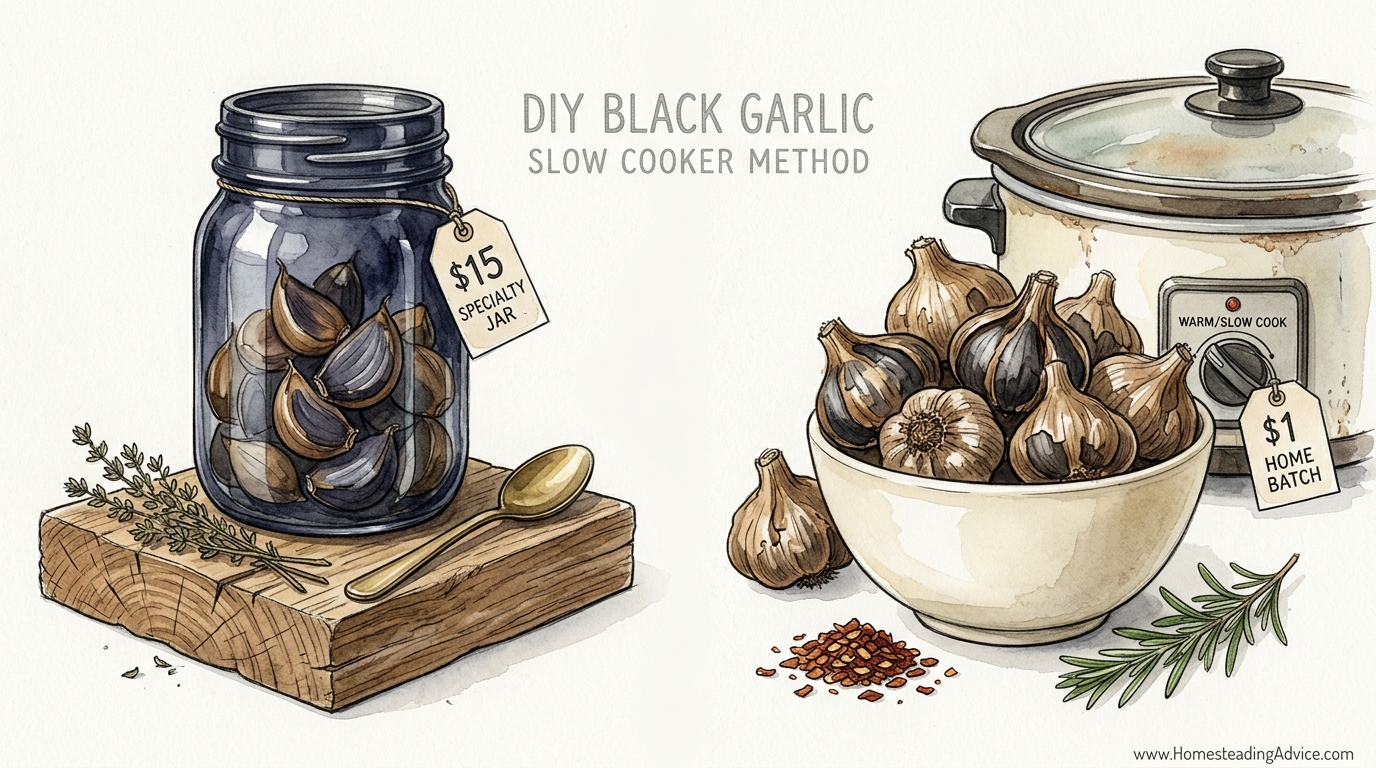
Bringing this process into your own kitchen is an act of culinary self-reliance. While a specialty jar at a high-end grocer might set you back $15 for a few measly bulbs, a home batch made in a slow cooker costs essentially what you pay for the raw garlic—often less than $1 per batch. This article will guide you through the transition from raw, pungent white garlic to the dark, spreadable gold that is black garlic.
DIY Black Garlic Slow Cooker Method
The DIY black garlic slow cooker method is the most accessible way for a home cook to produce this delicacy. It relies on the “Keep Warm” setting of a standard slow cooker to maintain a consistent internal temperature. This constant, low-level heat triggers a series of chemical changes that slowly darken the cloves without burning them.
Black garlic is not actually fermented, despite what many labels suggest. It is the result of the Maillard reaction, a chemical process where amino acids and reducing sugars react under heat to create new flavor compounds. In a slow cooker, this reaction happens at a snail’s pace, allowing the garlic to develop deep complexity while its harsh, sulfurous bite disappears completely.
Real-world applications for this method are vast. Once you have a steady supply, you can use it in everything from compound butters for steak to vinaigrettes for bitter greens. It is a staple in Korean and Japanese medicine as a functional food, but in the modern kitchen, it is the ultimate “secret ingredient” that leaves guests wondering how you achieved such a profound depth of flavor.
The Chemistry of Transformation: How It Works
Achieving the perfect black garlic requires a delicate balance of temperature and moisture. The goal is to keep the garlic at a steady temperature between 60°C and 77°C (140°F to 170°F). If the temperature is too low, you risk the growth of harmful bacteria; if it is too high, the garlic will turn bitter and hard rather than sweet and supple.
Humidity is the second critical factor in this process. Without adequate moisture, the garlic will dehydrate and become “garlic rocks”—hard, inedible lumps that cannot be mashed or spread. By wrapping the bulbs or placing them in sealed containers within the slow cooker, you trap the garlic’s own moisture, creating a self-steaming environment that facilitates the Maillard reaction.
The timeline for this transformation is typically 14 to 30 days. During the first week, the garlic will smell incredibly strong, and the cloves will turn a light tan. By the second week, the smell mellows into a sweet, earthy aroma, and the cloves darken to a deep brown. By the end of the third or fourth week, the cloves should be jet black, soft, and ready for a final curing stage at room temperature.
Step-by-Step Production Guide
- Garlic Selection: Choose fresh, firm bulbs with intact papery skins. Organic garlic is preferred by many practitioners to ensure no chemical residues interfere with the flavor development.
- Preparation: Do not peel the garlic. Keep the bulbs whole. Use a dry brush to remove any loose dirt, but do not wash them with water, as excess external moisture can lead to mold.
- Wrapping: Wrap each bulb tightly in two layers of heavy-duty aluminum foil. This serves as a barrier to prevent the garlic from drying out during the long weeks of heating.
- Loading the Cooker: Place a small wire rack or a layer of paper towels at the bottom of the slow cooker to prevent the bulbs from sitting directly on the heating element. Arrange the wrapped bulbs in a single or double layer.
- The Waiting Game: Set the slow cooker to “Keep Warm.” Ensure the lid is tight. Check the temperature periodically with a digital thermometer to confirm it stays above 60°C (140°F).
- The Cure: After 3 weeks, unwrap a test bulb. If the cloves are black and soft, remove all bulbs from the cooker. Let them sit at room temperature in a dry area for 3-5 days to allow the flavors to concentrate and the texture to firm up slightly.
The Benefits of Going Black
Practical benefits of black garlic extend beyond the palate. From a health perspective, the process increases the concentration of S-allyl cysteine (SAC), a compound that is more stable and better absorbed by the body than the allicin found in raw garlic. Studies suggest this can support heart health and provide potent antioxidant protection.
Culinary flexibility is perhaps the greatest advantage. Unlike raw garlic, which can be sharp and overpowering, black garlic is mild enough to be eaten plain. It acts as an emulsifier in sauces, adding a thick, creamy body and a savory-sweet profile that balances acidity in dressings or richness in heavy meats.
Self-reliance and cost-efficiency are the “pioneer” benefits. Making your own batch ensures you know exactly what went into the process. You are no longer at the mercy of specialty store pricing or inconsistent supply chains. A single 6-quart (5.7-liter) slow cooker can produce dozens of bulbs at once, providing a year’s supply of gourmet ingredients for the price of a single grocery store run.
Challenges and Common Mistakes
The most frequent error in DIY black garlic is letting the garlic dry out. If the seal on your slow cooker is not tight or if the bulbs aren’t wrapped properly, the moisture will escape. This results in “charcoal garlic,” which is brittle and tastes burnt. Always ensure a double wrap of foil and consider adding a damp paper towel to the bottom of the cooker if you live in an extremely dry climate.
Temperature fluctuations are another silent killer of a good batch. Some older slow cookers have “Keep Warm” settings that dip below the safety threshold of 60°C (140°F). This is the danger zone where Clostridium botulinum could potentially thrive in an anaerobic environment. Using a modern slow cooker with a digital temperature lock or checking your unit with a probe before starting is a mandatory safety step.
Managing the aroma is a practical challenge many newcomers overlook. For the first 72 hours, the smell of warm garlic will permeate your entire home. It is thick, heavy, and persistent. Experienced makers often move their slow cookers to a garage, a covered porch, or a well-ventilated laundry room to prevent the scent from settling into furniture and curtains.
Limitations: When This Method May Not Work
Environmental constraints play a role in your success. If you live in a region with high electricity costs, running a slow cooker for 30 consecutive days might not be as cost-effective as you hoped. While the wattage of a “Keep Warm” setting is low, the cumulative cost over 700+ hours is something to calculate before starting a massive production run.
Space and equipment availability can also be a hurdle. If you only own one slow cooker and use it weekly for stews and roasts, you will lose access to that appliance for a full month. This method requires a dedicated setup where the device will not be disturbed or accidentally turned off by family members.
Batch size is limited by the physical dimensions of your crock. Stacking bulbs too deeply can lead to uneven heat distribution, where the bottom bulbs are perfectly blackened but the top ones are still brown and firm. For those looking to produce black garlic on a commercial scale, a standard slow cooker is a bottleneck that may necessitate moving to a dedicated black garlic fermenter.
Practical Tips and Best Practices
Start with a small “tester” bulb. Throughout the process, you can unwrap this one specific bulb to check for color and texture without disturbing the environment of the entire batch. This prevents heat loss and keeps the humidity levels stable for the rest of your harvest.
Label your start date clearly. In the middle of a month-long process, it is easy to lose track of whether you are on day 14 or day 21. A piece of masking tape on the lid of the slow cooker with the “harvest date” clearly written will save you from pulling the garlic too early.
Vary your garlic varieties. Hardneck garlic often produces a more complex, spicy black garlic, while softneck varieties (the kind most common in supermarkets) result in a milder, sweeter product. Experimenting with different types allows you to “tune” your black garlic to your specific culinary preferences.
- Keep it dry: While humidity is internal, the exterior of the cooker should stay dry to prevent electrical issues.
- Airflow: If you move the cooker to a garage, ensure there is at least 15cm (6 inches) of clearance around all sides for safety.
- Final texture: If the garlic is too soft after 3 weeks, let it air-dry for an extra two days. If it’s too hard, you likely cooked it too long or at too high a temperature.
Advanced Considerations for the Serious Practitioner
Serious practitioners often graduate from “Keep Warm” settings to using external temperature controllers. These devices plug into the wall and the slow cooker plugs into them. A probe sits inside the ceramic crock, allowing you to set a precise temperature (like 65°C / 149°F) that will not deviate. This eliminates the guesswork associated with “Low” or “Warm” settings that vary by brand.
Humidity control can also be optimized. Instead of foil, some advanced makers use vacuum-sealed bags that can withstand heat. This ensures absolutely zero moisture loss. However, this requires a very precise temperature hold to avoid “steaming” the garlic into a mushy consistency. The goal is a controlled Maillard reaction, not a boil-in-bag experience.
The concept of “aging” black garlic after the heat cycle is where the true masters shine. Similar to a fine wine or a hard cheese, black garlic continues to develop flavor after the heat is turned off. Storing your finished bulbs in a cool, dark place for an additional month before using them can result in a more balanced acidity and a deeper “funk” that is highly prized in gourmet circles.
Example Scenario: The $1 Batch
Imagine you purchase three large bulbs of garlic from a local farmers’ market or a bulk bin for roughly $1.20. You spend five minutes wrapping them in foil and placing them in your slow cooker on a Tuesday afternoon. You set a reminder on your phone for three weeks out.
By the following Tuesday, the house smells like a garlic factory, but you’ve moved the cooker to the garage. On the third Tuesday, you open one bulb to find dark, fudge-like cloves. You unplug the unit and let the garlic sit on a wire rack on your counter for three days. By Friday, you have roughly 30 cloves of black garlic.
In a specialty store, those 30 cloves would be packaged into three small jars costing $12 to $15 each. You have just produced $40 worth of gourmet product for about $1.50 in raw materials and a few dollars in electricity. More importantly, you have gained an ingredient that can transform a simple Sunday roast into something world-class.
Final Thoughts
Mastering the art of black garlic is a journey into the intersection of patience and chemistry. It challenges our modern desire for instant results, rewarding the steady and the observant with a flavor that cannot be replicated by any industrial process. By using a slow cooker, you reclaim a traditional method and adapt it to the tools of the modern home.
This process is about more than just saving money on a luxury item; it is about the satisfaction of watching a common, pungent bulb transform into something unrecognizable and elegant. It encourages a deeper connection to the food you prepare and the ancestors who first discovered that time and heat are the most powerful spices in the pantry.
Experiment with your first batch today. Don’t be discouraged by the smell or the long wait. The first time you spread a jet-black clove onto a piece of toasted sourdough or whisk it into a pan sauce, you will realize that the “gourmet tax” was a price you never needed to pay. The secret is out, and it’s sitting right there in your kitchen cupboard.