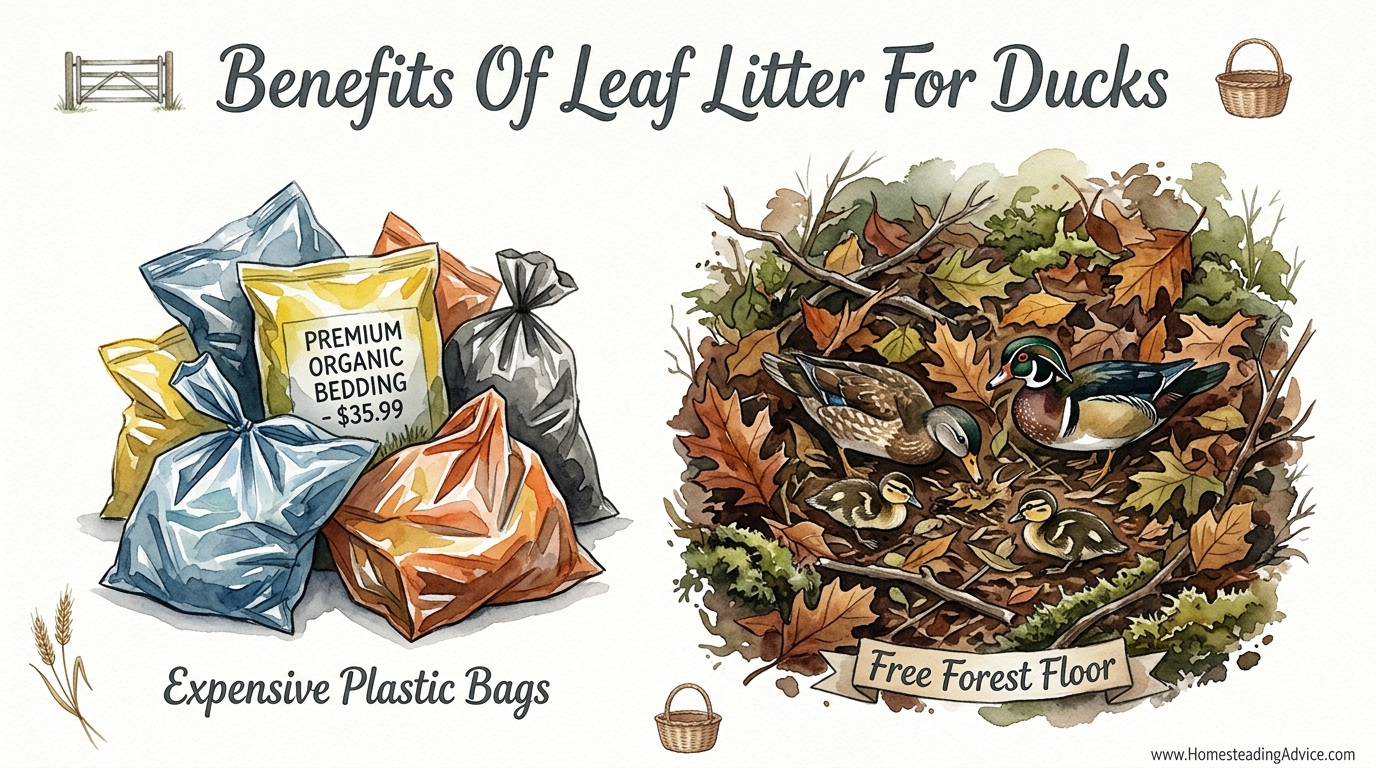
Nature drops a thousand dollars of high-quality bedding in your yard every year – are you still paying for it? Every autumn, nature provides a free, nutrient-dense carbon source for your duck coop. Store-bought shavings are expensive and often dusty, while foraged leaf litter creates a bioactive floor that builds soil while keeping your ducks clean.
Working with nature instead of against it is the cornerstone of a self-reliant homestead. While many people spend their weekends bagging up “yard waste” and hauling it to the curb, savvy duck keepers are dragging those bags into their coops. This transition from expensive plastic bags to a free forest floor represents a return to ancestral wisdom that favors observation over consumption.
Ducks are notorious for being the “wet” members of the poultry family. Their high-moisture waste and love for splashing can quickly turn a coop floor into a muddy, smelling mess if the bedding isn’t managed correctly. Leaf litter offers a unique structural advantage in these environments, providing a varied texture that encourages drainage and microbial activity.
This guide will walk you through the practical steps of harvesting, storing, and managing leaf litter. You will learn how to turn a seasonal nuisance into a year-round resource that improves the health of your flock and the fertility of your garden. By the end of this article, you will see your autumn yard not as a chore, but as a harvest.
Benefits Of Leaf Litter For Ducks
Leaf litter is the natural carpet of the forest, and it serves the same purpose in your duck coop. It is a diverse mixture of fallen leaves, small twigs, and organic detritus that has been the standard bedding for ground-dwelling birds for millennia. In the context of a modern coop, leaf litter acts as a carbon-heavy sponge that captures and processes nitrogen-rich duck manure.
One of the primary benefits of using leaves is the introduction of a diverse microbial community. Unlike kiln-dried pine shavings which are essentially sterile, leaves come pre-loaded with beneficial bacteria and fungi. When these microbes interact with duck waste, they begin a slow-burn composting process right on the coop floor, which can help suppress pathogens through competitive exclusion.
In real-world terms, this means a cleaner-smelling coop and a significantly reduced workload for the keeper. Because ducks have sensitive respiratory systems, the lack of fine dust found in low-quality shavings is a major health advantage. The varied size and shape of leaves also prevent the bedding from “matting” or “slicking over” as easily as straw often does when it gets wet.
Finally, the economic impact cannot be ignored. A flock of six ducks can easily go through two to four large bags of pine shavings a month during the wet season. Replacing this with free, foraged material allows you to reallocate those funds toward higher-quality feed or coop improvements. It is a simple way to increase the resilience and profitability of your small-scale farm.
How It Works: The Bioactive Floor
The secret to using leaf litter successfully lies in understanding the deep litter method. This isn’t just about throwing leaves on the floor; it is about managing a living ecosystem. You are essentially building a compost pile in situ where the ducks provide the nitrogen (poop) and the leaves provide the carbon (energy for microbes).
To start, you need a base layer of at least 6 to 8 inches (15 to 20 cm) of dry, shredded leaves. Shredding the leaves is a critical step because it increases the surface area for microbes to work on and prevents the leaves from forming a slippery, waterproof mat. You can achieve this easily by running a lawnmower over the leaves before bagging them.
As the ducks add waste, you simply add another 1 to 2 inches (2.5 to 5 cm) of fresh leaves on top. This “sandwich” method keeps the surface clean and dry for the ducks’ webbed feet. The weight and movement of the ducks, combined with occasional tossing by the keeper using a pitchfork, ensures that oxygen reaches the lower layers to keep the decomposition aerobic.
- Oxygen: Use a fork to turn the bedding every few days to prevent anaerobic pockets.
- Carbon: Always keep a “brown” (carbon) layer on top to lock in smells and moisture.
- Moisture: The bedding should feel like a wrung-out sponge—damp but never dripping.
If you notice an ammonia smell, it is a sign that the carbon-to-nitrogen (C:N) ratio is out of balance. This is solved by adding more dry leaves immediately. The leaves provide the structural “bones” of the bedding, allowing air to circulate even when the ducks track in water from their morning swim.
Advantages of Leaves Over Shavings and Straw
When comparing bedding materials, it is important to look at the full lifecycle of the product. Store-bought options like pine shavings or straw are often monocultures, meaning they consist of only one type of fiber. Leaves, especially from a mixed deciduous forest, offer a complex chemical profile that resists packing down and supports a wider range of life.
Straw is a hollow tube that is excellent for insulation but poor at moisture management for ducks. Once the hollow center of a straw stalk fills with water or manure, it becomes a breeding ground for harmful bacteria and can quickly rot. Leaves, however, are flat and cellular; they absorb moisture into their fibers while allowing excess water to drain through the gaps between them.
Another advantage is the nutrient density of the finished product. When you finally clean out your coop in the spring, the “spent” leaf litter is already half-decomposed. It is full of trace minerals that trees have pulled from deep in the subsoil—minerals that are often absent in the grass or straw grown on depleted agricultural land. This makes leaf-based compost “black gold” for your garden beds.
For those living in colder climates, the bioactive process in a leaf litter floor generates a small amount of “compost heat.” While it won’t replace a heater, it can keep the ambient temperature of the coop a few degrees warmer than the outside air, providing a more comfortable environment for your flock during winter freezes.
Safety First: Identifying Toxic Leaves
While most deciduous leaves are safe, you must be diligent about what you rake into the coop. Ducks are curious foragers and will occasionally nibble on their bedding. You must ensure that you aren’t accidentally introducing toxins that could harm their liver, heart, or respiratory health.
Black Walnut (Juglans nigra) is the primary concern for many homesteaders. These leaves contain juglone, a chemical that can be irritating to the skin and respiratory tracts of poultry. While some keepers use small amounts without issue, it is best to avoid them entirely to prevent any risk of lameness or respiratory distress.
Other plants to watch out for include those from the Ericaceae family, such as Azaleas and Rhododendrons. These contain grayanotoxins, which can be fatal if ingested in large enough quantities. Always inspect your leaf piles for “hitchhikers”—the green leaves of evergreen toxic shrubs that may have been swept up with the safe, brown tree leaves.
| Leaf Type | Safety Level | Breakdown Speed | Best Use |
|---|---|---|---|
| Oak | Safe (High Tannins) | Slow | Base layers; long-lasting structure. |
| Maple | Safe | Medium | General bedding; excellent absorption. |
| Fruit Trees (Apple/Pear) | Safe | Fast | Top dressing; highly compostable. |
| Black Walnut | Avoid | Medium | Contains Juglone; potential irritant. |
| Pine Needles | Safe (in moderation) | Very Slow | Add to increase drainage in wet spots. |
When in doubt, stick to the “Big Three” of safe bedding: Oak, Maple, and Beech. These are widely available, safe for ingestion, and have the structural integrity to withstand the heavy-duty trampling of a duck flock. If you are foraging from a neighbor’s yard, always ask if they have used chemical fertilizers or pesticides recently, as these residues can accumulate in the leaf tissue.
Challenges and Common Mistakes
The most common mistake beginners make is using wet leaves. If you rake up damp leaves and pile them in a coop, you aren’t creating a bioactive floor; you are creating a mold factory. Leaves must be bone-dry when they are first added to the coop to ensure they can absorb the incoming moisture from the ducks.
Another pitfall is failing to shred the leaves. Whole, large leaves—especially those from Oak or Sycamore trees—tend to stack like shingles. This creates a waterproof barrier that prevents manure from reaching the lower layers where the microbes live. The ducks end up walking on a “slick” of waste on top of perfectly good bedding. Run your mower over the pile once or twice until the leaves are roughly the size of a postage stamp.
Lastly, many keepers forget about ventilation. Because a bioactive floor is a living system, it releases moisture and gases as it breaks down. If your coop is sealed tight for the winter, this moisture will condense on the ceiling and drip back down, leading to dampness and respiratory issues like Aspergillosis. Ensure you have high-level vents that stay open year-round to allow humid air to escape.
Limitations: When This May Not Be Ideal
Leaf litter is a powerful tool, but it is not a universal solution for every duck setup. If you keep your ducks in a very small, confined space with no outdoor run, the nitrogen load from their waste will quickly overwhelm the carbon in the leaves. In these “high-density” scenarios, the bedding will become “mucky” faster than you can manage it.
Environmental humidity also plays a role. In extremely humid, tropical climates, getting leaves dry enough to be absorbent can be a challenge. If the leaves are already at 60% moisture when you put them in, they have very little “room” left to soak up duck waste. In these regions, kiln-dried products or sand might be a more practical choice for moisture control.
Urban homesteaders may also face limitations regarding the volume of material needed. To maintain a deep litter system through the winter, you may need 10 to 20 large bags of leaves. If you don’t have the storage space to keep these bags dry, you will be forced to switch back to commercial bedding once your initial autumn stash runs out. Planning your storage is just as important as the harvest itself.
Practical Tips and Best Practices
Timing your harvest is everything. The best time to collect leaves is after a few days of dry, sunny weather when the leaves are “crispy” to the touch. This ensures you aren’t bringing in excess weight or starting the mold process prematurely. Use a leaf vacuum mulcher if you have one; these tools suck up the leaves and shred them into a bag in one motion, saving hours of manual labor.
For storage, old feed bags or heavy-duty trash bags work well, but they must be kept out of the rain. A simple pallet-and-tarp structure in a corner of the yard can hold dozens of bags. If you have the space, a “leaf crib” made of hardware cloth or chicken wire allows the leaves to breathe while keeping them contained.
When it comes to maintenance, let the ducks do some of the work. Scatter their morning grain or treats directly onto the leaf litter. As they forage for the seeds, they will naturally “till” the top layer of leaves, incorporating oxygen and burying manure. This turns a chore into enrichment for your birds.
- Store at least 5 bags of shredded leaves per duck to last through a typical winter.
- Add a handful of garden soil to a new coop to “seed” the bedding with local microbes.
- Keep waterers outside the coop or on a raised hardware cloth platform to prevent localized “swamping” of the bedding.
Advanced Considerations: Soil Science in the Coop
For the serious practitioner, managing coop bedding is an exercise in soil science. You are aiming for a carbon-to-nitrogen ratio of approximately 30:1. Autumn leaves vary, with Maples being around 35:1 and Oaks being closer to 60:1. Because duck manure is very high in nitrogen (approx 10:1), you can afford to use the higher-carbon leaves like Oak without slowing down the decomposition too much.
You can also experiment with fungal dominance. By adding small amounts of wood chips or pine needles to your leaf mix, you encourage the growth of mycelium. These fungal networks are incredibly hardy and are excellent at breaking down the tough lignin in tree leaves. Fungal-dominant bedding tends to stay fluffier and more aerobic than bacterial-dominant bedding.
Consider the “curing” phase. When you remove the bedding in the spring, don’t put it directly on your plants. While it looks like soil, it may still have “hot” pockets of ammonia. Pile it in a corner of the garden for 4 to 6 weeks. This final curing stage ensures that any remaining pathogens are neutralized and the nutrients are fully stabilized for your vegetables.
Example Scenario: The Wet Spring Transition
Imagine a typical March on the homestead. The snow is melting, the ground is saturated, and your ducks are tracking in mud every time they enter the coop. This is the ultimate test of your leaf litter system. In this scenario, the base layer of bedding from the winter has likely become quite dense and dark.
Instead of a full cleanout—which would leave the coop floor cold and stripped of beneficial microbes—you perform a structural refresh. You use a fork to pull the dryest material from the corners into the center. Then, you add a 3-inch (7.5 cm) layer of your coarsest stored leaves (like Oak or Beech). These larger, tougher leaves act as a “drainage mat” on top of the older, finer compost.
By using this layered approach, you maintain the warmth and microbial life of the deep litter while providing a fresh, dry surface for the ducks during the muddiest month of the year. This transition demonstrates the flexibility of natural materials compared to the uniform, often-clumping nature of sawdust or shavings.
Final Thoughts
Transitioning to leaf litter is more than just a cost-saving measure; it is a way to close the loop on your homestead. By capturing the solar energy stored in tree leaves and combining it with the fertility of your ducks, you create a system that feeds your soil while protecting your flock. It turns the “waste” of autumn into the “wealth” of spring.
Every bag of leaves you rake is a step toward self-reliance. It reduces your dependence on big-box stores and plastic packaging, replacing them with a rhythmic, seasonal harvest. Your ducks will appreciate the soft, insulating floor, and your garden will flourish under the rich compost you produce together.
Start small this year. Collect a few dozen bags, shred them well, and see how your coop responds. You will likely find that once you experience the ease and health of a bioactive leaf floor, you will never go back to paying for wood shavings again. Nature has provided the resources; it is simply up to us to pick them up.