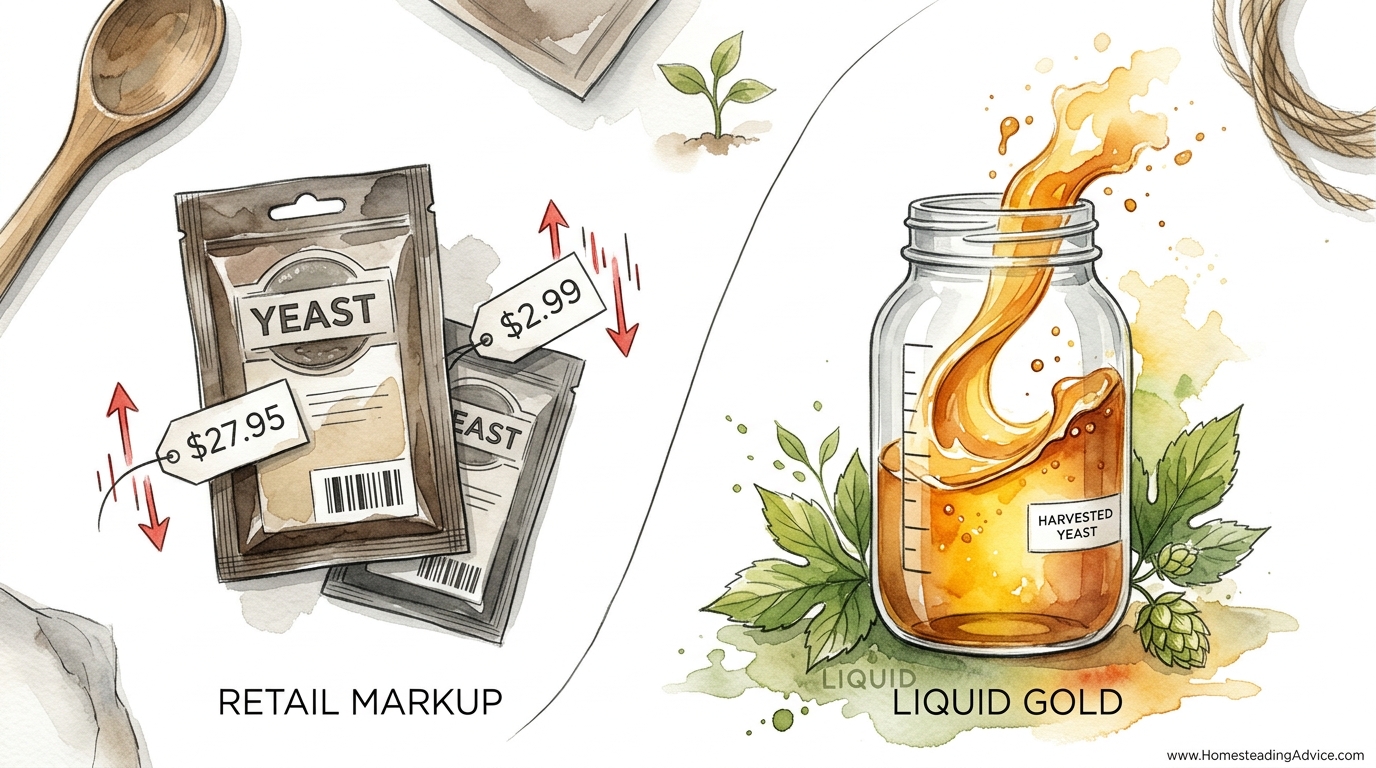
You are throwing away $12 every time you clean your fermenter -—stop the waste. Yeast is a living organism that wants to multiply, not a disposable chemical. One $12 packet can power 10 or 20 batches if you know how to harvest the ‘slurry’ from the bottom of your tank. It’s not just free; the second generation often ferments better than the first.
Modern brewing often treats yeast like a shelf-stable ingredient, but our ancestors knew better. They called it “barm” and guarded their cultures with their lives. When you harvest your own yeast, you aren’t just saving money—you are developing a relationship with a living culture that adapts to your water, your equipment, and your brewing style.
This guide will show you how to stop paying the retail markup on every batch and start treating your yeast like the liquid gold it truly is.
How To Harvest And Reuse Beer Yeast
Harvesting yeast is the process of collecting the living yeast cells left at the bottom of a fermenter after the beer has finished its work. This thick, creamy layer is known as the “yeast cake” or “slurry.” It contains millions of healthy yeast cells, along with some leftover hop bits and proteins from the grain.
In the real world, professional breweries almost never buy new yeast for every batch. They “crop” yeast from one tank and “pitch” it into the next. This creates a cycle of fermentation that can last for months. At the homebrew level, we use a simplified version of this called the “Jar Method” to store yeast in the refrigerator for future use.
Think of it like a sourdough starter. You take a little bit of the previous batch to jumpstart the next. The yeast in that second or third batch is often “fitter” than the lab-grown stuff because it has already survived a fermentation cycle in your brewery.
Step-by-Step: The Simple Rinsing Method
Most homebrewers confuse yeast “washing” with yeast “rinsing.” Rinsing is the easy, physical separation of yeast from gunk using sterile water. True washing involves acid and is rarely needed for a clean home setup.
Prepare Your Tools
First, gather four pint-sized (500 ml) Mason jars and their lids. Every piece of equipment that touches the yeast must be meticulously sanitized. Boil a half-gallon (about 2 liters) of water for 15 minutes to ensure it is sterile, then let it cool to room temperature or lower.
Collecting the Slurry
Once you have siphoned your finished beer into a keg or bottles, you will see a thick layer of sludge at the bottom of the fermenter. Pour about 2 cups (500 ml) of your cooled, sterile water into the fermenter. Swirl the fermenter vigorously until the entire yeast cake is broken up into a milky liquid.
The First Settling
Pour this liquid into a large, sanitized half-gallon (2 liter) jar. Let it sit for 15 to 20 minutes. During this time, the heavy stuff—the “trub” made of hop debris and proteins—will sink to the bottom. The healthy, white yeast cells will remain suspended in the liquid above the dark layer.
The Final Decant
Carefully pour the milky liquid from the large jar into your smaller pint jars, leaving the dark sludge behind. Seal these jars and place them in the back of your refrigerator where the temperature is stable, ideally around 34°F to 40°F (1°C to 4°C). Over the next 24 hours, a creamy, white layer of yeast will settle at the bottom of these jars.
The Benefits of Reusing Yeast
Saving $12 to $15 per batch is the most obvious perk, but the biological benefits are even more significant. Fresh yeast from a packet often has a “lag phase” where it slowly wakes up and starts to eat. Harvested yeast is like an elite athlete that is already warmed up.
Faster Fermentation
Because you are often pitching a larger volume of yeast than what comes in a single commercial packet, fermentation typically starts within hours rather than days. This “over-pitching” (within reason) helps the yeast dominate the wort quickly, leaving no room for wild bacteria to take hold.
Strain Adaptation
Yeast is highly adaptive. By the second or third generation, the cells that thrived in your specific brewing environment are the ones that survived to be harvested. Many brewers find that their “house” yeast produces a cleaner profile and better attenuation than the original lab-acquired generation.
Reliability
When you harvest your own, you know exactly how that yeast behaved in the last batch. You aren’t relying on a “best by” date on a package that may have sat in a hot delivery truck. You saw the bubbles; you smelled the fermentation; you know the yeast is healthy.
Challenges and Common Mistakes
The biggest enemy of yeast harvesting is laziness. If your sanitation isn’t perfect, you aren’t just saving yeast—you are saving every bacteria that managed to sneak into your fermenter.
The “Don’t Reuse” Styles
Never harvest yeast from a beer with a high alcohol content (above 8% ABV). High alcohol levels stress the yeast and damage their cell walls. Similarly, avoid harvesting from heavily dry-hopped beers like NEIPAs. The hop oils coat the yeast cells and prevent them from absorbing nutrients in the next batch.
Sanitation Slip-ups
If you use tap water that hasn’t been boiled, you risk introducing chlorine or wild microbes. Always use sterile water. If the yeast in your jar ever smells like rotten eggs, vinegar, or old gym socks, throw it out immediately. Healthy yeast should smell like bread, dough, or the beer it just came from.
Ignoring the Generations
Yeast can mutate over time. Most experts recommend stopping after 5 to 10 generations. Beyond that, the yeast might start to behave differently—flocculating too early or producing strange fruity esters that weren’t there before.
Limitations and Practical Boundaries
There are times when buying a fresh packet is the smarter move. You have to weigh the risk of a $40 batch of ingredients against the $12 saving on yeast.
Time in the Fridge
Yeast viability drops every day it sits in the refrigerator. Within two weeks, it is still very strong. After a month, the cell count has dropped significantly. If your harvested yeast has been sitting for more than six weeks, it is best to make a “starter” with some fresh wort to wake it up before pitching it into a full batch.
Style Compatibility
You generally want to move from “light to dark” or “weak to strong.” You can harvest yeast from a light Blonde Ale and pitch it into a Stout, but you should never do the reverse. The dark grains and heavy flavors from the Stout will carry over into your Blonde Ale and ruin the color and delicate balance.
Comparison: Rinsing vs. Acid Washing
For most homebrewers, rinsing is more than enough. However, understanding the difference helps you decide if you need to take the next step into advanced microbiology.
| Feature | Yeast Rinsing | Yeast Acid Washing |
|---|---|---|
| Purpose | Remove trub, hops, and dead cells. | Kill bacteria without killing yeast. |
| Process | Diluting with sterile water and decanting. | Lowering pH to 2.2 with food-grade acid. |
| Difficulty | Beginner-friendly. | Advanced (requires pH meter). |
| Risk | Low if sanitized. | High; can kill yeast if pH is too low. |
Practical Tips and Best Practices
If you want to be successful, treat your yeast jars like a library. Label every jar with the yeast strain, the date it was harvested, and the generation number (e.g., “US-05, Gen 2, Oct 14”).
- Decant the liquid: When you are ready to use your stored yeast, pour off the beer that has settled on top of the yeast cake. That “beer” is often oxidized and won’t taste good in your new batch.
- Warm it up: Take your yeast jar out of the fridge a few hours before pitching. Pitching ice-cold yeast into warm wort can cause “cold shock,” which kills cells and leads to off-flavors.
- Pitching rates: For a standard 5-gallon (19-liter) batch, you generally want about 1/2 to 1 cup (125-250 ml) of thick, creamy yeast slurry. If the slurry is thin and watery, you will need more.
- Top Cropping: For English ale strains, you can harvest yeast from the “krausen” (the foam on top) during the peak of fermentation. This is the absolute purest yeast you can get, as it contains almost zero trub.
Advanced Considerations: Calculating Viability
Serious practitioners often use a microscope and methylene blue stain to count living cells, but you can estimate your viability using simple math. A fresh slurry typically contains about 1 billion cells per milliliter. After 30 days in the fridge, that viability drops to roughly 75%.
If you are brewing a high-gravity lager, you need twice as much yeast as a standard ale. Knowing your cell counts allows you to adjust your pitch. Use an online “Pitch Rate Calculator” to determine exactly how many milliliters of slurry you need based on the age of your harvest. This precision is what separates a good homebrewer from a master of the craft.
Example Scenario: The Perpetual Pale Ale
Imagine you brew a 1.050 OG American Pale Ale using a fresh $12 packet of liquid yeast. After two weeks, you keg the beer and harvest the slurry. You end up with four pint jars, each containing about 100 ml of thick white yeast.
The following week, you brew a 1.065 OG IPA. Instead of buying another packet, you take one of your jars, decant the liquid, and pitch the slurry. The fermentation starts in 4 hours. You still have three jars left. Two weeks later, you use another jar for a Porter. By the time you reach the fourth jar, you have brewed $60 worth of beer using the original $12 investment, and the yeast has only gotten stronger with each “repitch.”
Final Thoughts
Harvesting yeast is more than just a frugal habit; it is a fundamental skill that connects you to the biology of brewing. When you stop looking at yeast as a disposable commodity and start viewing it as a living partner, the quality of your beer will inevitably rise.
This process rewards the disciplined brewer. If you keep your equipment clean and your timing right, you can maintain a single strain for a year or more. This allows you to truly understand a specific yeast’s nuances—how it handles temperature swings, how it clears from the beer, and exactly what flavors it brings to the glass.
Start small. The next time you finish a batch, don’t reach for the garden hose to wash that slurry down the drain. Grab a sanitized jar, save that liquid gold, and see for yourself how much better the second generation can be.