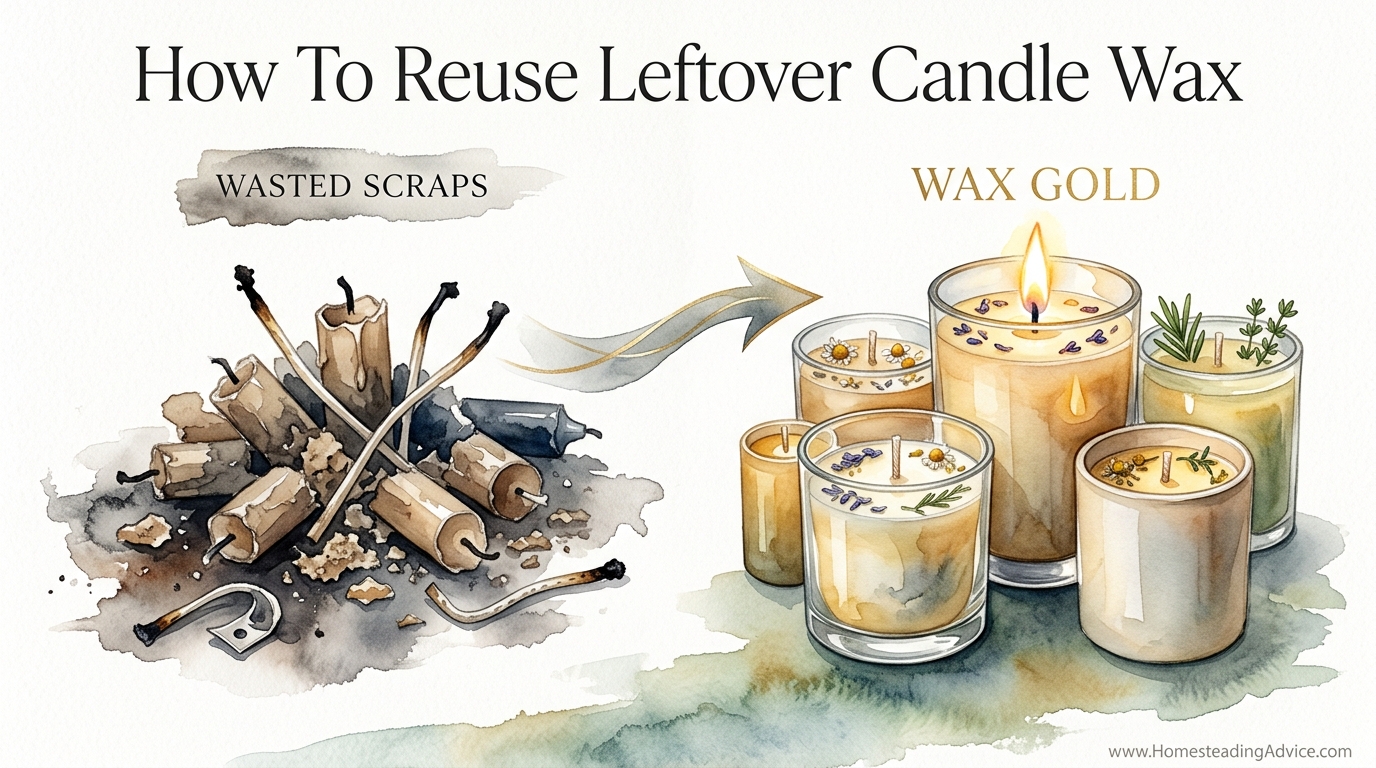
The bottom 10% of every candle you’ve ever burned is actually the key to your most unique new creation. Most people see the leftover wax at the bottom of a jar as a nuisance to be scraped out and tossed. In reality, those scraps are pre-scented, high-quality wax gold. Learning how to clean, filter, and re-blend these remains turns a waste problem into a free supply of candle-making materials.
Whether you are looking to save money or simply hate seeing good resources go to waste, mastering the art of wax reclamation is a rewarding skill. It connects you to a tradition of self-reliance where nothing of value was ever discarded. This guide walks you through the entire process of rescuing that forgotten wax and giving it a second, even better, life.
How To Reuse Leftover Candle Wax
Leftover candle wax is the residual material remaining in a container once the wick has burned down to its safety limit. Most commercial candles are designed to leave roughly 1/2 inch (1.27 cm) of wax at the bottom to prevent the glass from overheating and potentially shattering. This “waste” is actually a concentrated source of high-quality wax and fragrance.
In the real world, reusing this wax is a form of upcycling. Instead of the material ending up in a landfill, it becomes the foundation for new home goods. You can think of your wax scraps as a collection of ingredients in a pantry. Just as a chef uses leftovers to create a new stew, a candle maker uses scraps to create complex, multi-layered scents that you cannot buy in a store.
This process is used by hobbyists to reduce the cost of their craft and by sustainability-minded households to minimize their environmental footprint. It requires no specialized machinery, only a few kitchen basics and a bit of patience. By reclaiming this wax, you are essentially getting “free” candles from the purchases you have already made.
Methods for Extracting Wax from Jars
The first challenge in reusing wax is getting it out of the original container without damaging the glass or making a mess. Different waxes respond better to different temperature changes. Choosing the right method depends on how much wax is left and the type of container you are using.
The Freezer Method
This is the cleanest and most straightforward approach for jars with a significant chunk of wax left. Wax naturally contracts when it gets cold, while glass remains relatively stable. Placing a candle jar in the freezer for 2 to 4 hours causes the wax to shrink and pull away from the sides.
Once the jar is thoroughly chilled, a gentle tap or the light pressure of a butter knife is usually enough to pop the wax disc out in one piece. This method is ideal for soy and paraffin blends. It avoids the mess of liquid wax and keeps the fragrance oils locked within the solid structure.
The Boiling Water Method
The boiling water method is highly effective for jars with only a thin film or very small scraps. Place your candle on a heat-protected surface and pour hot water—roughly 180°F (82°C)—into the container, leaving a little room at the top. The hot water melts the wax, which then floats to the surface because it is less dense than water.
As the water cools, the wax solidifies into a flat disc on top. Once it is completely hard, you can simply lift it off. Take care not to pour the remaining water down your sink drain, as any tiny wax particles could clog your plumbing. Instead, strain the water through a paper towel and discard the residue in the trash.
The Oven Method
If you have a dozen jars to clean at once, the oven is your best friend. Line a rimmed baking sheet with aluminum foil and place the jars upside down on the sheet. Set your oven to its lowest setting, typically around 150°F to 170°F (65°C to 77°C).
Let the jars sit for about 10 to 15 minutes. The wax will melt and run out onto the foil. This method is fast and allows you to reclaim every drop, though you must stay nearby to ensure the wax does not overheat. Use tongs or oven mitts to remove the hot jars and immediately wipe the insides with a paper towel to remove any lingering film.
Cleaning and Filtering the Wax
Once the wax is out of the jar, it is rarely ready for immediate use. It often contains bits of charred wick, soot, or dust. Cleaning this “wasted scraps” into “wax gold” requires a simple refining process to ensure your new creations burn cleanly.
The Melting Process
Always use a double boiler to melt your reclaimed wax. Never place a pot of wax directly over a flame or electric burner, as wax has a flash point and can ignite if it reaches temperatures between 140°F and 200°F (60°C to 93°C) depending on the blend. A simple setup involves a dedicated melting pitcher or a clean tin can placed inside a pot of simmering water.
Removing Impurities
As the wax melts, impurities will either sink to the bottom or float to the top. Use a pair of tongs to fish out old metal wick tabs. To get the wax truly clean, pour the liquid through a fine-mesh strainer lined with a coffee filter or several layers of cheesecloth.
This step removes the microscopic soot and dust that can clog a new wick and cause a flickering, smoky flame. If the wax is particularly dirty, you may need to repeat the filtering process twice. The goal is a clear, translucent liquid that shows no signs of debris.
Creative Ways to Use Recycled Wax
While making a brand-new candle is the most common use, the possibilities for recycled wax extend far beyond the jar. These scraps can be transformed into various practical and decorative items around the home.
Custom Wax Melts
If you don’t have enough wax of one scent to make a full candle, wax melts are a perfect solution. Pour your cleaned, melted wax into silicone molds—like ice cube trays or candy molds. These small shapes can be popped into a wax warmer to fragrance a room without the need for a flame.
Emergency Firestarters
Recycled wax is an incredible fuel source for starting fires in a fireplace or at a campsite. Fill the cups of a paper egg carton with dryer lint or sawdust, then pour melted wax over the top. Once hardened, you can cut the cups apart. One cup will burn intensely for 10 to 15 minutes, making it easy to ignite even damp wood.
Waterproofing and Lubrication
Old beeswax or paraffin scraps can be used to maintain household items. Rubbing a block of wax over a stubborn wooden drawer track or a sticky metal zipper provides instant lubrication. You can also rub wax onto canvas tool bags and then heat the fabric with a hair dryer to create a water-resistant coating.
Benefits of Reclaiming Candle Wax
Choosing to save your wax isn’t just about being frugal; it offers several practical advantages that improve your home and the environment.
- Significant Cost Savings: High-quality scented candles can be expensive. Reusing the bottom portion of 10 candles often provides enough material to make two or three new candles for free.
- Custom Fragrance Blending: You can mix complementary scents to create a unique aroma. Combining a vanilla scrap with a coffee-scented scrap results in a custom “Vanilla Latte” candle that you won’t find in a store.
- Reduced Environmental Impact: Paraffin is a petroleum byproduct, and soy requires land and water to produce. Extending the life of these materials keeps them out of the waste stream longer.
- Skill Development: Learning to handle wax, understand melting points, and manage wicks builds a foundation for more advanced candle-making and DIY projects.
Challenges and Common Mistakes
Working with recycled wax presents a few unique hurdles that you won’t encounter with virgin wax. Being aware of these pitfalls will save you a lot of frustration.
The “Muddy” Scent Problem
Mixing too many different scents can lead to a “muddy” fragrance that smells confusing or unpleasant. Just because two candles smell good separately doesn’t mean they will smell good together. Stick to scent families that naturally complement each other, such as florals with citruses or woods with spices.
Fragrance Degradation
Each time wax is heated, some of the fragrance oil evaporates. Recycled wax will almost always have a “softer” scent than a brand-new candle. If the scent is too weak, you can add a few drops of fresh essential oil or fragrance oil to the melted wax before pouring your new candle.
Glass Safety and Heat Shock
Pouring hot wax into a cold glass jar can cause the glass to crack or shatter due to thermal shock. Always ensure your new containers are at room temperature or slightly warmed. Similarly, never use a container that isn’t heat-rated, such as thin wine glasses or plastic tubs.
Limitations: When Not to Reuse Wax
While most wax is salvageable, there are situations where it is better to simply let it go. Safety and quality should always come first.
One major limitation involves wax that has been severely overheated or scorched. If the wax is black throughout or has a burnt, acrid smell that overpowers the original fragrance, the chemical structure has likely broken down. Using this wax will result in a poor-burning candle with an unpleasant odor.
Additionally, avoid mixing significantly different types of wax if you are a beginner. While advanced makers can blend soy and paraffin, the different melting points and cooling rates can cause the candle to shrink unevenly or develop large cracks. It is best to group your scraps by wax type—soy with soy, beeswax with beeswax—until you are more experienced.
Comparison: Scrap Wax vs. Virgin Wax
Understanding the differences between reclaimed material and new material helps you manage your expectations for the final product.
| Factor | Recycled Scrap Wax | Virgin Candle Wax |
|---|---|---|
| Cost | Zero / Free | $5 – $15 per lb (0.45 kg) |
| Scent Strength | Moderate to Low | High / Fully Customizable |
| Purity | May contain soot/dye remnants | 100% Pure and Clean |
| Burn Consistency | Variable (requires testing) | Predictable and Reliable |
| Complexity | Requires cleaning and filtering | Ready to melt and pour |
Practical Tips and Best Practices
Following these small adjustments will significantly improve the quality of your upcycled candles and make the process much smoother.
- Color Grading: Group your scraps by color. Melting a bunch of different colored scraps together usually results in a dull, grey-brown wax. If you want vibrant colors, keep your whites and creams separate from your deep reds or blues.
- Wick Selection: Recycled wax is often “heavier” because of the accumulated dyes and fragrances. Use a slightly larger wick than you would for virgin wax to ensure the candle can burn through the pool of wax efficiently.
- The 24-Hour Cure: Even though the wax looks hard after an hour, let your new candles “cure” for at least 24 to 48 hours before lighting them. This allows the wax crystals to fully set and results in a longer-lasting burn.
- Label Your Blends: Use a piece of masking tape to label your saved wax jars with the scent and wax type. You might think you will remember what is in the jar, but after three months, everything starts to look the same.
Advanced Considerations for Practitioners
For those who want to take their wax recycling to a professional level, there are ways to refine the performance of your re-blends.
Managing the “oil load” is a critical skill. If you add too much fresh fragrance oil to recycled wax that already contains some oil, the wax may become unstable. This can lead to “sweating,” where beads of oil seep out of the solid candle. Keep your total fragrance load—including what was originally in the scrap—below 10% of the total weight.
Scaling your production also requires a systematic approach. If you find yourself with large amounts of scraps, consider investing in a dedicated wax melter with a temperature control dial. Maintaining a steady temperature of 160°F (71°C) prevents the wax from scorching during long filtering sessions and ensures a more consistent pour.
Example Scenario: The “Autumn Harvest” Re-blend
Imagine you have the remains of three candles: a spiced apple soy candle, a cinnamon paraffin candle, and a plain white beeswax votive.
First, you extract the wax from all three using the freezer method. You end up with roughly 6 ounces (170 grams) of mixed scraps. After melting them together in a double boiler and filtering through a coffee filter, you have a clean, amber-colored liquid.
The apple and cinnamon scents complement each other perfectly, while the beeswax adds a natural honey undertone and increases the hardness of the final candle. You select a 3-inch (7.6 cm) wide glass jar, secure a cotton-core wick to the bottom with a bit of hot glue, and pour the wax at 140°F (60°C). The result is a custom “Autumn Harvest” candle that burns for 15 hours and cost you nothing but a few minutes of your time.
Final Thoughts
The transition from seeing candle remains as trash to seeing them as a resource is a fundamental shift in mindset. It encourages a deeper connection to the items we bring into our homes and rewards curiosity with tangible, useful results. By following these steps, you can ensure that every candle you buy provides value until the very last drop of wax is gone.
Experimentation is the heart of this craft. Do not be afraid of a few “failed” blends or messy pours in the beginning. Each batch teaches you more about the science of wax and the art of scent. As you refine your technique, you will find yourself intentionally saving jars and scraps, eager to see what new creation emerges from the melting pot.
Applying these principles of thrift and self-reliance doesn’t just save money; it turns a simple household habit into a sustainable, creative practice. Whether you are making emergency firestarters or a sophisticated multi-layered jar candle, the result is the same: a more resourceful way of living that honors the materials we use every day.