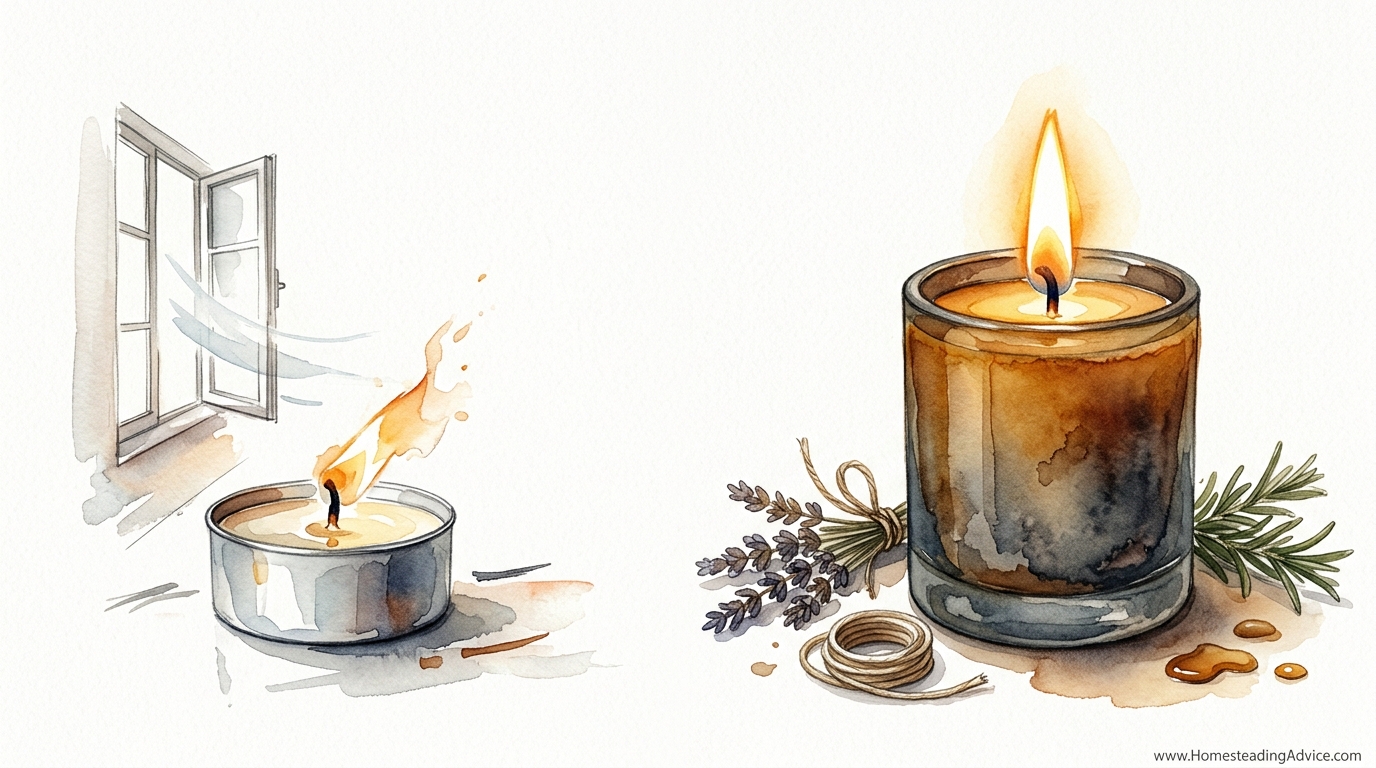
When the grid goes down, a decorative candle is just a fire hazard; you need a light source that’s built like a tank. Most candles are designed for ‘mood lighting,’ not survival. They flicker out at the first draft and burn through their wax in hours. Learn how to engineer a resilient pillar candle with custom wick-braiding and high-melt-point wax that provides 100 hours of steady, reliable light.
This is not about making something that looks pretty on a mantel. This is about ancestral wisdom meets modern engineering. In a prolonged power outage or a winter storm, light is more than just visibility; it is security and morale. A standard store-bought candle often uses low-quality paraffin with a low melting point, which turns into a puddle of liquid mess the moment things get warm. We are going to build something that stands its ground.
Making A High Performance 100-Hour Candle
A high-performance 100-hour candle is a dense, slow-burning pillar designed specifically for longevity and resilience. Unlike container candles that rely on a jar for structure, a pillar candle must support its own weight even as the core temperatures rise. To achieve a 100-hour burn time, we focus on two primary factors: the fuel density and the capillary efficiency of the wick.
In the real world, these candles serve as a primary light source when electricity is a memory. Because they are engineered with a high melting point, they don’t “slump” or lose their shape in warmer environments. They provide a consistent, predictable flame that can be used to navigate a dark home, read maps, or maintain a sense of normalcy when the world outside is chaotic.
The “100-hour” benchmark is achieved through a specific volume of wax—typically a pillar measuring approximately 3 inches by 6 inches (7.6 cm by 15.2 cm). By using dense waxes like beeswax or paraffin heavily reinforced with stearic acid, we slow the consumption of the fuel to a crawl without sacrificing the brightness of the flame.
The Architecture of the 100-Hour Burn
To build a candle that outlasts a week of darkness, you must understand the relationship between your wax, your additives, and your wick. You are essentially building a tiny, controlled refinery.
Selecting the Right Fuel
The type of wax you choose dictates the “speed” of your candle.
- Beeswax: The gold standard for survival. It has a high melting point of approximately 144°F to 149°F (62°C to 65°C). It burns slower, cleaner, and brighter than almost any other fuel.
- Paraffin (High Melt Point): If using paraffin, look for “Pillar Blend” wax with a melt point of at least 135°F (57°C). Pure paraffin is often too soft and will burn too quickly unless modified.
- Stearic Acid (Stearine): This is the secret weapon. Adding 5% to 10% stearic acid to your wax increases the melting point, makes the candle harder, and significantly extends the burn time.
Engineering the Wick
A 100-hour candle requires a “Square Braid” or a heavy-duty “Flat Braid” wick. For a 3-inch (7.6 cm) diameter candle, a #2 or #3 square braid cotton wick is ideal. If you are making your own wicks from 100% cotton twine, you must treat them first. Soak the twine in a solution of 2 tablespoons of salt and 4 tablespoons of boric acid dissolved in 1.5 cups (355 ml) of warm water. This treatment prevents the wick from “ash-clumping” and ensures a steady, smokeless draw of wax.
The Pouring Process
Precision in temperature prevents structural flaws.
- The Double Boiler: Never melt wax over a direct flame. Use a double boiler to bring your wax to roughly 170°F (77°C).
- Priming the Wick: Dip your braided wick into the melted wax for 30 seconds until the bubbles stop. Pull it out straight and let it Garden-set. This ensures no air is trapped inside the fibers.
- The First Pour: Heat your mold slightly with a hairdryer to prevent “shrink-back” at the edges. Pour the wax slowly to avoid air bubbles.
- The Relief Holes: As the candle cools, a “sinkhole” will form around the wick. Poke holes into this cavity with a skewer and pour “top-off” wax to fill the void. This prevents air pockets that would cause the flame to flicker and die later.
Benefits of a Resilient Light Source
Choosing to build a high-performance candle over buying cheap tea lights offers several measurable advantages in a survival situation.
Fuel Efficiency: A single 100-hour pillar provides the same light as nearly 25 standard votives but with much less waste. You aren’t managing 25 different flames; you are managing one stable, high-output source.
Structural Integrity: Because these candles are hardened with stearine or made of beeswax, they do not “tunnel” as easily. Tunneling is when the wick burns a hole down the center, leaving a wall of wasted wax on the outside. A well-engineered pillar uses almost 100% of its fuel.
Safety and Stability: A heavy, 3-inch (7.6 cm) base is difficult to tip over. In a dark room where people are moving around in a state of stress, a stable light source is a critical safety feature. Furthermore, the higher melting point means the wax is less likely to splash or run if the candle is moved.
Common Mistakes and Pitfalls
Even experienced makers can fail when trying to hit the 100-hour mark. The most frequent error is undersizing the wick. If the wick is too small, it won’t create a large enough melt pool. The flame will eventually drown in its own wax or tunnel down the center, wasting half the candle.
Another common mistake is over-scenting or over-coloring. For a survival candle, skip the fragrance oils and dyes. These additives are impurities that can clog the wick’s capillaries, leading to a weak flame or excessive soot. Pure, clean wax is the most reliable fuel.
Finally, rushing the cooling process can be fatal to the candle’s lifespan. If you put a hot candle in the fridge to speed things up, the wax will crack and pull away from the wick. These internal fractures create air gaps that will cause the candle to sputter and extinguish during an emergency.
Limitations and Trade-offs
While a 100-hour candle is a powerhouse, it is not the perfect solution for every scenario. These candles are heavy and bulky. They are designed for “shelter-in-place” scenarios, not for a bug-out bag where every ounce (gram) counts.
Environmental factors also play a role. In extremely cold temperatures, the “melt pool” may struggle to reach the edges of the candle, causing some wasted wax. Conversely, in a very hot environment, even a high-melt-point candle can become soft, requiring it to be placed in a sturdy glass container for support.
Wax Comparison: Longevity and Performance
Understanding the data helps you choose the right materials based on what you have available.
| Wax Type | Melt Point | Burn Rate (Approx) | Best Use |
|---|---|---|---|
| Pure Beeswax | 145°F (63°C) | Slowest (7-9g / hour) | Long-term outages / Brightest light |
| Paraffin + 10% Stearine | 140°F (60°C) | Moderate (10-12g / hour) | General emergency use |
| Standard Soy Wax | 120°F (49°C) | Fast (13-15g / hour) | Indoor decorative (Avoid for pillars) |
Practical Tips for Maximum Burn Time
To actually get 100 hours out of your candle, you must manage it correctly.
- The First Burn: This is the most important step. Let the candle burn for one hour for every inch of its diameter. For a 3-inch (7.6 cm) candle, let it burn for at least 3 hours the first time. This creates a “memory” in the wax and ensures the melt pool reaches the edges.
- Trim the Wick: Keep the wick trimmed to 1/4 inch (6 mm). A long wick creates a large, flickering flame that consumes wax too quickly and produces soot.
- Avoid Drafts: Even a slight breeze can cause a candle to burn unevenly. Place your pillar in a hurricane glass or a deep metal lantern to shield the flame and maximize efficiency.
- The “Hug”: If your pillar starts to develop a thin rim of unmelted wax at the top, gently “hug” or press the warm edges inward toward the wick. This forces that wax into the melt pool to be used as fuel.
Advanced Considerations for Survival
Serious practitioners often look beyond just the wax and wick. Draft-proofing is a common upgrade. By placing a 100-hour pillar inside a large wide-mouth Mason jar with a few vent holes in the lid, you create a mini-furnace. This not only protects the flame but also traps and radiates a small amount of heat, which can be enough to take the edge off a small, insulated room.
Another advanced technique is layering waxes. Some makers pour a core of high-melt paraffin and an outer shell of beeswax. This creates a “hard shell” that resists dripping and ensures the candle maintains its shape even during 10-hour burn sessions.
Example Scenario: The 3×6 Beeswax Pillar
Consider a 3-inch by 6-inch (7.6 cm x 15.2 cm) pillar made of pure yellow beeswax. This candle will weigh approximately 1 pound (454 grams).
On average, beeswax burns at a rate of roughly 4 to 5 grams per hour when using a properly sized #2 square braid wick.
454 grams / 4.5 grams per hour = 100.8 hours.
In a real-world blackout, if you burn this candle for 6 hours every evening to provide light for cooking, cleaning, and reading, this single candle will last you nearly 17 days. That is the difference between a decorative item and a survival tool.
Final Thoughts
The transition from fragile decor to resilient light is a shift in mindset. It requires moving away from the “disposable” culture of cheap store-bought candles and embracing the chemistry of slow-burning fuels. By mastering the ratios of stearic acid and the art of the braid, you ensure that you are never truly left in the dark.
Building these candles is a meditative process that rewards patience. A set of three well-made 100-hour pillars in your storage closet provides over 300 hours of light—enough to see you through almost any localized disaster. It is a simple, effective way to increase your self-reliance and protect your family.
Start by making a single pillar. Test its burn rate, observe the melt pool, and adjust your wick-braiding technique. Once you find the perfect balance for your local climate and available materials, you’ll have a skill that is as timeless as it is necessary.