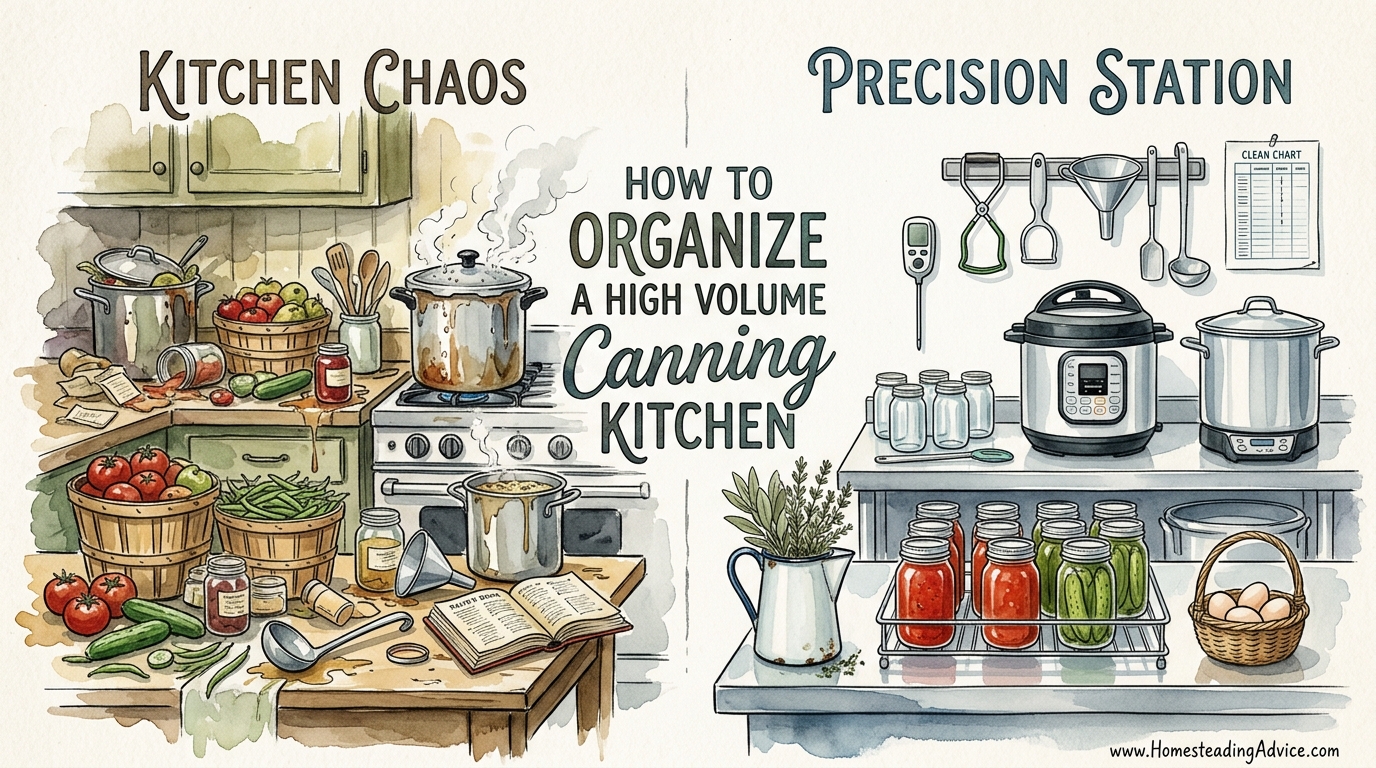
Canning isn’t hard; your disorganized kitchen is just making it feel that way. Most people quit canning because they spend more time cleaning up sticky messes than actually filling jars. Applying a professional workspace layout allows you to process 50lbs (22.7 kg) of produce in the time it used to take you to do 10. This transition from amateur scrambling to a precision station is the secret to filling a larder without losing your mind.
The goal is to stop treating canning like a hobby and start treating it like a production line. Ancestral wisdom tells us that the harvest doesn’t wait for your schedule. When the tomatoes are ripe or the deer is down, you need a system that facilitates movement rather than creating obstacles. This guide breaks down how to transform any kitchen—regardless of square footage—into a high-throughput preservation workshop.
How To Organize A High Volume Canning Kitchen
Organizing a high-volume canning kitchen is the practice of applying “Food Flow Theory” to the home environment. In professional food processing, every movement is calculated to reduce “backtracking,” which is the act of crossing your own path to retrieve tools or move ingredients. In a home kitchen, backtracking is why you find syrup on the floor and vinegar on the ceiling. A high-volume setup is defined by distinct zones that move the product in a single direction from the garden to the pantry shelf.
This system exists to solve the two biggest bottlenecks in food preservation: heat management and physical fatigue. When you are processing 100 jars in a weekend, your standard kitchen layout often fails because it was designed for making a single meal, not for continuous industrial-style batching. By zoning your space, you isolate the “wet” messes from the “hot” processing and the “dry” storage, creating a rhythm that allows you to work for hours without the cumulative stress of a cluttered environment.
The Five Essential Zones of a Preservation Workshop
A high-efficiency layout relies on five distinct stations. Even in a small apartment, these can be established by using folding tables or temporary shelving. The key is that the food should never move “backward” through the sequence.
1. The Receiving and Washing Zone
This is where the raw harvest enters the house. It should be as close to the door as possible to keep garden soil and insects out of the main cooking area. A large farmhouse sink or a utility tub is ideal here. If you are dealing with root vegetables or large crates of fruit, consider an outdoor pre-wash station to handle the bulk of the debris before it enters your plumbing.
2. The Preparation and Cutting Zone
Once cleaned, produce moves to the prep station. This area requires the most counter space. For high-volume work, ergonomics are critical. The ideal height for a cutting station is 15 centimeters (6 inches) below your elbow height. This reduces strain on your lower back during a four-hour session of dicing peaches or cubing venison. Keep your knives, peelers, and compost bins within arm’s reach.
3. The Filling and Capping Zone
This is the “precision station.” It is located between your prep zone and the stove. Here, you have your sterilized jars, your bubbling pots of brine or syrup, and your filling tools. This zone must be kept meticulously clean. Using a dedicated tray to catch drips can prevent the “sticky floor” syndrome that plagues disorganized kitchens.
4. The Processing (Cooking) Zone
This is the high-heat area where the water bath canners or pressure canners live. This zone needs heavy-duty heat sources and excellent ventilation. In high-volume setups, many practitioners use outdoor propane burners (often called turkey fryers) to keep the massive amounts of steam and 100°C (212°F) heat out of the main house.
5. The Cooling and Inspection Zone
The final destination for the day is a flat, draft-free surface where jars can sit undisturbed for 12 to 24 hours. This area must be away from high-traffic zones to prevent accidental breakage. Use heavy towels or cooling racks to protect your countertops from the thermal shock of the hot jars.
Practical Tips for Immediate Efficiency
Small adjustments to your physical environment can yield massive returns in speed. Implementing these best practices turns the “chaos” of canning into a predictable, rhythmic process.
- The Vinegar Wipe: Keep a small bowl of white vinegar and a clean cloth at your filling station. Always wipe the rims of the jars before placing the lids. This ensures a perfect seal and prevents “false seals” caused by microscopic food particles.
- Magnetic Lid Lifters: Never fish for lids in boiling water with your fingers. A magnetic wand is a cheap tool that prevents burns and keeps the lids sterile until the moment they touch the jar.
- Standardized Jar Sizes: For high-volume work, try to process one size of jar at a time. Mixing pints (500ml) and quarts (1 liter) in the same canner load is inefficient because they require different processing times.
- The Power of the Timer: Never rely on your memory. Use a dedicated digital timer for each canner you have running. Label the timers if you are running multiple batches of different foods.
- Gravity-Fed Waste: Position your trash or compost bin directly below your cutting board. If your layout allows, use a “scrap hole” in your work surface to slide waste directly into the bin without lifting your hands.
Benefits of a Pro-Level Canning Station
A dedicated layout isn’t just about speed; it’s about the quality of the final product and the sustainability of your own energy.
Establishing a professional flow reduces the risk of spoilage. When you aren’t rushing to find a misplaced tool, you are more likely to accurately measure headspace (the gap between the food and the lid) and monitor pressure gauges correctly. High-volume canning is a marathon, and a zoned kitchen prevents the mental fog that leads to dangerous mistakes.
Furthermore, cleanup is significantly faster. In a disorganized kitchen, sticky residue spreads across every surface. In a zoned kitchen, the mess is contained to the filling station. You can wipe down one tray and be finished, rather than scrubbing every inch of your countertops at 11:00 PM.
Challenges and Common Mistakes
The most frequent error in home canning is the “Chaos Triangle,” where the cook constantly moves between a sink, a cutting board on the kitchen table, and a stove across the room. This adds miles of walking to your day and increases the chance of dropping hot jars.
Another common pitfall is inadequate ventilation. High-volume canning produces gallons of steam. If this isn’t vented, it can lead to mold growth behind cabinets or peeling wallpaper. Always ensure your range hood is on high, or better yet, move the boiling phase to a summer kitchen or porch.
Failure to consider the weight of the equipment is also a significant challenge. A full 23-quart (21.8 liter) pressure canner can weigh over 40lbs (18 kg). Moving this from the stove to the sink for cooling is a recipe for a back injury. Plan your layout so that the canner stays on the heat until it is time to unload the jars individually with a jar lifter.
Limitations of the Home Kitchen Setup
While a professional layout improves any space, standard residential kitchens have hard limits. The biggest constraint is often the BTU output of the stove. Most home burners take a long time to bring a 5-gallon (19 liter) pot of water to a boil. This “lag time” between batches is the biggest time-waster in high-volume processing.
Additionally, standard glass-top stoves are often not rated for the weight and sustained heat of heavy pressure canners. Using a large canner on a glass top can result in a cracked cooktop. In these cases, moving to an outdoor propane setup or a dedicated “canning burner” is not just an efficiency choice—it is a safety necessity.
| Factor | Amateur Scrambling | Professional Precision |
|---|---|---|
| Workflow | Circular/Backtracking | Linear/One-way |
| Tool Storage | Hidden in drawers | Open/Wall-mounted |
| Cleanup | Whole-room scrub | Zoned containment |
| Fatigue | High (4-6 hours) | Low (10-12 hours) |
| Throughput | 7-14 jars/day | 50-100+ jars/day |
Advanced Considerations for Massive Harvests
For those moving into the realm of hundreds of jars per season, consider the “Continuous Batching” technique. This involves having two canners running at all times. While one is under pressure or boiling, you are filling the jars for the next load. This requires a “staging area” where filled jars wait their turn.
Serious practitioners also invest in specialized tools that eliminate manual labor. A Victorio strainer or a Roma sauce master can process a bushel of tomatoes in minutes, separating seeds and skins from the pulp without the need for blanching and peeling. When you scale your tools alongside your layout, the labor of the harvest becomes a joy rather than a chore.
Consider the floor as part of your system. In high-volume rooms, professional-grade anti-fatigue mats are essential. Standing on tile or concrete for 12 hours will ruin your joints. A thick, closed-cell foam mat at the prep and filling stations can extend your working window by several hours.
A Real-World Scenario: The 100lb Tomato Run
Imagine you have 100lbs (45 kg) of Roma tomatoes sitting on your porch. In a disorganized kitchen, this is a three-day nightmare. In a precision-station kitchen, it is an 8-hour workday.
The process begins at the **Receiving Zone**, where the tomatoes are dumped into a sink of cold water. They are moved to the **Prep Zone**, where a specialized sauce mill sits. You feed the tomatoes into the mill, and the juice flows directly into a large stockpot on a portable burner in the **Filling Zone**.
As the sauce reduces, you move to the **Canning Zone** (perhaps an outdoor burner on the porch) where the water bath canner is already at a simmer. Once the sauce is ready, you fill the jars in the tray-lined filling station, wipe the rims with vinegar, and use the jar lifter to move them to the canner. While that batch processes for 35 minutes, you are already milling the next 25lbs of fruit. The cycle continues until the **Cooling Zone** is filled with glowing red jars, and your kitchen remains clean enough to cook dinner in that same evening.
Final Thoughts
Efficient canning is less about the recipes and more about the rhythm. When you stop fighting your environment, the work becomes meditative. You begin to see the beauty in the process—the sound of the lids popping, the sight of a full pantry, and the satisfaction of knowing you have secured your family’s food supply for the winter.
Apply these organizational principles slowly. Start by clearing your counters of everything that isn’t canning-related. Establish your zones, even if they are just marked with masking tape. As you refine your “Food Flow,” you will find that the “chaos” of the harvest season transforms into a disciplined, rewarding practice of self-reliance.
Experiment with your layout until it feels natural. Every kitchen is different, but the laws of efficiency are universal. Once you master the professional workspace, you will never go back to the old way of scrambling. You have the tools and the knowledge; now go fill those jars.