The difference between a soggy side dish and a probiotic powerhouse is all in how you manage the crunch. If your sauerkraut comes from a shelf-stable can, you’re missing out on 90% of the benefits. Learn how to transition from standard grocery store mush to professional-grade fermentation that maintains the perfect snap and maximum microbial diversity. It is not just about the salt; it is about the physics of the crock.
Most people think making sauerkraut is as simple as throwing salt on cabbage and waiting. While the ingredients are basic, the transformation is a complex biological dance. If you get the temperature wrong or the salt ratio off by even a fraction, you end up with a jar of grey, limp cabbage that lacks the vibrant tang of a true ferment. Professional-grade sauerkraut requires a marriage of old-world intuition and a solid understanding of atmospheric pressure and bacterial succession.
When you master this craft, you aren’t just making a condiment. You are cultivating a living ecosystem in a jar. This guide will walk you through the hard-earned wisdom of the cellar and the lab, ensuring every batch you pack is as crisp as the day the cabbage left the garden.
How To Make Crunchy Probiotic Sauerkraut
Sauerkraut is a traditional fermented food made from shredded cabbage and salt. Through a process called lacto-fermentation, the natural sugars in the cabbage are converted into lactic acid by beneficial bacteria already present on the leaves. This acid acts as a natural preservative, transforming the raw vegetable into a tangy, shelf-stable superfood packed with vitamins and live probiotics.
In the real world, this process was a survival necessity. Before refrigeration, fermenting a late-summer harvest was the only way to ensure access to Vitamin C and enzymes during the lean winter months. Today, we use it to restore gut health and add a sharp, sophisticated flavor to our meals. Think of sauerkraut not as a rotting vegetable, but as a “cured” one. Just as wood is seasoned or meat is aged, cabbage is transformed by salt and time into something more durable and nutritionally dense.
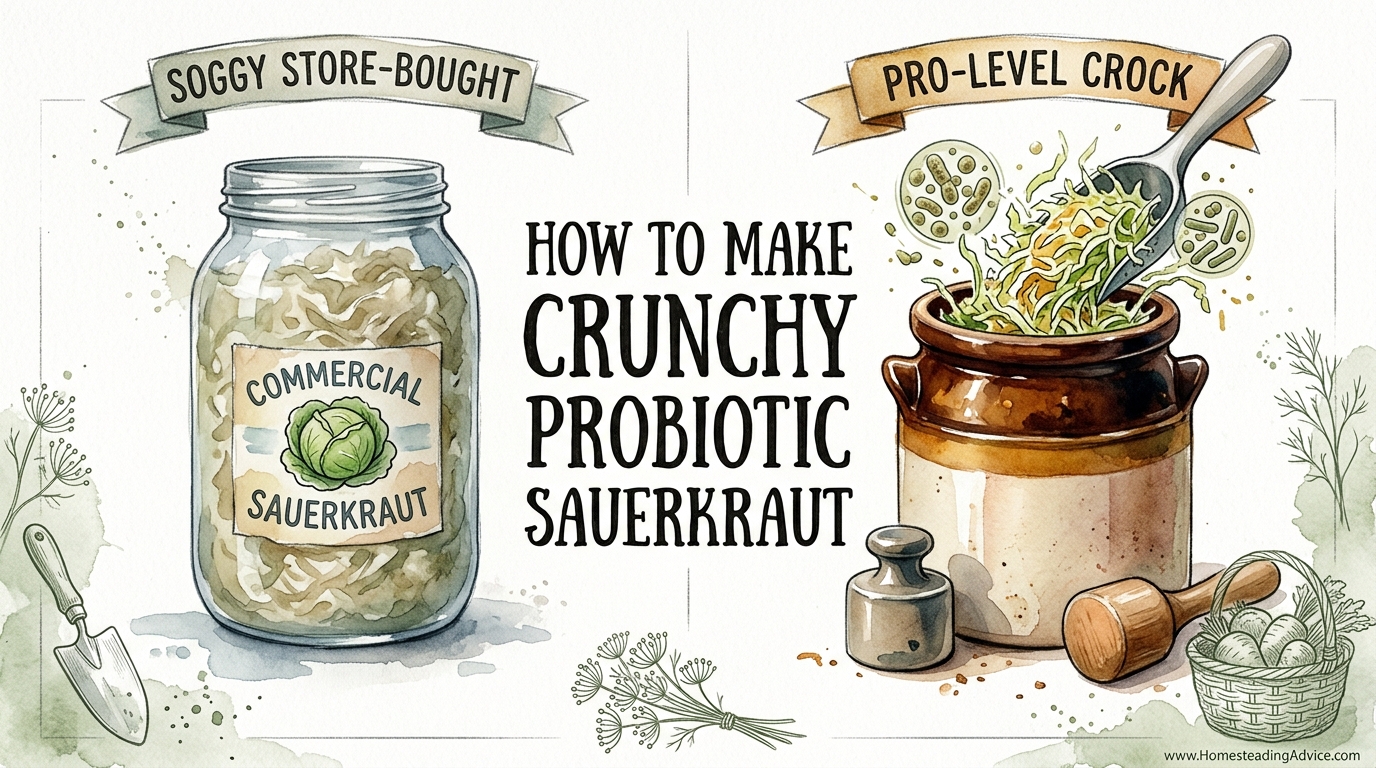
The difference between SOGGY STORE-BOUGHT and PRO-LEVEL CROCK kraut comes down to the environment. Store-bought versions are often pasteurized, which kills the beneficial bacteria and softens the cell walls of the cabbage. A pro-level ferment happens in a temperature-controlled environment where the cabbage remains submerged under its own brine, protected from oxygen. This anaerobic environment is the secret to a snap that lasts for months.
The Microbiology of the Snap
To understand why some kraut stays crunchy while others turn to mush, you have to understand the three stages of fermentation. These stages are driven by specific strains of lactic acid bacteria (LAB) that take turns dominating the environment.
Stage 1: The Pioneers (Leuconostoc mesenteroides)
As soon as you salt and pack your cabbage, Leuconostoc mesenteroides go to work. These are the smallest and fastest-moving bacteria in the jar. They thrive in moderate temperatures (18°C to 22°C / 64°F to 72°F) and begin producing carbon dioxide and acid almost immediately. This initial acid drop is what stops spoilage bacteria in their tracks. If this stage happens too slowly, your kraut will lose its color and texture before the preservation even begins.
Stage 2: The Workhorses (Lactobacillus plantarum)
Once the pH drops below a certain point, the pioneers die off and Lactobacillus plantarum takes over. This strain is the primary acid producer. It consumes the remaining sugars and creates the bulk of the lactic acid that gives sauerkraut its signature zing. This is also the stage where the crunch is most vulnerable. High temperatures during this phase (above 24°C / 75°F) cause these bacteria to work too fast, which can break down the pectins in the cabbage and result in a soft texture.
Stage 3: The Finishers (Lactobacillus brevis)
In the final weeks, Lactobacillus brevis steps in to finish the job. This strain rounds out the flavor profile and ensures the acidity is high enough for long-term storage. A fully fermented batch should reach a pH of 4.6 or lower to be considered shelf-stable in a cool cellar or refrigerator.
The Physics of the Crock: Why Design Matters
While a glass jar works for beginners, serious practitioners often graduate to a ceramic fermentation crock. The physics of a water-sealed crock provide several advantages that simply cannot be matched by a Mason jar.
- Thermal Mass: Heavy stoneware maintains a steady internal temperature, protecting the bacteria from the day-to-night fluctuations of a modern kitchen.
- Oxygen Exclusion: A water-seal crock uses a gutter filled with water. When the lid sits in this gutter, carbon dioxide can escape (the “burp”), but oxygen cannot enter. This absolute anaerobic environment prevents the growth of surface molds and yeasts.
- Pressure: Using heavy ceramic weights ensures the cabbage stays compressed. This pressure helps the salt extract moisture from the cell walls, creating a more robust brine and a firmer finished product.
Step-by-Step Process for Professional Results
Success starts with the math. You cannot guess the salt if you want consistent, crunchy results. Professional fermentation relies on the 2% Salt Rule. This means you need 20 grams of salt for every 1,000 grams of cabbage (or roughly 3.2 ounces of salt for every 10 pounds of cabbage).
1. Selection and Preparation
Choose dense, heavy heads of late-season cabbage. These have higher sugar content and firmer cell walls than early-season varieties. Remove the outer leaves and save one large leaf to use as a “topper.” Remove the core, then shred the cabbage to your desired thickness. A mandoline or a traditional kraut cutter provides the most uniform results.
2. The Salting Phase
Place your shredded cabbage in a large, non-reactive bowl. Add your weighed salt. Use high-quality sea salt or pickling salt. Avoid table salt that contains anti-caking agents, as these can make your brine cloudy and may inhibit bacterial growth. Massage the salt into the cabbage for 5 to 10 minutes until a pool of liquid (the brine) forms at the bottom of the bowl.
3. Packing the Vessel
Transfer the cabbage into your crock or jar one handful at a time. Use a wooden pounder or your fist to pack each layer tightly. You want to eliminate all air pockets. Once all the cabbage is in, pour the remaining brine from the bowl over the top. The cabbage must be submerged under at least 1 inch (2.5 cm) of liquid.
4. Weight and Seal
Place your saved cabbage leaf over the shredded kraut, then place your weights on top. If using a jar, you can use a glass weight or a smaller jar filled with water. If using a crock, use the ceramic stones provided. Seal the vessel. If you are using a water-seal crock, fill the gutter with water. If using a jar, apply a fermentation lid or an airlock.
5. Temperature and Timing
Place the vessel in a cool, dark spot. The optimal temperature for the “perfect snap” is 18°C (64°F). At this temperature, fermentation will take 5 to 6 weeks. If your house is warmer (21°C to 24°C / 70°F to 75°F), it will be ready in 3 to 4 weeks, but the texture may be slightly softer.
| Temperature | Fermentation Time | Expected Texture |
|---|---|---|
| 16°C – 18°C (60°F – 65°F) | 5 – 8 Weeks | Maximum Crunch, Complex Flavor |
| 20°C – 22°C (68°F – 72°F) | 3 – 4 Weeks | Standard Texture, Tangy |
| Above 24°C (75°F) | 2 Weeks or Less | Soft/Mushy, Potential Spoilage |
Benefits of Pro-Level Sauerkraut
Choosing to ferment in a dedicated crock rather than buying pasteurized jars offers measurable health and culinary advantages.
- Microbial Diversity: Raw, home-fermented sauerkraut contains a wider variety of probiotic strains than commercial versions, which are often limited to a few hardy laboratory strains.
- Bioavailable Nutrients: The fermentation process increases the levels of B vitamins and makes minerals like iron and magnesium easier for your body to absorb.
- Zero Additives: You have total control over the ingredients. There are no preservatives, sugar, or vinegar—just cabbage, salt, and the air around you.
- Shelf Stability: A properly fermented batch can last for 6 to 12 months in a refrigerator or cold cellar without losing its nutritional value.
Challenges and Common Mistakes
Even experienced fermenters run into trouble. Most issues can be traced back to three factors: oxygen, temperature, and salt ratio.
The “Soggy Cabbage” Syndrome: This usually happens because the temperature was too high. When the environment is too warm, enzymes called pectinases break down the cell walls of the cabbage before the acid can preserve them. If your kitchen is consistently above 24°C (75°F), try fermenting in a basement or a cooler corner of the house.
Kahm Yeast vs. Mold: If you see a white, wavy, translucent film on the surface of your brine, it is likely Kahm yeast. It is harmless but can make the kraut taste “yeasty.” Simply scrape it off. However, if you see fuzzy growth that is green, black, or pink, that is mold. Mold is a sign that oxygen reached the cabbage. If mold is present, the safest path is to discard the batch.
The Disappearing Brine: Sometimes the cabbage “drinks” the brine. This happens when the cabbage was not packed tightly enough or was older and drier. If the top of the cabbage is exposed, you must add more brine. Mix 1 tablespoon of salt into 1 quart of filtered water (15g salt per 1 liter of water) and top it off until the cabbage is submerged again.
Limitations and Realistic Expectations
While home fermentation is a powerful tool, it does have boundaries. It is not a “set it and forget it” process for beginners. You must check the water seal in a crock weekly to ensure it hasn’t evaporated. If you are using Mason jars, you may need to “burp” them daily to prevent pressure buildup and potential explosions.
Environmental factors like humidity and local yeast populations can also influence the flavor. Your kraut will never taste exactly like a commercial brand because it is a product of your specific home environment. This “terroir” is a strength, but it means you must be comfortable with slight variations from batch to batch.
Furthermore, individuals with histamine intolerance should be cautious. Fermented foods are naturally high in histamines, which can cause reactions in sensitive people. Always start with a small amount—a teaspoon a day—to see how your body adjusts to the high probiotic load.
Practical Tips for a Better Crunch
If you are struggling to keep your sauerkraut crunchy, there are a few “old-timer” tricks that can save a batch.
- Add Tannins: Tannins are natural compounds that inhibit the enzymes responsible for softening vegetables. Placing a clean grape leaf, oak leaf, or even a pinch of black tea at the top of your crock can help maintain the snap.
- Use Core-In Shredding: While most recipes tell you to discard the core, it is the densest part of the cabbage. Finely shredding a portion of the core into your mix adds extra structural integrity to the ferment.
- Cold Crashing: Once your kraut has reached the desired acidity, move it to the refrigerator immediately. The cold temperature stops the enzymatic breakdown and locks in the texture.
- Monitor the pH: For about $10, you can buy pH strips. A finished kraut should be between 3.5 and 4.5. If it stays above 4.6, it is not acidic enough to stay crunchy or safe for long-term storage.
Advanced Considerations for Serious Practitioners
For those who want to push the boundaries of fermentation, consider experimenting with “wild” vs. “starter” cultures. While cabbage has enough natural bacteria to ferment on its own, some practitioners use a small amount of brine from a previous successful batch (backslopping) to jumpstart the process. This can ensure a faster drop in pH, which is helpful in warmer climates.
You can also experiment with seasonal additions. Caraway seeds are traditional, but juniper berries, ginger, or even thinly sliced apples can change the microbial environment and the final flavor. Just remember that adding high-sugar fruits like apples will speed up the fermentation and may require a slightly higher salt percentage (up to 2.5%) to maintain the crunch.
Example Calculation: The 2% Standard
Let’s look at a realistic scenario for a medium-sized batch using a 5-liter (approx. 5-quart) crock.
A typical 5-liter crock will hold about 4 to 5 kilograms (approx. 9 to 11 pounds) of cabbage.
- Cabbage Weight: 4.5 kg (4500 grams)
- Required Salt (2%): 4500 x 0.02 = 90 grams of salt
- Imperial Conversion: 90 grams is roughly 3.2 ounces or 6 tablespoons of fine sea salt.
By following this weight-based approach rather than measuring by volume (cups/spoons), you ensure that your salt levels are high enough to inhibit spoilage but low enough to allow the probiotics to thrive.
Final Thoughts
The transition from store-bought mush to a professional-grade ferment is one of the most rewarding steps you can take in your journey toward self-reliance. Mastering the physics of the crock and the biology of the brine allows you to preserve the season’s best harvest with confidence. It is a skill that relies on patience and precision, but the result—a jar of vibrant, crunchy, living food—is worth every week of waiting.
Do not be discouraged if your first batch isn’t perfect. Fermentation is a conversation with the invisible world of microbes. Each jar you pack is an opportunity to learn the nuances of your kitchen’s temperature and the character of your local produce. Stick to the 2% salt rule, keep your cabbage submerged, and let time do the heavy lifting.
As you become more comfortable with the process, you may find yourself looking at other vegetables through the lens of the crock. The same principles that make a world-class sauerkraut can be applied to carrots, radishes, and even sturdy greens. Start with the crunch, and let the microbial diversity follow.