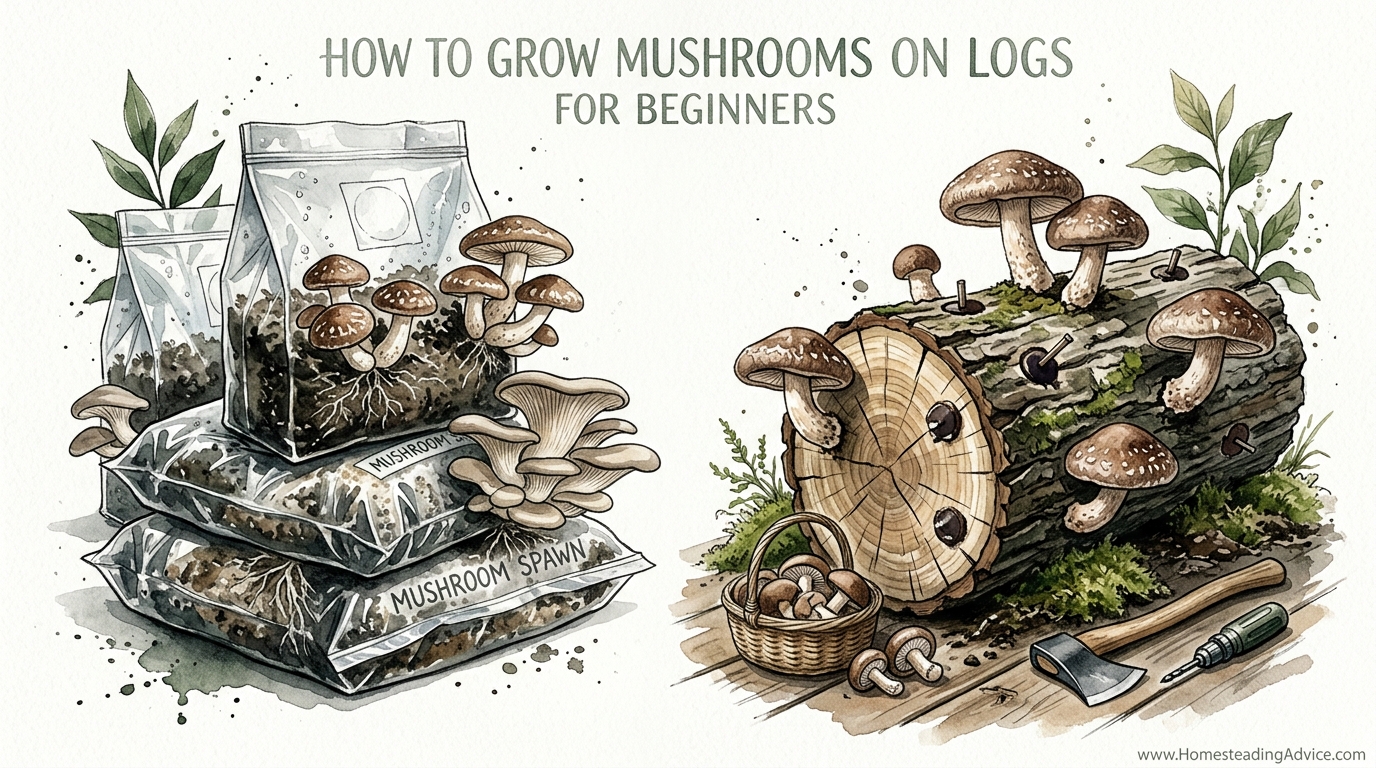
We traded a decade of harvests for a two-week plastic bag – it’s time to return to the legacy of the mushroom log. Modern mushroom kits are convenient, but they are a ‘one and done’ solution that ends up in a landfill. In the past, a single inoculated log would provide gourmet harvests for over ten years. Learn how to reclaim this low-maintenance, long-term abundance in your own backyard.
Patience is a forgotten skill in the modern kitchen. We have become accustomed to the instant gratification of supermarket produce and pre-packaged grow kits that fruit once and then perish. While these kits offer a glimpse into the world of mycology, they fail to provide the deep resilience and massive yields found in traditional wood-culture. Moving away from plastic-wrapped substrates and toward the solid weight of hardwood is a move toward true self-reliance.
Every tree is a dense battery of stored solar energy and nutrients. When we inoculate a log, we are simply inviting a specific fungus to unlock that energy for us over several seasons. This process mimics the natural cycle of the forest floor but gives us the control to ensure the harvest is delicious, safe, and plentiful. You do not need a laboratory or expensive climate-control systems to succeed; you only need a shady corner of your yard and a basic understanding of the fungal lifecycle.
Working with logs connects you to a lineage of growers who understood that food security is measured in years, not days. A well-managed mushroom yard becomes a permanent fixture of the homestead, producing flushes of Shiitake, Oyster, or Lion’s Mane mushrooms every time the rains come. This guide will walk you through every nuance of the process, from selecting the right timber to the final harvest a decade from now.
How To Grow Mushrooms On Logs For Beginners
Growing mushrooms on logs is the practice of “seeding” fresh-cut timber with fungal mycelium. Unlike plants that grow from seeds in the soil, mushrooms are the fruiting bodies of a massive underground or internal network called mycelium. In the wild, these fungi are the primary decomposers of the forest, breaking down tough cellulose and lignin in wood to return nutrients to the earth. We use this natural appetite to grow high-quality protein and medicinal compounds right at home.
Beginners often feel intimidated by the “invisible” nature of fungi, but the concept is straightforward. Think of the log as a long-term pantry. You drill holes into the wood, fill them with “spawn” (mycelium grown on wooden plugs or sawdust), and seal those holes with wax to protect the fungus from drying out or being eaten by competitors. Once the fungus “colonizes” the wood, it will wait for the right environmental triggers—usually a drop in temperature and an increase in moisture—to produce mushrooms.
This method is used globally in temperate climates where hardwood trees are abundant. In Japan, the term Shiitake literally means “mushroom of the Shii tree,” reflecting a thousand-year history of log cultivation. Today, home gardeners and small-scale farmers use this method to turn “waste” wood from woodlot thinning or storm damage into a high-value food crop. It is the ultimate form of upcycling, requiring almost no electricity and very little manual labor after the initial setup.
Understanding the Fungal Lifecycle in Wood
Fungi do not photosynthesize like plants. They must digest their food externally by secreting enzymes that break down the complex bonds of the wood. When you first inoculate a log, the mycelium is in a race against time and wild “contaminant” fungi. Your goal is to give your chosen species a head start so it can claim the entire log as its territory. Once it has fully occupied the wood, the log becomes a fortress, resistant to other molds and ready to fruit for years.
Choosing the Foundation: The Wood Database
The success of your mushroom project begins long before you touch a drill. The type of wood you choose determines which mushrooms will grow and how long the log will last. High-density hardwoods like Oak (Quercus) are the gold standard because they contain high amounts of nutrients and have thick bark that stays attached for years. Softwoods, such as Pine or Cedar, should generally be avoided because their resins and anti-fungal properties actively kill mushroom mycelium.
Freshness is non-negotiable. You must use logs from healthy, living trees that have been cut within the last two to six weeks. If a log has been sitting on the ground for months, it is likely already inhabited by wild fungi that will fight your “domesticated” mushrooms. Ideally, you should fell your trees during the dormant season—late autumn to early spring—when the sap is down and the sugar content in the wood is at its peak. This timing also ensures the bark is tightly adhered to the wood, which is crucial for maintaining moisture.
Target logs that are approximately 4 to 8 inches (10 to 20 cm) in diameter. Logs thinner than 3 inches (7.5 cm) dry out too quickly and won’t yield for more than a year or two. Logs thicker than 10 inches (25 cm) are extremely heavy and take a long time for the mycelium to fully colonize. Standard lengths are usually 36 to 48 inches (90 to 120 cm), making them easy to handle and stack.
| Tree Species | Best Mushrooms to Grow | Longevity Expectancy | Ease of Use |
|---|---|---|---|
| Oak (White/Red) | Shiitake, Reishi, Lion’s Mane | 6–10 Years | High (The Standard) |
| Sugar Maple | Shiitake, Oyster, Lion’s Mane | 4–6 Years | High |
| Beech | Lion’s Mane, Oyster | 5–7 Years | Medium |
| Birch / Poplar | Oyster, Nameko | 2–4 Years | Easy (Fast Fruiting) |
| Alder | Shiitake, Oyster | 3–5 Years | Easy |
| Fruit Woods (Apple/Cherry) | Shiitake, Oyster | 3–5 Years | Medium |
Specific Wood Considerations
Avoid trees like Black Locust, Black Walnut, and Elm. Black Locust is virtually rot-resistant, meaning even mushrooms have a hard time breaking it down. Walnut contains juglone, a chemical that inhibits many types of growth. Elm has “stringy” bark that tends to peel off in large sheets once the log begins to decompose, leaving the mycelium exposed to the elements. Stick to the “sweet” hardwoods like Oak and Maple for your first few batches.
Selecting Your Mushroom Species
Not all mushrooms eat the same way. Some are aggressive and will grow on almost anything, while others are picky eaters that require specific wood types. When selecting your spawn, consider your local climate. Mushrooms are highly seasonal; some prefer the cool “shock” of autumn, while others fruit during the humid heat of summer.
Shiitake (Lentinula edodes)
The undisputed king of log cultivation. Shiitake is reliable, produces heavy yields, and has a firm texture that stores well. It thrives on Oak and Maple. Depending on the strain you choose, you can get “Wide Range” types that fruit throughout the growing season or “Cold Weather” types that fruit only in early spring and late fall. A 4-inch (10 cm) diameter Shiitake log will typically produce for 4 to 6 years, yielding several pounds of mushrooms per year.
Oyster Mushrooms (Pleurotus ostreatus)
These are the speedsters of the fungal world. Oysters are incredibly aggressive and will often fruit within 6 months of inoculation. They prefer “softer” hardwoods like Poplar, Aspen, or Birch. While they are easy to grow, the logs tend to decompose faster because the fungus is so efficient at eating the wood. Expect a harvest lifespan of 2 to 4 years. Note that Oysters are prone to insect damage, so daily harvesting is required during a flush.
Lion’s Mane (Hericium erinaceus)
Known for its icicle-like appearance and seafood-like flavor, Lion’s Mane is a favorite for both gourmet cooking and medicinal use. It grows best on Beech or Oak. This species takes a bit longer to “run” through the log—often 12 to 18 months—but once established, it provides consistent flushes. It is a slow and steady grower that rewards the patient gardener.
Step-By-Step: The Inoculation Process
Inoculation is the process of introducing the mushroom spawn into the log. It is a mechanical task that requires precision but no specialized scientific equipment. You will need a drill, a specialized mushroom drill bit (usually 8.5mm or 12.5mm depending on your spawn type), mushroom spawn, a hammer or inoculator tool, and food-grade wax.
1. Drilling the Holes
Drill holes 1 inch (2.5 cm) deep into the log. Space the holes 4 to 6 inches (10 to 15 cm) apart along the length of the log. For the next row, rotate the log about 2 inches (5 cm) and offset the holes so they form a diamond pattern with the first row. This pattern ensures the mycelium spreads evenly throughout the sapwood, meeting in the middle to claim the territory quickly. A standard 4-foot (120 cm) log will require about 40 to 60 holes.
2. Filling the Holes (Inoculation)
There are two main types of spawn: Plug Spawn and Sawdust Spawn. Plug spawn consists of small wooden dowels already covered in mycelium; you simply tap them into the holes with a hammer. Sawdust spawn is a loose mixture of mycelium and sawdust; you use a spring-loaded “palm inoculator” tool to pack it into the holes. Sawdust is cheaper for large-scale projects and colonizes slightly faster, but plugs are simpler for absolute beginners and require no special tools.
3. Sealing with Wax
This is the most critical step. Every inoculation site must be sealed with hot wax to lock in moisture and keep out “weed” fungi and insects. Use cheese wax, beeswax, or paraffin. Melt the wax in a double boiler or a small electric crockpot. Use a brush or a dauber to apply a thick layer over each hole. You should also wax the ends of the logs if you live in a particularly dry climate to prevent moisture from escaping through the cut grain.
Do not use a direct flame to melt your wax, as it is highly flammable. Maintain a temperature where the wax is liquid but not smoking. A properly sealed log will feel heavy and “tight,” keeping the internal environment perfect for the fungus to thrive.
The Incubation Phase: Mastery of the Laying Yard
After inoculation, the logs enter the “spawn run” or incubation phase. During this time, the mycelium is silently eating its way through the wood. This period lasts anywhere from 6 to 18 months, depending on the mushroom species and the wood density. Your primary job during this phase is to find the right location and stack the logs correctly.
The ideal location is called a Laying Yard. This should be a shady spot that receives no direct afternoon sun. The north side of a building, under a dense evergreen canopy, or beneath a shade cloth structure works perfectly. The goal is to keep the logs at 35% to 45% moisture content. If the bark feels bone-dry and brittle, the mycelium inside may go dormant or die. If you experience more than two weeks without rain, give your logs a deep soak with a garden sprinkler for several hours.
Stacking Configurations for Different Goals
How you stack your logs affects airflow and moisture retention. Choosing the right stack for your climate is essential for success.
- Crib Stack (Lincoln Log Style): This is the best for saving space. Logs are stacked in alternating layers like a cabin. It retains high moisture but has lower airflow. Use this if you live in a dry climate.
- Lean-To Stack: One end of the log rests on the ground (or a support pole), and the other is elevated. This is excellent for easy harvesting and good airflow. It mimics how logs often fall in nature.
- A-Frame Stack: Logs are leaned against a horizontal wire or pole from both sides. This is the professional standard for Shiitake growers, allowing for maximum access to every log.
- Totem Method: For very large diameter logs (over 10 inches), you can cut them into “rounds” and stack them vertically like a totem pole with layers of sawdust spawn in between. This is the preferred method for Oyster mushrooms on large stumps.
Forcing the Flush: The Science of the Soak
While logs will fruit naturally following seasonal rains, most growers prefer to “force” their logs to fruit on a schedule. This is common with Shiitake. Once the log is fully colonized—identifiable by white mycelium visible on the cut ends—you can trigger a harvest by “shocking” the log.
Submerge the logs in a tank of cold water for 24 to 48 hours. The cold temperature mimics the arrival of spring or autumn, and the sudden influx of water provides the hydration needed to build the actual mushrooms (which are roughly 90% water). After soaking, remove the logs and lean them up. Within 7 to 10 days, you will see small “pins” or primordia pushing through the bark. A few days later, you will have a full harvest.
After a forced flush, the log needs a rest period of 6 to 8 weeks. During this time, the mycelium must regain its strength and eat more wood to prepare for the next crop. Do not attempt to force-fruit a log more than three times in a single growing season, as this will prematurely exhaust the nutrients and shorten the log’s 10-year lifespan.
Benefits of Log Cultivation
Choosing logs over plastic grow bags offers several practical advantages for the home grower and the environment.
- Incredible Longevity: A single afternoon of work can provide a decade of food. The rule of thumb is one year of harvest for every inch of log diameter.
- Superior Flavor and Nutrition: Log-grown mushrooms are exposed to natural day/night cycles and various weather conditions, which often results in a higher vitamin D content and a much richer, more “meaty” flavor compared to indoor-grown counterparts.
- Sustainability: You are using a renewable resource (wood) and producing zero plastic waste. Once the log is spent, it can be added to your garden as high-quality compost or mulch.
- Low Maintenance: Once the logs are in their laying yard, they require very little attention. Nature does the heavy lifting of watering and temperature control.
- Resilience: If you lose power or can’t tend to your garden for a week, your logs won’t die. They are a hardy, outdoor system designed to survive the elements.
Challenges and Common Mistakes
While the process is simple, it is not foolproof. Most failures come from a lack of attention to the “living” nature of the wood.
Common Mistake: Using Old Wood. If you find a log in the woods that looks “perfect,” it’s already occupied. Using wood that has been dead for more than six months usually results in total failure because the wild fungi have already claimed the nutrients. Always use fresh-cut wood from live trees.
Challenge: Moisture Management. The biggest killer of mushroom logs is drying out. If the bark peels off, the log is essentially dead, as the bark is the “skin” that protects the mycelium. Beginners often forget to water during summer droughts. If you can’t push a fingernail into the cut end of the log and feel moisture, it is too dry.
Contamination: Trichoderma (Green Mold). You may see patches of bright green mold on the bark. This is usually caused by too much humidity and not enough airflow (common in tight crib stacks). In most cases, the mushroom mycelium inside the log is safe, but the green mold can compete for the fruiting surface. Increase airflow to solve this.
Limitations of Log Cultivation
It is important to understand where this method might not be the best fit. Log cultivation is a long game. If you need mushrooms for a dinner party next week, this is not the solution for you. It requires a significant “lead time” (6–12 months) before the first harvest appears.
Log growing also requires a specific environment. If you live in a high-rise apartment with no outdoor space, you cannot grow logs. While some people try to keep logs in basements, the lack of natural humidity fluctuations and airflow usually leads to poor results or mold issues. This method is best suited for those with a backyard, woodlot, or shady patio. Furthermore, the physical labor of moving 40-pound (18 kg) logs is not for everyone. You will be lifting, soaking, and stacking heavy objects repeatedly.
Logs vs. Plastic Grow Bags: The Reality
Modern commercial farming relies on “Substrate Bags”—plastic bags filled with sterilized sawdust and bran. This method is incredibly efficient for producing a lot of mushrooms quickly, but it has a high environmental and financial cost for the hobbyist.
| Factor | Mushroom Logs | Plastic Grow Bags (Kits) |
|---|---|---|
| Harvest Lifespan | 4–10 Years | 2–4 Weeks |
| Initial Cost | Low (Mostly your labor + spawn) | Moderate ($30–$50 per kit) |
| Environmental Impact | Carbon Sequestration / Compostable | High Plastic Waste / Energy Intensive |
| Time to First Harvest | 6–18 Months | 10–21 Days |
| Skill Level | Intermediate (Requires patience) | Beginner (Just add water) |
| Flavor Profile | Robust, Intense, Meaty | Standard, Consistent |
Practical Tips for Success
To maximize your yields and ensure your logs last as long as possible, follow these professional best practices.
- Keep Logs Off the Ground: Never let your inoculated logs sit directly on the soil for long periods. Soil contains thousands of competing fungi and bacteria that will rot the log from the bottom up. Use “sacrificial” untreated 2x4s or un-inoculated logs as a base for your stacks.
- Tag Your Logs: Use aluminum tags or permanent markers on the wax to record the date of inoculation and the mushroom species. After three years, it’s easy to forget which log is which.
- Manage the Canopy: If you use a shade cloth, ensure it is a “70% to 80% shade” variety. If using natural shade, remember that deciduous trees lose their leaves in winter, exposing your logs to the drying winter sun. You may need to move them or cover them with evergreen boughs during the off-season.
- Watch the Wildlife: Slugs and snails love mushrooms as much as you do. If you notice bite marks on your pins, you may need to move the logs onto a gravel bed or use copper tape around the supports of your stacking rack.
Advanced Considerations: Totems and Stumps
Once you have mastered the basic “Drill and Fill” method, you can experiment with more advanced techniques. The Totem Method is fantastic for utilizing the large, heavy base of a tree that is too big to move. You cut the trunk into 12-inch (30 cm) slices, sandwich a thick layer of sawdust spawn between them, and stack them back up. Wrap the stack in a large paper or compostable bag for the first few months to keep the humidity high.
You can also inoculate Stumps in your yard. If you have recently cut down a hardwood tree, don’t grind the stump. Instead, drill holes into the top and sides and inoculate it with Oyster or Reishi spawn. The mycelium will slowly digest the stump and roots, turning a landscaping eyesore into a perennial mushroom producer. This is a “set it and forget it” method that can take 2 years to start but will fruit for a decade until the stump is gone.
Example Scenario: The Backyard Shiitake Yard
Imagine you have a small shaded area behind your garage. You source five Oak logs, each 4 feet long and 5 inches in diameter, from a local tree service for free. You spend $26 on a bag of Shiitake sawdust spawn and $15 on wax. After one afternoon of drilling and waxing, you stack them in a lean-to configuration.
For the first year, you simply spray them with a hose during dry weeks. In the second spring, after a heavy rain, you find your first cluster. By the third year, you are soaking the logs every two months from June to September. Each soak yields 1 to 2 pounds (0.5 to 1 kg) of fresh Shiitakes per log. Over the 5-year peak life of those five logs, you harvest nearly 50 pounds (23 kg) of gourmet mushrooms—all from a one-time investment of $41 and a single afternoon of work.
Final Thoughts
Returning to the log is an act of defiance against the “throwaway” culture of modern food. It is a commitment to the rhythms of the seasons and the slow, steady work of the natural world. While plastic bags and sterile labs have their place in commercial production, they cannot replicate the deep satisfaction of seeing a massive flush of mushrooms erupting from a log you prepared years ago.
Start small with just two or three logs of a reliable species like Shiitake. Focus on getting the wood selection right and ensuring a solid seal with your wax. Once you see the first white threads of mycelium claiming the wood, the “invisible” world of fungi will become a tangible, exciting part of your gardening life. You are not just growing food; you are stewarding a miniature ecosystem that will feed you for years to come.
Experiment with different wood types and species as you gain confidence. Every region has its own “perfect” combination of timber and fungi. By reclaiming this ancestral wisdom, you ensure that your backyard is not just a patch of grass, but a perennial source of gourmet abundance and a testament to the legacy of the mushroom log.