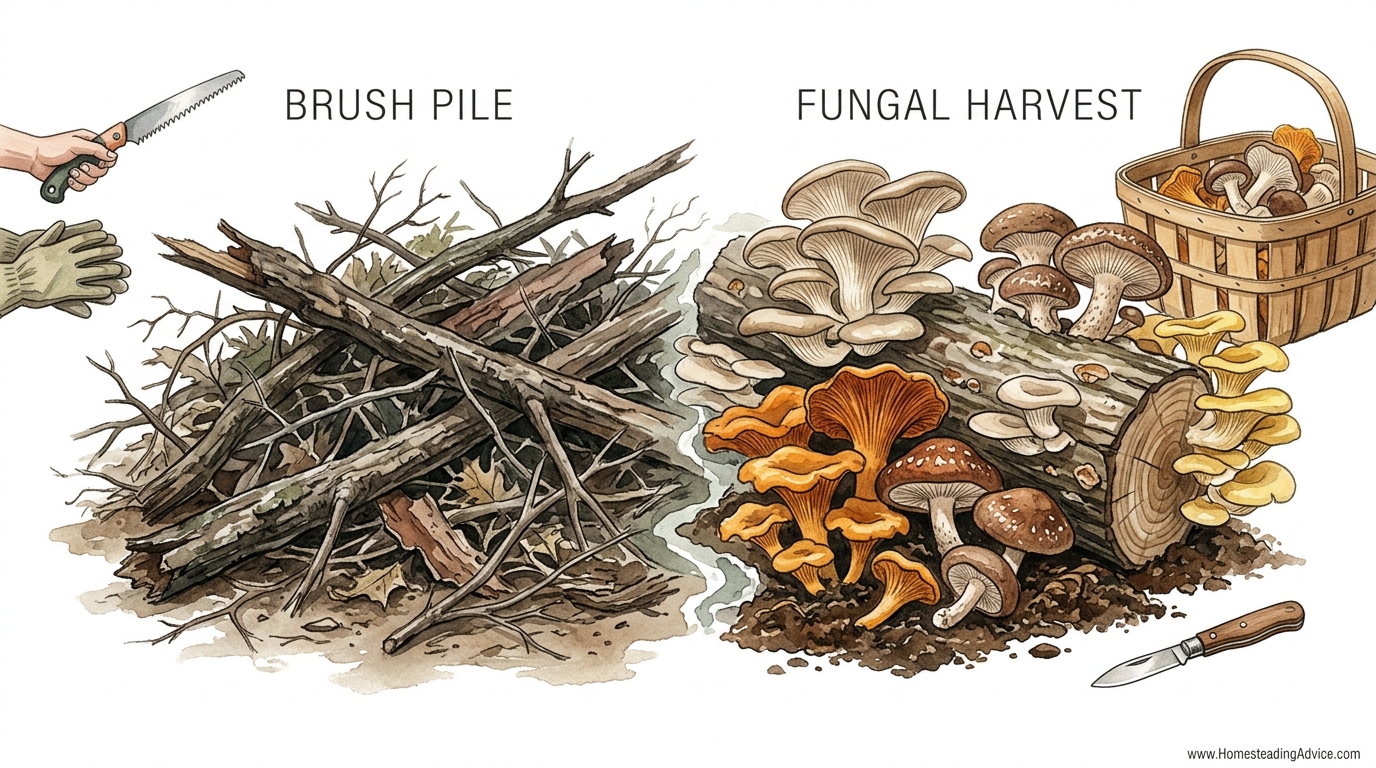
That pile of debris in your backyard isn’t a chore; it’s the secret substrate for a $50-a-pound organic harvest. Most homeowners see a fallen branch as a nuisance to be hauled away or burned. A smart grower sees a nitrogen-rich medium capable of producing pounds of gourmet food for zero dollars. Here is how to flip the script on your yard waste.
Growing mushrooms at home is less about labor and more about understanding the rhythms of the forest floor. You are essentially acting as a matchmaker between a fungal strain and the perfect piece of timber. Once the connection is made, the mycelium does the heavy lifting, turning cellulose and lignin into nutrient-dense protein.
This guide walks you through the transition from being a yard-maintenance worker to a backyard mycologist. We will cover the specific wood types required, the mechanics of inoculation, and the simple maintenance required to keep your harvest fruiting for years.
Turning Fallen Branches Into Gourmet Mushroom Beds
Turning fallen branches into mushroom beds is the practice of intentional inoculation, where you introduce specific fungal spores or mycelium into fresh wood. In the wild, fungi are the primary recyclers of the forest, breaking down dead material to create soil. By taking control of this process, you ensure that the “recycler” in your yard is a delicious Oyster or Shiitake rather than a random, inedible bracket fungus.
This method thrives on the use of “bolts”—logs cut to a manageable size, typically 3 to 4 feet (90 to 120 cm) in length and 4 to 6 inches (10 to 15 cm) in diameter. These dimensions are ideal because they are easy to move but large enough to hold moisture for several seasons of fruiting. Smaller twigs and brush are better suited for wood chip beds, where species like Wine Caps turn mulch into a fungal carpet.
Real-world application of this technique is a cornerstone of permaculture. Instead of exporting nutrients from your land via a trash pickup, you keep that carbon on-site. The result is a self-sustaining food source that requires no tilling, no weeding, and very little space.
The Foundation: Selecting the Right Wood
Not all wood is created equal in the eyes of a mushroom. Success begins with a live or very recently felled tree. Wood that has been sitting on the ground for months is already being claimed by “wild” fungi, which will compete with your gourmet strains and likely win.
Hardwoods are the gold standard for most gourmet species. Oak and Sugar Maple are the heavyweights of the mushroom world, providing dense nutrition that can support a Shiitake log for five to seven years. Softer hardwoods like Poplar, Birch, and Willow are excellent for Oyster mushrooms, which grow faster but exhaust the wood’s nutrients more quickly.
| Mushroom Species | Preferred Wood Type | Compatibility Level |
|---|---|---|
| Shiitake (Lentinula edodes) | Oak, Sugar Maple, Sweetgum | Excellent |
| Oyster (Pleurotus ostreatus) | Poplar, Aspen, Willow, Cottonwood | Excellent | Lion’s Mane (Hericium erinaceus) | Beech, Sugar Maple, Black Walnut | Good |
| Wine Cap (Stropharia rugosoannulata) | Hardwood Chips, Straw, Shredded Brush | Excellent |
Avoid most conifers like Pine, Cedar, and Spruce unless you are specifically growing Hemlock Reishi. The resins and oils in evergreens act as natural fungicides, preventing your mycelium from taking hold. Always aim to inoculate your logs within three weeks of cutting the tree to ensure the moisture content is still around 40-50%.
How to Inoculate: Three Proven Methods
The act of “planting” your mushrooms is called inoculation. There are several ways to do this depending on the tools you have and the type of wood waste available. Each method aims to get the mycelium deep into the wood where it can stay protected and hydrated.
The Drill and Plug Method
This is the most common technique for long-term log production. You will need “plug spawn,” which are small wooden dowels colonized by mushroom mycelium. Start by drilling holes about 1.25 inches (3.2 cm) deep using a 5/16-inch (8.5 mm) drill bit. Space the holes 4 to 6 inches (10 to 15 cm) apart along the length of the log.
Arrange your holes in a “diamond pattern” by staggering the rows about 2 to 3 inches (5 to 8 cm) apart. This ensures the mycelium spreads evenly through the sapwood. After hammering the plugs into the holes, seal each one with food-grade beeswax or soy wax. This prevents the logs from drying out and keeps “competitor” fungi from moving in.
The Totem Method
The totem method is ideal for larger-diameter logs (8 inches / 20 cm or wider) that are too heavy for the drill-and-fill style. Cut a large log into “rounds” or “cookies.” Place a handful of sawdust spawn on a piece of cardboard or a plastic bag on the ground, then set the first log segment on top.
Layer more spawn on top of that segment, then stack the next piece like a pillar. Secure the stack with a long screw or a piece of wire and cap the top with a “cookie” of wood to protect the spawn. Wrap the entire stack in a large paper or plastic bag for the first few months to maintain high humidity during the initial colonization phase.
The Wood Chip Bed (Garden Giant)
If you have a pile of fresh wood chips or shredded brush, the Wine Cap mushroom (also known as the Garden Giant) is your best friend. Unlike logs that stay above ground, these mushrooms are grown in a bed. Simply clear a patch of ground in a shaded area and layer fresh hardwood chips with “spawn” in a lasagna fashion.
Aim for a total depth of about 6 inches (15 cm). These beds need to be kept moist, similar to a vegetable garden. Wine Caps are aggressive and will often fruit within the same season, turning your garden mulch into massive, delicious mushrooms that can grow to the size of a dinner plate.
Benefits of the Backyard Mushroom Bed
Backyard mushroom farming provides a level of self-reliance that few other garden crops can match. Once the logs are inoculated, they require almost zero caloric input from the grower. You aren’t buying fertilizer or spending hours weeding; you are simply waiting for the natural decomposition process to manifest as food.
Soil health is another major beneficiary. As the mushrooms break down the wood, they release nutrients into the surrounding earth. Mycelium acts as a “biological glue,” helping to bind soil particles together, which improves water retention and aeration for nearby plants.
Economically, the value is undeniable. A single 5-pound (2.2 kg) bag of spawn costs roughly $25 to $35 and can inoculate up to 20 logs. Given that each log can produce several pounds of mushrooms per year for half a decade, the return on investment far exceeds that of almost any other backyard crop.
Challenges and Common Mistakes
The biggest hurdle for beginners is patience. Fungi operate on a different timeline than vegetables. A Shiitake log may take 6 to 12 months to “run” (fully colonize) before you see a single mushroom. Many growers assume the project has failed and discard the logs just as the mycelium is reaching the finish line.
Moisture management is the second most common pitfall. If your logs sit in a windy, sunny spot, they will dry out, killing the mycelium. You should keep your logs in “full shade,” ideally under the canopy of evergreens or on the north side of a building. If you experience a drought longer than two weeks, a heavy soaking with a garden hose is necessary to keep the core of the wood hydrated.
Contamination is a risk if you use old wood. If you see “turkey tail” or other wild mushrooms already growing on the bark before you start, that log is likely a lost cause. Always start with fresh, healthy wood from live trees to give your chosen strain the best head start.
Limitations: When This Method May Not Work
Environmental constraints play a huge role in success. If you live in an extremely arid climate with low humidity, log cultivation becomes significantly more difficult. You might find yourself having to “drown” your logs in a stock tank every few weeks just to keep them alive, which may not be a sustainable use of water.
Space and shade are also requirements. If your yard is a wide-open, sun-drenched field, you will need to create artificial shade using 80% shade cloth or a lean-to structure. Without the cooling effect of shade, the logs will heat up to temperatures that can be lethal to the mycelium.
Finally, log diameter matters. While you can technically inoculate a 2-inch (5 cm) branch, it will likely dry out before it can fruit. Conversely, logs over 10 inches (25 cm) in diameter take a very long time to colonize. Sticking to the “sweet spot” of 4 to 6 inches (10 to 15 cm) ensures a balance of longevity and speed.
Practical Tips for Best Results
Optimizing your harvest involves a few “pioneer” tricks. For example, once your Shiitake logs are fully colonized (usually evidenced by white mycelium visible on the ends of the log), you can “force” them to fruit. Submerge the log in cold water for 24 hours. This temperature shock mimics a spring rain and signals the fungus to produce mushrooms within 7 to 10 days.
Always use food-grade wax. Avoid paraffin waxes that may contain petroleum byproducts. Beeswax is a traditional and effective choice that won’t leach chemicals into your food. A small “crockpot” or wax melter is an invaluable tool for keeping the wax at a consistent temperature during a long inoculation session.
Keep your logs off the direct ground if possible. Resting logs on a pallet or a “low-stack” configuration (crisscrossed like a cabin) allows for better airflow and prevents “ground-dwelling” fungi from jumping onto your logs. However, for Oysters and Lion’s Mane, some growers prefer the “totem” style where the bottom log is in contact with a damp surface to pull up moisture.
Advanced Considerations: Scaling and Mycelial Expansion
Serious practitioners often move beyond buying spawn and begin “expanding” their own. If you have a particularly productive Wine Cap bed, you can take a few shovelfuls of the colonized wood chips (which will be matted together with white, thread-like mycelium) and use them to start a new bed elsewhere. This “mycelial leapfrog” allows you to cover vast areas of your property for free.
Integrating mushrooms with livestock can also be a game-changer. Some growers place mushroom logs in the shade of poultry runs. The chickens benefit from the shade and the occasional insect attracted to the logs, while the logs benefit from the humid, sheltered environment. Just ensure the mushrooms are harvested before the birds get curious.
Temperature-specific strains allow for year-round planning. You can select “wide-range” Shiitake strains that fruit in both spring and fall, or “cold-weather” Oysters that pop up even after a light frost. By diversifying your strains, you can ensure a steady supply of food across multiple seasons.
Example Scenario: The 10-Log Backyard Setup
Imagine you have a medium-sized Oak tree fall during a winter storm. You cut ten “bolts” that are 4 feet (120 cm) long and 5 inches (12.5 cm) thick. You spend one Saturday afternoon drilling and plugging these logs with Shiitake spawn, using about 500 plugs in total.
After waxing the holes, you stack them in a “crib” pattern in the darkest corner of your yard. For the first year, you simply walk by and spray them with a hose during dry spells. By the following spring, the logs have turned a dark, rich color and the ends show white fungal patterns.
After a heavy spring rain, each log produces 1 pound (0.45 kg) of fresh Shiitakes. You harvest 10 pounds of gourmet mushrooms in a single week. These logs will continue this cycle twice a year for the next five years. Total cost: $30 for spawn and wax. Total value: Over $1,000 worth of organic, gourmet food.
Final Thoughts
Turning your backyard debris into a mushroom farm is a masterclass in working with nature rather than against it. It transforms a “waste product” into a high-value asset, reinforcing the idea that a self-reliant homestead is one where nothing is truly discarded. By mimicking the forest’s natural lifecycle, you gain access to a food source that is as nutritious as it is rewarding to grow.
Begin with one or two logs if the process feels daunting. Choose a forgiving species like the Pearl Oyster or the Wine Cap, and let the mycelium teach you how it likes to grow. Once you see that first cluster of mushrooms erupting from a piece of wood you once thought of as trash, you will never look at a fallen branch the same way again.
The beauty of this system lies in its permanence. A well-managed log yard is a long-term investment that pays out in flavor and food security. It is a quiet, fungal revolution happening right in your backyard, one branch at a time.