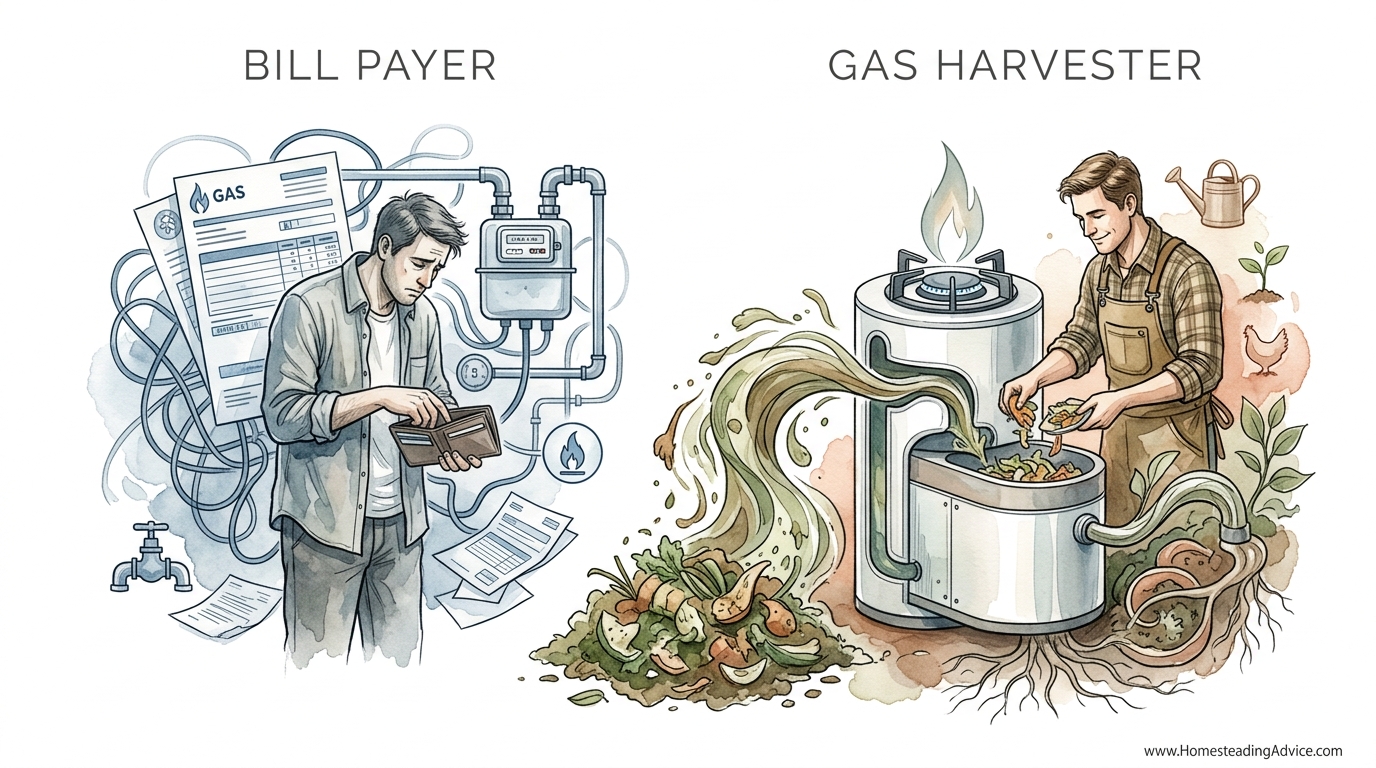
The utility company sees your waste as a problem; we see it as the reason you’ll never pay a gas bill again. You are currently paying for energy that you are throwing in the trash every single day. It’s time to stop being a passive consumer and start producing your own fuel from your own leftovers. Take your power back.
The concept of a circular home economy isn’t new, but we’ve drifted far from it. For generations, the scraps from the table fed the hogs, and the hogs fed the family. Today, we send those same scraps to a landfill where they rot uselessly, producing methane that escapes into the atmosphere. By capturing that methane yourself, you aren’t just saving money—you’re stepping into the role of a producer rather than a dependent.
Energy independence starts in the kitchen. Every potato peel, every wilted lettuce leaf, and every leftover scrap of bread contains stored chemical energy. A home biogas system allows you to harvest that energy using the same biological processes that happen in the gut of a cow. It is a quiet, natural, and incredibly efficient way to secure your own fuel supply.
Replacing Utility Gas With Kitchen Waste
Replacing utility gas with kitchen waste involves a process called anaerobic digestion. In simple terms, this is the breakdown of organic matter by microorganisms in an environment completely devoid of oxygen. While a compost pile uses aerobic bacteria to turn waste into soil, a biogas digester uses anaerobic bacteria to turn that waste into two things: combustible methane gas and a high-quality liquid fertilizer.
In the real world, this technology scales from small backyard units made of plastic drums to massive industrial facilities that power entire cities. For the individual household, it represents a way to bypass the volatile pricing of the utility grid. Instead of a monthly bill, your “payment” is the five minutes it takes to grind your kitchen scraps and pour them into the digester.
Think of the digester as a mechanical stomach. It needs to be fed regularly, kept warm, and protected from “indigestion.” When you provide these basic conditions, the bacteria reward you with a steady stream of blue-flame gas that can be used in any standard gas stove with minor adjustments. It is a practical, tangible way to turn a liability—your trash—into a primary asset for your homestead.
How It Works: The Four Stages of Harvest
Understanding the biology of your digester is the difference between a failing tank and a thriving fuel source. The transformation of a carrot top into a flame happens in four distinct biological stages. Each stage is handled by a different group of microorganisms working in a relay race.
The first stage is Hydrolysis. This is where complex organic polymers like proteins, fats, and carbohydrates are broken down into simpler molecules like amino acids and sugars. Hydrolytic bacteria secrete enzymes that “pre-digest” the waste, making it soluble in water. This stage is often the slowest, especially if the waste is in large chunks.
Next comes Acidogenesis. The simple molecules from the first stage are converted into volatile fatty acids (VFAs), alcohols, and gases like carbon dioxide and hydrogen. This is a delicate phase because if these acids build up too quickly, the pH of the system drops, potentially “souring” the digester and killing the bacteria responsible for the final steps.
The third stage is Acetogenesis. Here, the organic acids and alcohols are further refined into acetic acid, along with more hydrogen and carbon dioxide. This acetic acid is the primary “food” for the final workers in the chain.
Finally, we reach Methanogenesis. This is the stage where the magic happens. Specialized microbes called methanogens consume the acetic acid and hydrogen to produce methane (CH4). Unlike the previous stages, methanogens are incredibly sensitive to oxygen and pH changes. They are the most fragile part of the system, but they are the ones providing your fuel.
How to Set Up Your System
Building a home digester can be as simple as using three plastic HDPE barrels or as sophisticated as purchasing a pre-made bag-style system. The most common DIY design is the Intermediate Bulk Container (IBC) digester, which uses a 1,000-liter (264-gallon) tank as the main reactor.
First, you need a gas-tight container. Any leak not only loses fuel but can be a safety hazard. You will install a feed pipe that goes nearly to the bottom of the tank, allowing you to add new waste without introducing oxygen. On the opposite side, an overflow pipe allows the spent liquid—the “biol” or fertilizer—to exit as new material enters.
The gas is collected at the very top of the tank. Because biogas is produced at low pressure, you will need a storage solution. Many users use a second, flexible bag or a “floating drum” (a smaller barrel inverted inside a larger barrel filled with water) to store the gas until it is needed for cooking.
Benefits of the Gas Harvester Lifestyle
The primary advantage is, of course, the elimination of a portion of your utility costs. A well-functioning home digester can produce enough gas from a few kilograms of kitchen waste to cook for several hours a day. For a family of four, 1.5 kg (3.3 lbs) of starchy waste can typically generate enough gas to cook two to three meals.
Beyond the gas, the liquid digestate is a gold mine for the gardener. Unlike raw manure or unfinished compost, this “biol” is rich in readily available nitrogen, phosphorus, and potassium. It has been “predigested,” meaning the nutrients are in a form that plants can absorb almost immediately. Many practitioners find that their garden yields double simply by switching from synthetic fertilizers to biogas slurry.
Environmentally, you are performing a dual service. You are preventing organic waste from reaching a landfill where it would produce uncontrolled methane, and you are reducing your reliance on fossil fuels. This is self-reliance in its purest form: using what you have to get what you need.
Challenges and Common Mistakes
The most common error for beginners is overfeeding. It is tempting to dump every scrap of waste into the tank at once. However, this can lead to a “sour” digester where the acid-forming bacteria outpace the methane-formers. If the pH drops below 6.5, the methanogens will stop working, and your gas production will flatline.
Temperature is the second major hurdle. These bacteria are mesophilic, meaning they thrive at temperatures between 20°C and 40°C (68°F to 104°F). If the internal temperature of the tank drops below 15°C (59°F), the process slows to a crawl. In temperate climates, this means you must insulate your tank or even provide a small heat source during the winter months.
Another pitfall is failing to manage the Carbon-to-Nitrogen (C:N) ratio. For optimal gas production, the bacteria need a balanced diet. Too much carbon (like straw or paper) slows the process; too much nitrogen (like pure chicken manure) can lead to ammonia toxicity. Aiming for a C:N ratio of around 25:1 to 30:1 is the sweet spot for most home systems.
Limitations of Home Biogas
It is important to be realistic: a backyard digester is not a 1:1 replacement for high-volume natural gas if you are trying to heat a large home in the Arctic. Biogas has a lower energy density than propane or pure natural gas because it contains roughly 30-40% carbon dioxide. This means you may need to slightly enlarge the orifices on your stove burners to get the same heat output.
Space and climate are also limiting factors. You need a sunny, level spot for the digester, and you must have a plan for the 20 to 30 liters (5 to 8 gallons) of liquid fertilizer produced each week. If you don’t have a garden or a way to dispose of the effluent, the system can become a management burden.
Comparison: Gas Harvester vs. Bill Payer
| Feature | Utility Gas (Bill Payer) | Home Biogas (Gas Harvester) |
|---|---|---|
| Monthly Cost | $30 – $100+ (Market dependent) | $0 (Uses your waste) |
| By-products | None (Exhaust only) | High-quality liquid fertilizer |
| Maintenance | Minimal (Handled by utility) | Weekly feeding and pH monitoring |
| Energy Density | High (~1,000 BTU/cu.ft) | Medium (~600 BTU/cu.ft) |
| Reliability | Subject to grid failure/shortages | Dependant on your own labor |
Practical Tips for Peak Performance
To get the most out of your system, you should macerate or grind your food waste. The more surface area the bacteria have to work with, the faster they can convert solids into gas. A simple manual or electric grinder used before feeding the digester can increase your gas yield by up to 20%.
Consistency is key. Instead of dumping a week’s worth of scraps in on Saturday, feed the system a smaller amount every day. This keeps the microbial population stable and prevents the pH swings that lead to “stuck” digesters. If you notice a “rotten egg” smell near the digester, it’s a sign that your gas is leaking or the system is becoming too acidic.
Insulate the tank using salvaged foam or even a simple greenhouse-style plastic wrap. Keeping the internal temperature steady, especially during the night, prevents the bacteria from going dormant. Even a 5°C (9°F) drop can noticeably decrease the volume of gas produced the following morning.
Advanced Considerations: Scrubbing and Purification
Raw biogas contains hydrogen sulfide (H2S), which gives it that characteristic sulfur smell and can be corrosive to metal stove parts over time. Serious practitioners use a simple “iron sponge” or a PVC pipe filled with rusted steel wool to “scrub” the gas. As the gas passes through the steel wool, the H2S reacts with the iron oxide, leaving you with cleaner, odorless methane.
You can also remove carbon dioxide to “upgrade” the gas, though this is rarely necessary for simple cooking. By bubbling the gas through a container of lime water (calcium hydroxide), the CO2 is absorbed, significantly increasing the BTU value of the remaining gas. This is a common step for those looking to run small internal combustion engines or generators on their home-harvested fuel.
Example Scenario: The 5-Gallon Daily Feed
Consider a household that produces roughly 2 kg (4.4 lbs) of organic waste daily—including vegetable trimmings, coffee grounds, and plate scrapings. By mixing this with an equal amount of water to create a slurry, they feed their 1,000-liter digester.
Within 24 hours, the methanogens produce approximately 0.5 to 0.7 cubic meters (17 to 25 cubic feet) of biogas. This is enough to power a single burner on a medium setting for about 2 hours. Over a month, this replaces roughly one 20-lb (9 kg) propane tank, all while producing 150 liters (40 gallons) of high-grade fertilizer for the family’s garden.
Final Thoughts
The transition from a bill-paying consumer to a gas-harvesting producer is more than a financial decision; it is a shift in mindset. It requires you to look at your surroundings not as a series of problems to be managed, but as a collection of resources to be stewarded. Your kitchen waste is not trash—it is a fuel source waiting for a home.
Building and maintaining a biogas system brings you closer to the natural cycles that sustain life. It teaches you about biology, chemistry, and the quiet satisfaction of self-reliance. While the utility companies will continue to raise rates and struggle with infrastructure, the Gas Harvester remains insulated from the chaos, powered by nothing more than the leftovers of yesterday’s dinner.
Start small, observe your bacteria, and treat your digester like the living system it is. Once you see that first steady blue flame flickering on your stove, you will never look at a bag of “trash” the same way again. The power is literally in your hands.