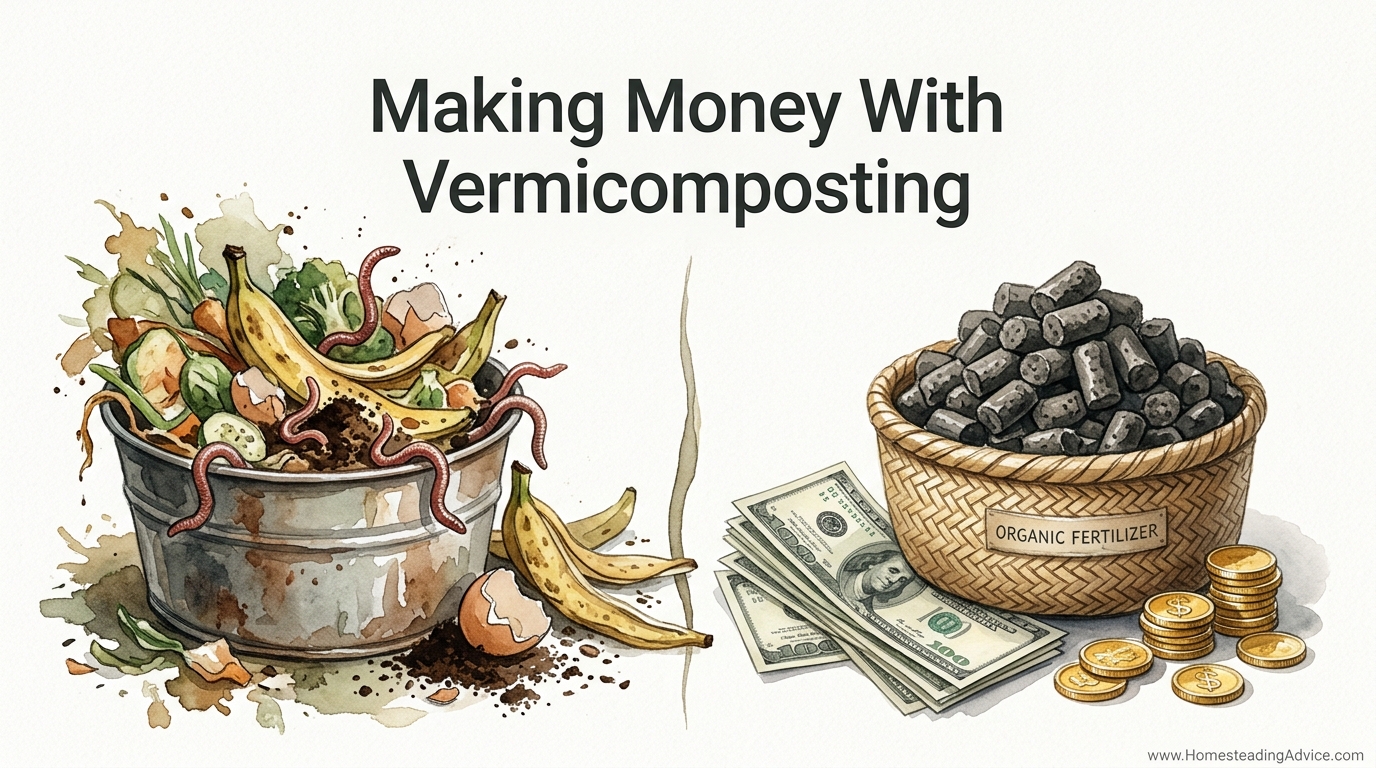
Your trash can is currently eating the best fertilizer in the world – and your potential profit. Every veggie scrap you throw away is a missed opportunity. Vermicomposting turns ‘waste’ into one of the most expensive soil amendments on the market. It’s the ultimate closed-loop homestead income stream.
Turning a pile of old carrot peels and coffee grounds into “black gold” isn’t magic; it is biology. For generations, savvy growers have known that the humble earthworm is the fastest way to build soil health. Today, that ancestral wisdom is being backed by a global market projected to reach over USD 1.58 billion by 2034.
Whether you are looking to enrich your own garden or build a side business from your garage, vermiculture offers a path to self-reliance. It requires no heavy machinery, no massive acreage, and surprisingly little time once the system is established. It is about working with nature’s most efficient recyclers to create a product that chemical fertilizers simply cannot match.
Making Money With Vermicomposting
Vermicomposting is the process of using specific species of earthworms to break down organic waste into a nutrient-rich, biologically active soil amendment known as worm castings. While traditional composting relies on heat and microbial action over several months, vermicomposting uses the digestive tract of the worm to accelerate the process, often producing finished results in a fraction of the time.
In the real world, this is a multi-tier business opportunity. You are not just selling “dirt.” You are selling a concentrated microbial inoculant that helps plants resist disease, retain water, and grow faster. The market for these products includes organic farmers, high-end landscapers, cannabis cultivators, and home gardeners who are tired of synthetic chemicals.
The income streams from a worm farm are diverse. Most producers focus on worm castings, which often retail for significantly more than standard compost. Others focus on vermiculture, which is the breeding and selling of the worms themselves. Beginners often start with a single bin to handle kitchen waste, but those with the grit to scale can move into selling liquid “worm tea” or even full composting kits to other aspiring hobbyists.
How It Works: Setting Up Your First System
Starting a vermicomposting operation is less about “farming” and more about “property management.” You are providing a habitat for a workforce that never sleeps. If you give them the right bedding, food, and climate, they will handle the labor for you.
First, you must choose your workers. The most common species used is Eisenia fetida, better known as the Red Wiggler. These worms are not the common nightcrawlers you find deep in your garden soil after a rain. Red Wigglers are surface dwellers that thrive in high-density environments and can eat up to half their body weight in organic matter every single day.
Setting up a bin follows a simple, repeatable process:
1. Container Selection: Use a dark, non-transparent bin to keep the worms in the dark. For a beginner, a 10-gallon (38-liter) plastic tote is a standard starting point. Drill several 1/8-inch (3-mm) holes in the top and sides for aeration.
2. Bedding Preparation: Worms need a carbon-rich “nest” to live in. Shredded cardboard, non-glossy newspaper, or coconut coir works best. Soak the bedding in water and then wring it out until it feels like a damp sponge – moist but not dripping.
3. Inoculation: Add a handful of finished compost or garden soil to the bedding. This introduces the beneficial microbes that help the worms digest the food.
4. Introducing the Worms: Gently place your worms on top of the bedding. A pound (0.45 kg) of worms – roughly 1,000 individuals – is the standard starting amount for a small household bin.
5. The First Feeding: Add a small amount of fruit and vegetable scraps under the top layer of bedding. Wait a few days to see how they handle it before adding more.
The Practical Benefits of Worm Farming
The primary advantage of vermicomposting is the sheer quality of the end product. Worm castings are packed with plant-available nitrogen, phosphorus, and potassium. Unlike synthetic fertilizers, which can “burn” plants or leach into groundwater, castings provide a slow-release nutrient delivery system that won’t harm delicate roots.
Beyond nutrients, vermicompost is a living product. It is teeming with beneficial bacteria, fungi, and protozoa. These microorganisms form a symbiotic relationship with plant roots, unlocking nutrients already present in the soil that the plant couldn’t access on its own. Studies have shown that even a 10% to 20% addition of vermicompost to a potting mix can significantly increase seed germination rates and overall crop yields.
From a homestead perspective, the benefit is the elimination of waste. You are converting a liability – rotting food that produces methane in a landfill – into an asset. This reduces your dependence on outside inputs, moving you one step closer to a truly self-sufficient growing system.
Challenges and Common Mistakes
The biggest hurdle for most beginners is the “more is better” trap. Overfeeding is the most frequent cause of failure in a new worm bin. When you add too much food, the worms cannot keep up. The excess food begins to rot anaerobically (without oxygen), leading to foul odors, acidic conditions, and potentially “sour crop” or protein poisoning in the worms.
Another common pitfall is ignoring the moisture balance. Worms breathe through their skin; they require moisture to facilitate gas exchange. However, if the bin is too wet (standing water at the bottom), they will drown or try to escape. If it is too dry, they will dehydrate and die. You should always aim for the “wrung-out sponge” consistency in the bedding.
Temperature management is also critical. While worms are resilient, their metabolism is tied to their environment. In many regions, this means moving bins into a garage or basement during extreme seasons. They are most active between 55°F and 77°F (13°C and 25°C). Temperatures above 90°F (32°C) or near freezing will cause the population to crash.
Limitations and Realistic Expectations
Vermicomposting is not a “get rich quick” scheme. It takes time for a worm population to reach a size where it can process large volumes of waste. A pound of worms can typically handle about 3.5 pounds (1.6 kg) of food scraps per week. If your household or farm produces more waste than that, you will need to scale up your bedding and worm count accordingly.
There are also physical limitations to what worms can eat. They should not be fed meat, dairy, oils, or heavy amounts of citrus. These items take too long to break down, attract pests like rodents or flies, and can disrupt the pH of the bin. For a homestead with high volumes of woody garden waste or animal manure, a traditional hot-compost pile may be a better primary tool, with the worm bin used as a secondary “finishing” step.
Finally, while the market for castings is lucrative, it requires effort to build. You must manage packaging, moisture levels for shipping, and local regulations regarding the sale of fertilizers. It is an honest living, but like any farm venture, it requires sweat equity and patience.
Traditional Composting vs. Vermicomposting
Deciding which method to use depends on your goals and the space available. Traditional composting is excellent for bulk materials, while vermicomposting excels at high-value output.
| Feature | Traditional Composting | Vermicomposting |
|---|---|---|
| Active Agent | Thermophilic Bacteria/Fungi | Earthworms + Microbes |
| Processing Time | 3 to 9 months | 1 to 3 months |
| Temperature | High heat (130°F-160°F / 54°C-71°C) | Mesophilic (55°F-77°F / 13°C-25°C) |
| Labor Required | Heavy (turning piles) | Light (feeding/bedding) |
| Space Needed | Large outdoor area | Small indoor/outdoor footprint |
| Nutrient Profile | Moderate | Very High / Biologically Active |
Practical Tips for Optimization
If you want to move from hobbyist to professional, you need to optimize your workflow. Efficiency is the difference between a fun hobby and a profitable homestead.
- Pre-compost your feedstock: Worms can eat food faster if it has already begun to soften. Letting your scraps sit in a bucket for a few days before feeding can increase processing speed.
- Monitor pH regularly: Aim for a neutral pH of 6.5 to 7.0. If the bin becomes too acidic from coffee grounds or fruit, add a light dusting of crushed eggshells or agricultural lime.
- Control the particle size: Smaller pieces of food have more surface area for microbes to grow on. Shredding or chopping your kitchen waste can significantly decrease the time it takes for the worms to convert it.
- Harvest by “light migration”: To separate worms from castings, dump the bin contents onto a tarp under bright light. Worms will move to the center of the pile to avoid the light, allowing you to scrape the finished castings off the outside.
Advanced Considerations: Scaling Up
Once you have mastered the 10-gallon tote, you might look toward Continuous Flow-Through (CFT) systems. These are raised beds with a mesh bottom. You add bedding and food to the top, and as the worms move upward into the fresh material, the finished castings settle at the bottom. You harvest the castings by scraping the mesh from underneath. This eliminates the need to manually separate worms from the soil, making it the standard for commercial operations.
Scaling also involves managing your “feedstock” supply. Commercial worm farmers often partner with local breweries for spent grain or coffee shops for used grounds. This secures a consistent, free source of nitrogen that keeps the worms breeding year-round.
If you are selling your products, consider the legal requirements. In the United States, the USDA and individual state departments of agriculture may have specific labeling requirements for anything sold as “fertilizer.” Always check local guidelines before taking your product to the market.
Practical Example: The Apartment Side-Hustle
Consider a homesteading enthusiast living in a small urban space. By keeping three stacked worm bins in a utility closet, they process approximately 10 pounds (4.5 kg) of kitchen waste per week. Every three months, they harvest 40 pounds (18 kg) of high-quality castings.
Selling these castings locally for $2.00 to $5.00 per pound results in a quarterly profit of roughly $80 to $200 from a “waste product.” While this won’t replace a full-time salary, it easily covers the cost of seeds, tools, and garden supplies, making the entire garden a self-funded venture.
Final Thoughts
Vermicomposting is a return to a simpler, more efficient way of living. It acknowledges that in nature, there is no such thing as trash – only resources in the wrong place. By inviting these quiet, hardworking creatures into your homestead, you are closing a vital loop in your local ecosystem.
The transition from throwing away scraps to harvesting “black gold” is one of the most rewarding shifts a grower can make. It builds soil that is alive, resilient, and incredibly productive. Whether you choose to keep it as a private garden secret or grow it into a profitable local business, the path starts with a single bin and a few handfuls of worms.
As you begin your journey, remember to stay observant. The worms will tell you everything you need to know if you watch how they move and how they eat. Start small, master the basics, and let the natural cycle of decomposition fuel your homestead’s future.