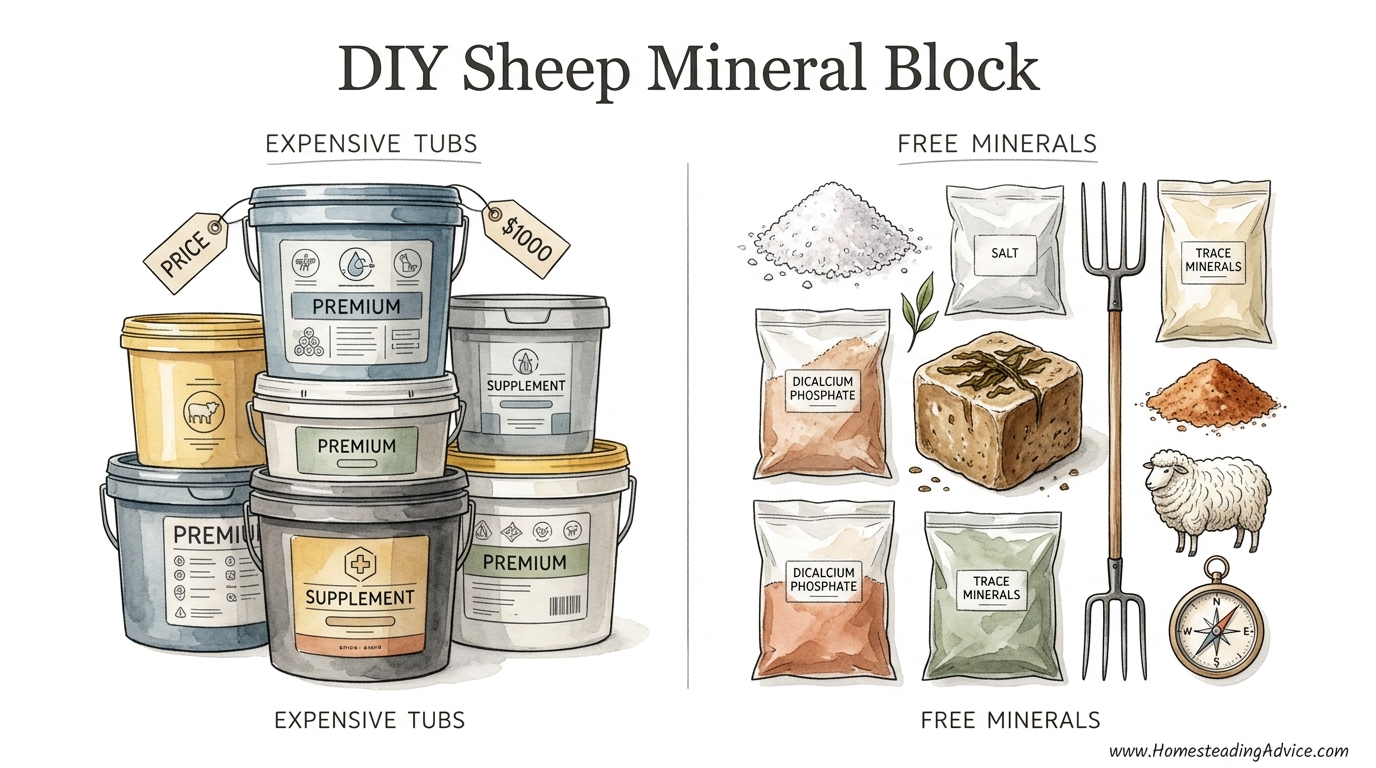
The feed store wants you to believe health comes in a plastic tub, but your soil has the real secret. Commercial mineral blocks are 80% filler and 100% overpriced. Learn how to source and blend natural minerals from the earth and sea to create a custom supplement that outperforms any store-bought tub.
There is a quiet satisfaction in knowing exactly what goes into your animals. When you look at the back of a commercial mineral tub, you often find a list of ingredients that looks more like a chemistry experiment than a meal. Between the industrial by-products used as binders and the synthetic flavors added to force consumption, those “convenient” blocks are often doing less for your flock than you think.
Taking control of your sheep’s nutrition isn’t just about saving money, though that is a welcome side effect. It is about matching the minerals to your specific patch of earth. No two pastures are the same, and a one-size-fits-all block from a national chain cannot account for the unique deficiencies of your local soil. By blending your own, you bridge that gap with ancestral wisdom and modern precision.
DIY Sheep Mineral Block
A DIY sheep mineral block is a concentrated source of essential elements—macrominerals like calcium and phosphorus, and microminerals like selenium and zinc—held together by natural binders. Unlike loose minerals, which are often served in troughs, a block is designed for “lick-based” consumption, allowing the sheep to self-regulate their intake based on their biological needs.
In the real world, sheep are master scavengers of nutrition. If they are missing something, they will seek it out, sometimes chewing on wood or eating dirt to find the missing piece of the puzzle. A mineral block provides a central, reliable location for these nutrients. Because sheep have a unique rumen-based digestive system, these minerals are crucial for maintaining the microbial population that helps them ferment grass and hay into energy.
The primary reason to make your own is the strict requirement for sheep-specific formulations. Sheep are highly sensitive to copper, and most “all-stock” or cattle blocks contain enough copper to be lethal to a flock. A DIY approach ensures that you provide the trace amounts of copper they need (about 4–8 ppm) without crossing into the toxic territory (typically anything over 25 ppm depending on the breed and molybdenum levels in the diet).
How to Do It: The Process and Ingredients
Building a mineral block is a bit like baking bread; the quality of your finished product depends entirely on the ratio of your ingredients and the environment in which they cure. You are aiming for a block that is hard enough to resist crumbling in the rain but soft enough for a sheep’s tongue to wear down over time.
Step 1: Sourcing the Foundation
Your base will always be salt. Salt is the regulator; sheep love it, but their bodies will stop them from overconsuming once they’ve had enough. Use a high-quality sea salt or Redmond salt, which naturally contains dozens of trace minerals that processed white salt lacks.
Step 2: Adding the “Power” Ingredients
- Dolomite: A natural source of calcium and magnesium. Calcium is vital for milk production and bone growth, especially during lambing season.
- Kelp Meal: Sourced from dried seaweed, kelp is the “multivitamin” of the natural world. It provides iodine for thyroid health and a spectrum of trace elements that are often missing from inland soils.
- Wood Ash: If you burn clean hardwoods, the ash is a fantastic source of potassium and trace minerals. It acts as a natural buffer for the rumen.
- Sulfur: Yellow dusting sulfur is often added to help with external parasite resistance and wool quality.
Step 3: The Natural Binder
To turn a loose mix into a block, you need a binder. Traditional shepherds often used clay. Bentonite clay is ideal because it not only holds the block together but also acts as a toxin binder in the sheep’s gut, helping them pass heavy metals or mold toxins safely. If you need a little more “stick,” a small amount of unsulfured molasses can be used, but keep it to less than 5% of the total weight to prevent the sheep from treating it like a treat.
Step 4: Mixing and Pressing
Mix your dry ingredients thoroughly. If you are using a liquid binder like molasses or a clay slurry, add it slowly until the mixture has the consistency of damp sand. Pack the mixture into a mold—a 5-gallon (19-liter) bucket or a heavy-duty wooden box works well. Use a tamper to compress it as tightly as possible. The more compressed it is, the longer it will last in the pasture.
Benefits of the DIY Approach
The most immediate advantage is Total Copper Control. Because sheep accumulate copper in their livers more readily than other livestock, commercial errors at the feed mill can be devastating. When you mix your own, you eliminate that risk. You can source ingredients like Icelandic kelp or local clay that you know are safe for your specific breed, such as the more sensitive Texels or British breeds.
Furthermore, the Bioavailability of natural minerals is often superior to the synthetic oxides found in cheap blocks. A sheep’s body is designed to recognize minerals from the earth and sea. When they lick a block made of sea salt and kelp, the minerals are in a form that the rumen can easily process and the bloodstream can readily absorb, leading to better fleece luster, stronger hooves, and higher lamb survival rates.
Finally, the Cost Savings are significant. When you buy a commercial tub, you are paying for the plastic, the marketing, the shipping of heavy fillers, and the labor of the factory. By buying bulk bags of salt, kelp, and clay, you can often produce a superior supplement for roughly 30% to 50% of the retail price.
Challenges and Common Mistakes
One of the most frequent errors is making the block too soft. If the block crumbles easily, the sheep will eat it too quickly. This isn’t just a waste of money; it can lead to “salt toxicity” or mineral imbalances if they consume a month’s worth of selenium in a single afternoon. Always ensure your block is tightly pressed and allowed to cure in a dry area for at least two weeks before putting it out.
Another pitfall is the “Hot Spot” phenomenon. If you don’t mix the trace minerals (like selenium) perfectly into the salt base, one part of the block might have nothing while another part has a toxic concentration. Use a clean cement mixer or spend a significant amount of time hand-turning the dry ingredients before adding your binders to ensure a homogenous blend.
Limitations and Environmental Factors
A DIY mineral block is a supplement, not a cure for poor forage. If your pasture is severely deficient in energy or protein, no amount of kelp will fix it. You must still monitor the Body Condition Score (BCS) of your ewes. In regions with extreme deficiencies, such as the “goiter belts” where iodine is non-existent or the Pacific Northwest where selenium is notoriously low, you may still need to work with a vet for targeted injections during late pregnancy.
Weather is also a factor. Even the best-pressed DIY block will eventually melt in heavy, driving rain. Unlike plastic-encased commercial tubs, natural blocks require a covered mineral feeder. If you live in an area with high humidity, your block may struggle to stay hard, and you might find that a “loose mineral” version of your recipe is more practical than a solid block.
Comparison: DIY vs. Store-Bought
| Feature | Commercial Mineral Tub | DIY Natural Mineral Block |
|---|---|---|
| Primary Binder | Petroleum-based or corn by-products | Bentonite clay or natural molasses |
| Mineral Source | Synthetic oxides and sulfates | Sea salt, kelp, and volcanic minerals |
| Copper Safety | High risk if mislabeled | 100% controlled by the shepherd |
| Customization | None (Standardized) | Can adjust for local soil needs |
| Cost per lb/kg | High (includes marketing/packaging) | Low (bulk ingredient sourcing) |
Practical Tips and Best Practices
Location is everything. Place your mineral block near the water source. Sheep tend to lick minerals and then immediately want to drink. If the block is at the far end of a 40-acre (16-hectare) pasture, they might not visit it often enough. Conversely, if the sheep are congregating too much around the block and creating a mud hole, move it to a high, well-drained spot.
Monitor your consumption rates. A standard ewe should consume between 0.25 and 0.5 ounces (7–14 grams) of mineral mix per day. If they are devouring the block in a week, you likely have a “sugar addiction” from too much molasses, or a severe underlying deficiency that needs a more immediate fix. If they aren’t touching it, try sprinkling a little loose grain on top to get them started, or check if the block is so hard it’s uncomfortable for their tongues.
Advanced Considerations for the Serious Shepherd
To truly master DIY minerals, you must understand Antagonists. For example, if your water is very high in iron or sulfur, it can “bind” the copper and selenium in the sheep’s gut, making them deficient even if the block has the correct amounts. This is why testing your well water is just as important as testing your hay.
During the final four weeks of pregnancy, a ewe’s demand for calcium and phosphorus skyrockets to support the developing skeletons of the lambs. You can “top-dress” your DIY recipe with extra steamed bone meal or dicalcium phosphate during this period. For shepherds in the Northern Hemisphere, this often happens in late winter when grass is dormant and mineral levels in standing forage are at their lowest.
Example Scenario: The High-Sulfur Pasture
Consider a farm where the soil is naturally high in molybdenum. Molybdenum binds with copper to form thiomolybdates in the rumen, which prevents copper absorption. Even if the sheep are eating a “sheep-safe” mineral, they might show signs of copper deficiency: bleached, “steely” wool, and poor thrift.
In this case, the shepherd doesn’t need a cattle block; they need a DIY mix where the Copper:Molybdenum ratio is specifically adjusted. By increasing the copper slightly (to perhaps 10 ppm) and adding a high-quality kelp meal, the shepherd can overcome the soil’s natural antagonism without risking the acute toxicity that comes with using non-sheep products.
Final Thoughts
The health of your flock is a direct reflection of the minerals under their hooves. By stepping away from the plastic tubs and toward a hand-blended, natural mineral block, you are reclaiming a piece of agricultural independence. It is a transition from being a consumer to being a steward of your land’s chemistry.
Start with a simple base of sea salt, kelp, and clay. Observe your animals—watch the shine of their wool and the clarity of their eyes. As you become more familiar with the rhythms of your pasture and the needs of your ewes, you can refine your recipe into a custom blend that no feed store could ever replicate. True health doesn’t come from a factory; it comes from a deep understanding of the earth and a willingness to provide for your animals with your own two hands.