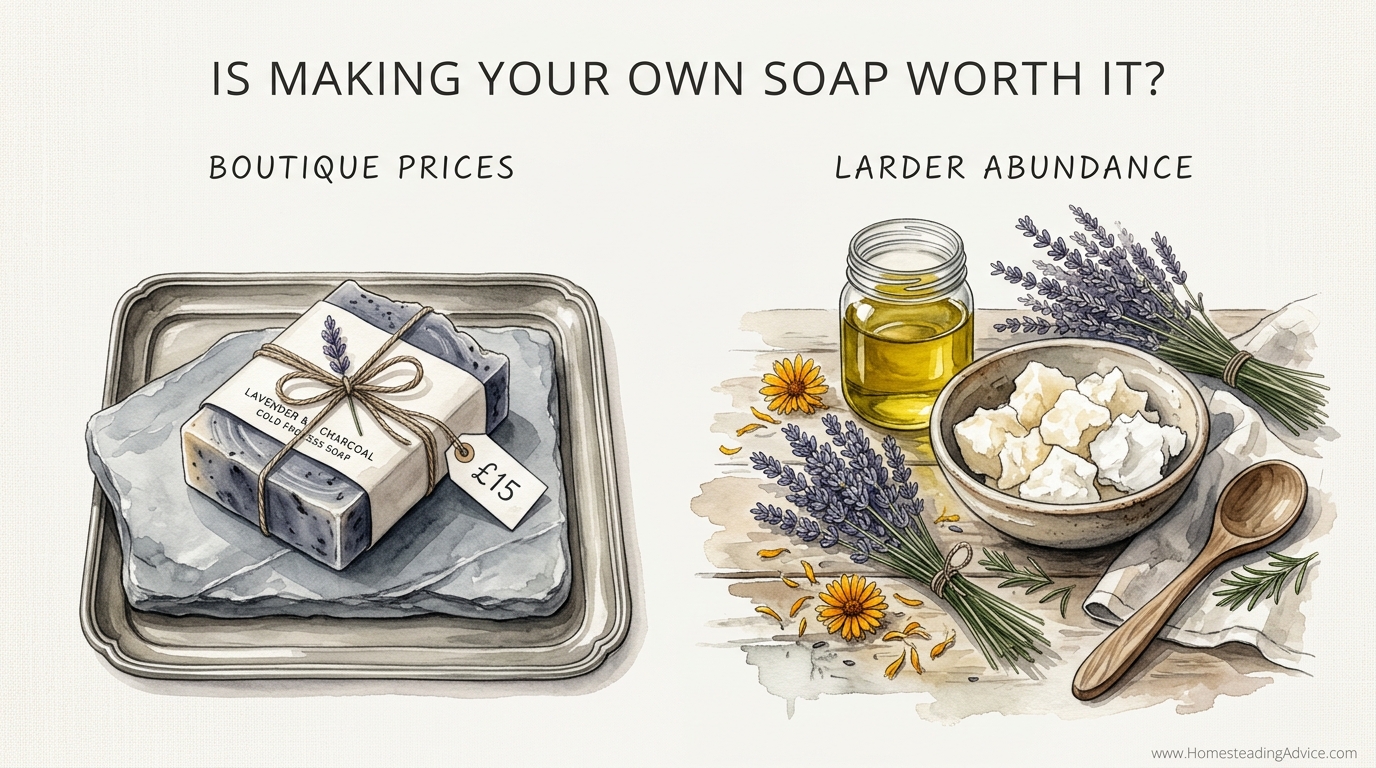
The difference between being a customer of luxury and the creator of it is just a few hours in the kitchen. When you buy artisan soap, you’re paying for the marketing, the storefront, and the shipping. When you make it yourself, you’re investing in your own skill. For the price of three boutique bars, you could buy enough oils to wash your entire family for a year. It’s time to move from the checkout line to the production line.
Stepping into the world of soap making is like rediscovering a lost language of the household. It is a fundamental shift from reliance on a chemical factory to mastery over your own larder. You stop reading confusing labels and start choosing exactly what touches your skin. This journey replaces the thin, detergent-based bars of the supermarket with dense, nourishing bricks of real soap.
Every batch you pour is a vote for self-sufficiency. It is an exercise in patience, chemistry, and practical wisdom. You will learn to handle powerful ingredients with respect and transform humble fats into a commodity that has been valued since the dawn of civilization. This guide will take you from a curious observer to a confident producer.
Is Making Your Own Soap Worth It?
Handmade soap is fundamentally different from the “beauty bars” found on grocery store shelves. Most commercial products are technically synthetic detergents, not soap. They are stripped of their natural glycerin to be used in high-priced lotions, leaving a bar that can be harsh and drying. When you make soap at home, the glycerin remains in the bar, providing a natural humectant that draws moisture to the skin.
The value of home production is found in the transition from boutique prices to larder abundance. A single artisan bar can cost $8.00 (£6.50) to $15.00 (£12.00) at a farmers market. In contrast, a batch made with bulk olive oil, coconut oil, and lard can bring the cost down to less than $1.00 (£0.80) per bar. This represents a massive return on the investment of your time.
Real soap is a product of a chemical reaction called saponification. This occurs when an acid (fats and oils) meets a base (sodium hydroxide or lye). The result is a completely new substance that cleanses without stripping the skin of its natural defenses. Understanding this process allows you to tailor your soap for specific needs, such as a high-lather bar for the workshop or a mild, conditioning bar for a baby.
The worth of this skill also extends beyond the financial. There is a profound sense of security in knowing how to produce an essential hygiene product from scratch. Whether you are using rendered tallow from a local butcher or high-quality oils from the pantry, you are engaging in a tradition of ancestral wisdom that prioritizes quality over convenience.
The Chemistry of Saponification
Soap making is a precise science that rewards the careful practitioner. At its core is the saponification reaction, where triglyceride molecules in fats are broken down by the lye solution. Each fat molecule consists of a glycerin backbone and three fatty acids. The lye detaches the fatty acids and bonds with them, creating soap salts, while the glycerin is released as a natural byproduct.
Every fat has a specific “Saponification Value” or SAP value. This number tells you exactly how much sodium hydroxide is required to turn a specific amount of that fat into soap. For example, coconut oil requires more lye to saponify than olive oil because its fatty acid chains are shorter. If you use too much lye, the soap will be “lye heavy” and could irritate or burn the skin. If you use too little, the soap may be oily and soft.
The concept of “superfatting” is the soap maker’s insurance policy. This involves adding slightly more oil than the lye can technically process, usually between 5% and 8%. This ensures that no active lye remains in the finished bar and provides extra unsaponified oils to nourish the skin. It turns a standard cleansing bar into a luxury skincare product.
Water acts as the medium for this reaction. It dissolves the lye flakes and allows the lye molecules to move and collide with the fat molecules. Most recipes use a water-to-lye ratio or a “lye concentration.” A standard starting point is a 33% lye concentration, meaning the lye makes up one-third of the total lye-water solution. As you gain experience, you might reduce the water to speed up the drying time of your bars.
Essential Tools and Safety Gear
Respect for your ingredients is the first rule of the soap room. Sodium hydroxide (NaOH), commonly known as lye, is a caustic substance that can cause severe chemical burns if mishandled. It is not something to fear, but it is something to respect with the right protective equipment.
Personal Protective Equipment (PPE)
Always wear safety goggles that wrap around the sides of your face to protect against splashes. Use chemical-resistant gloves that cover your wrists, and wear long sleeves and long pants. Work in a well-ventilated area, as the lye solution produces brief but pungent fumes when first mixed. Keep children and pets away from the workspace until the soap is safely in its mold.
Mixing Equipment
Dedicate specific tools to soap making and never use them for food preparation. Lye and fragrances can linger in the microscopic scratches of plastic or the pores of wood. Stainless steel and heavy-duty plastic (look for the #2 or #5 recycling symbol) are the safest choices. Avoid aluminum at all costs, as lye reacts with it to produce dangerous hydrogen gas.
- Digital Scale: Precision is non-negotiable; all ingredients must be weighed in grams or ounces, never measured by volume.
- Immersion Blender (Stick Blender): This tool reduces the mixing time from hours of hand-stirring to mere minutes.
- Heat-Safe Pitchers: One for the lye-water and one for the oils.
- Digital Thermometer: Infrared or probe styles work well for monitoring temperatures.
- Silicone Molds: These allow for easy removal of the finished soap and last for years.
The Larder: Choosing Your Fats and Oils
The character of your soap is determined entirely by the oils you select. Each fat brings a different set of properties to the final bar, such as hardness, lather quality, and skin-conditioning ability. A balanced recipe usually combines several different types of fat to achieve a bar that is hard, long-lasting, and bubbly.
Hard Fats for Longevity
These fats are solid at room temperature and provide the structural integrity of the bar. Tallow (beef fat) and lard (pig fat) are traditional choices that produce exceptionally hard, creamy bars. They were the backbone of soap making for centuries and remain some of the most sustainable and cost-effective options available today.
Coconut oil is another hard fat, prized for its ability to create large, fluffy bubbles. However, it is very “cleansing,” meaning it can be drying if used at more than 30% of your recipe. Palm oil is often used for hardness and a stable lather, though many modern makers choose to substitute it with lard or tallow due to environmental concerns regarding palm plantations.
Soft Oils for Conditioning
Liquid oils provide the conditioning properties that keep your skin feeling soft. Olive oil is the king of soft oils, producing a very mild, low-lather bar. A soap made with 100% olive oil is known as “Castile soap” and is legendary for its gentleness, though it requires a much longer cure time to harden.
Other popular soft oils include sweet almond oil, avocado oil, and rice bran oil. These are often used at 5% to 10% to add luxury and specific vitamins to the bar. Castor oil is a unique additive; it doesn’t contribute much to hardness or conditioning, but even at just 5%, it acts as a “lather booster,” making the bubbles from your other oils much more stable and persistent.
A Comparison of Common Soap Making Fats
| Oil/Fat Type | Hardness | Lather Type | Skin Feel | Recommended Usage |
|---|---|---|---|---|
| Coconut Oil | Very High | Large, Bubbly | Strongly Cleansing | 15–30% |
| Olive Oil | Low (Initially) | Low, Slimy | Highly Conditioning | 25–70% |
| Lard/Tallow | High | Creamy, Dense | Mild, Protective | 20–50% |
| Castor Oil | None | Rich, Stable | Slightly Sticky | 5–10% |
| Shea Butter | Medium | Low, Lotion-like | Very Nourishing | 5–15% |
How to Make Cold Process Soap Step-by-Step
The cold process method is the most popular way to make soap from scratch because it allows for total control over ingredients and produces a smooth, professional-looking bar. It relies on the heat generated by the saponification reaction itself rather than an external heat source like a slow cooker.
1. Prepare the Lye Solution
Start by weighing your distilled water into a heat-safe pitcher. Next, weigh your lye flakes into a separate dry container. Slowly pour the lye into the water—never pour water into lye, as this can cause a “lye volcano.” Stir gently with a stainless steel spoon until the lye is fully dissolved. The solution will become very hot (up to 200°F or 93°C) and clear. Set it aside in a safe place to cool.
2. Melt and Combine Oils
While the lye cools, weigh your hard fats (like coconut oil or lard) and melt them in a large pot or microwave-safe bowl. Once melted, add your liquid oils (like olive oil) to the mix. This helps cool down the hot fats. Aim for your oils and your lye water to both be between 100°F and 120°F (38°C to 49°C) before you combine them. Being within 10 degrees of each other is a good rule of thumb.
3. The Emulsion and Trace
Pour the lye solution slowly into the oils. Use your immersion blender to stir the mixture while it is turned off, then pulse the blender for a few seconds at a time. You are looking for “trace.” This is the point where the mixture has thickened to the consistency of a thin pudding. If you lift the blender out, the batter dripping off should leave a visible trail or “trace” on the surface for a few seconds.
4. Adding Fragrance and Pouring
If you are using essential oils or soap-safe fragrance oils, add them now and stir by hand. Pour the thickened batter into your mold. Tap the mold firmly on the counter to release any trapped air bubbles. Cover the mold with a piece of cardboard or a towel to insulate it. This encourages the soap to go through “gel phase,” where it heats up internally, resulting in a slightly more translucent and harder bar with more vibrant colors.
5. Unmolding and Curing
Let the soap sit in the mold for 24 to 48 hours. Once it is firm to the touch, remove it from the mold and cut it into individual bars using a sharp knife or a dedicated wire cutter. These bars are technically soap at this point, but they are not ready for use. They must “cure” for 4 to 6 weeks in a well-ventilated area out of direct sunlight. During this time, the remaining water evaporates, and the pH levels balance out, creating a hard, mild, and long-lasting bar.
Benefits of Making Your Own Soap
Taking control of your own production line offers more than just financial savings. The primary benefit is the elimination of irritants. Many people who suffer from eczema or sensitive skin find that handmade soap provides immediate relief because it lacks the harsh synthetic foaming agents like Sodium Lauryl Sulfate (SLS) found in commercial products.
Environmental stewardship is another major advantage. By making your own, you can choose to avoid ingredients like palm oil or ensure you are only using sustainably sourced fats. You also eliminate the plastic waste associated with bottled body washes and the carbon footprint of shipping heavy, water-filled products across the country.
Customization allows you to create specific tools for your lifestyle. You can formulate a “gardener’s soap” with added pumice or coffee grounds for exfoliation, or a “shampoo bar” with high amounts of castor oil and jojoba for hair health. The ability to tailor the scent using pure essential oils also provides a therapeutic element that synthetic fragrances cannot match.
Finally, handmade soap makes for an abundant larder of gifts. Once you have a few batches curing on your shelves, you will always have a high-quality, thoughtful gift ready for friends or neighbors. This moves you away from the frantic consumerism of last-minute shopping and into a rhythm of planned, artisanal generosity.
Challenges and Common Mistakes
The learning curve of soap making is manageable, but it requires attention to detail. One of the most common pitfalls is measuring by volume instead of weight. A cup of olive oil does not weigh the same as a cup of coconut oil, and because the lye math depends on exact molecular weights, using measuring cups will almost certainly lead to a failed batch. Always use a digital scale.
The Danger of “Lye Heavy” Soap
If a recipe is not calculated correctly, or if an ingredient is weighed inaccurately, you may end up with lye heavy soap. This soap will feel brittle, may have a white crust, and will cause a stinging sensation on the skin. You can test for this using the “zap test”—lightly touching your tongue to a cured bar. If it feels like a static shock or a “zap,” the soap is unsafe and should be discarded or rebatched.
Fragrance and Additive Issues
Not all fragrances are created equal. Some essential oils and fragrance oils can cause the soap batter to “seize,” turning it from a liquid to a solid block in seconds. Others can cause “ricing,” where the batter looks like cottage cheese, or “discoloration,” where a clear soap turns dark brown over time (common with vanilla scents). Always research how a specific scent behaves in cold process soap before using it in a large batch.
Environmental Factors and DOS
Humidity and temperature play a large role in the curing process. If soap is stored in a damp area with poor airflow, it may develop “Dreaded Orange Spots” (DOS). These are small spots of rancidity where the superfat oils have oxidized. While the soap is still safe to use, it will have an unpleasant “old oil” smell. Using fresh oils and storing curing soap in a dry, airy place prevents this.
Limitations: When This May Not Be Ideal
Soap making requires a significant investment of space and time. Because cold process soap must cure for at least a month, you cannot decide to make a batch today and use it tomorrow. You need a dedicated, safe area where the soap can sit undisturbed for weeks. If you live in a very small apartment or have curious toddlers who might reach for curing bars, the logistical challenges can be significant.
The startup costs can also be a barrier. While the cost per bar is very low over time, the initial purchase of a high-quality digital scale, an immersion blender, stainless steel pots, and several types of oils can exceed $100.00 (£80.00). If you only intend to make one or two batches a year, it may be more economical to continue buying from local artisans.
There is also a physical limitation to consider. Working with lye requires a steady hand and good focus. If you have health conditions that make handling heavy pots of hot oil or working with corrosive chemicals difficult, this hobby may pose a safety risk. In such cases, “Melt and Pour” soap making—using a pre-saponified base—might be a better entry point into the craft.
Practical Tips and Best Practices
Efficiency in the soap room comes from organization and preparation. Before you ever touch your lye, have all your oils weighed, your molds prepped, and your safety gear on. This “mise en place” approach prevents panicked mistakes when the soap starts to thicken.
- Use Distilled Water: Tap water contains minerals that can react with the lye and cause cloudiness or reduce the shelf life of your soap.
- Master the Water Discount: Once you are comfortable, you can use less water than a standard recipe calls for. This leads to a harder bar and a shorter cure time, as there is less water that needs to evaporate.
- Label Everything: Note the date the soap was made, the ingredients used, and the expected “ready date.” To a beginner, all white soap bars look the same after two weeks.
- Sodium Lactate: Adding a small amount (1 teaspoon per pound of oils) of sodium lactate to your cooled lye water can help the soap harden faster in the mold, making unmolding easier.
- Temperature Control: If you want to avoid “soda ash” (a harmless white powder on the surface of the bars), try to soap at slightly warmer temperatures and spray the top of the freshly poured mold with 91% isopropyl alcohol.
Advanced Considerations: Scaling and Botanicals
Once you have mastered the basic recipe, you can begin to explore more complex techniques. Scaling up production involves more than just doubling a recipe. Large batches generate more internal heat, which can lead to “volcanoing” if not monitored. If you move toward selling your soap, you will need to keep meticulous batch records for insurance and regulatory compliance.
Infusing Oils with Botanicals
Instead of just adding dried herbs to the top of the soap (which often turn brown), you can infuse your base oils with plants like calendula, comfrey, or dandelion. This transfers the oil-soluble properties of the plants into the soap itself. Simply let the herbs sit in your olive oil for 4 to 6 weeks, or heat them very gently in a slow cooker for several hours before straining.
Milk and Honey Soaps
Replacing the water in your recipe with goat’s milk or coconut milk creates a bar with an exceptionally creamy lather. However, the sugars in the milk will react with the lye and can scorch, turning the solution brown and smelly. To prevent this, freeze the milk into slushy ice cubes before adding the lye flakes slowly. This keeps the temperature low and preserves the creamy white color of the milk.
Practical Scenario: Cost Comparison
To understand the shift from boutique prices to larder abundance, let us look at a standard 2-kilogram (approx. 4.4 lbs) batch of soap. This batch will yield roughly 15 substantial 135-gram (4.75 oz) bars.
| Expense Category | Boutique Retail (15 Bars) | Homemade Production (15 Bars) |
|---|---|---|
| Core Ingredients | Included in retail price | $12.00 (£9.50) |
| Fragrance/Essential Oils | Included in retail price | $6.00 (£4.75) |
| Packaging & Marketing | $30.00+ (£24.00+) | $0.00 (Self-use) |
| Total Cost | $150.00+ (£120.00+) | $18.00 (£14.25) |
| Cost Per Bar | $10.00 (£8.00) | $1.20 (£0.95) |
This table demonstrates that while the initial skill takes time to acquire, the long-term savings are undeniable. By producing your own, you are effectively “paying” yourself a high hourly wage to engage in a rewarding craft that benefits your family’s health and your household budget.
Final Thoughts
Mastering the art of soap making is a significant step toward a self-reliant lifestyle. It replaces a recurring expense with a foundational skill, turning the simple act of washing into an experience of luxury and intent. By moving from the checkout line to the production line, you reclaim control over the chemicals in your home and the money in your pocket.
Success in this craft comes from the marriage of precision and patience. The chemistry requires your attention, but the curing process requires your restraint. There is a quiet satisfaction in seeing a row of bars resting on a shelf, knowing that you have enough high-quality soap to last for months, or even years.
As you become more comfortable with the process, don’t be afraid to experiment with the fats available in your local region. Whether you are rendering beef tallow from a neighbor or pressing local sunflower oils, the principles remain the same. Take your time, prioritize safety, and enjoy the transformation of simple ingredients into a bar of pure, effective luxury.