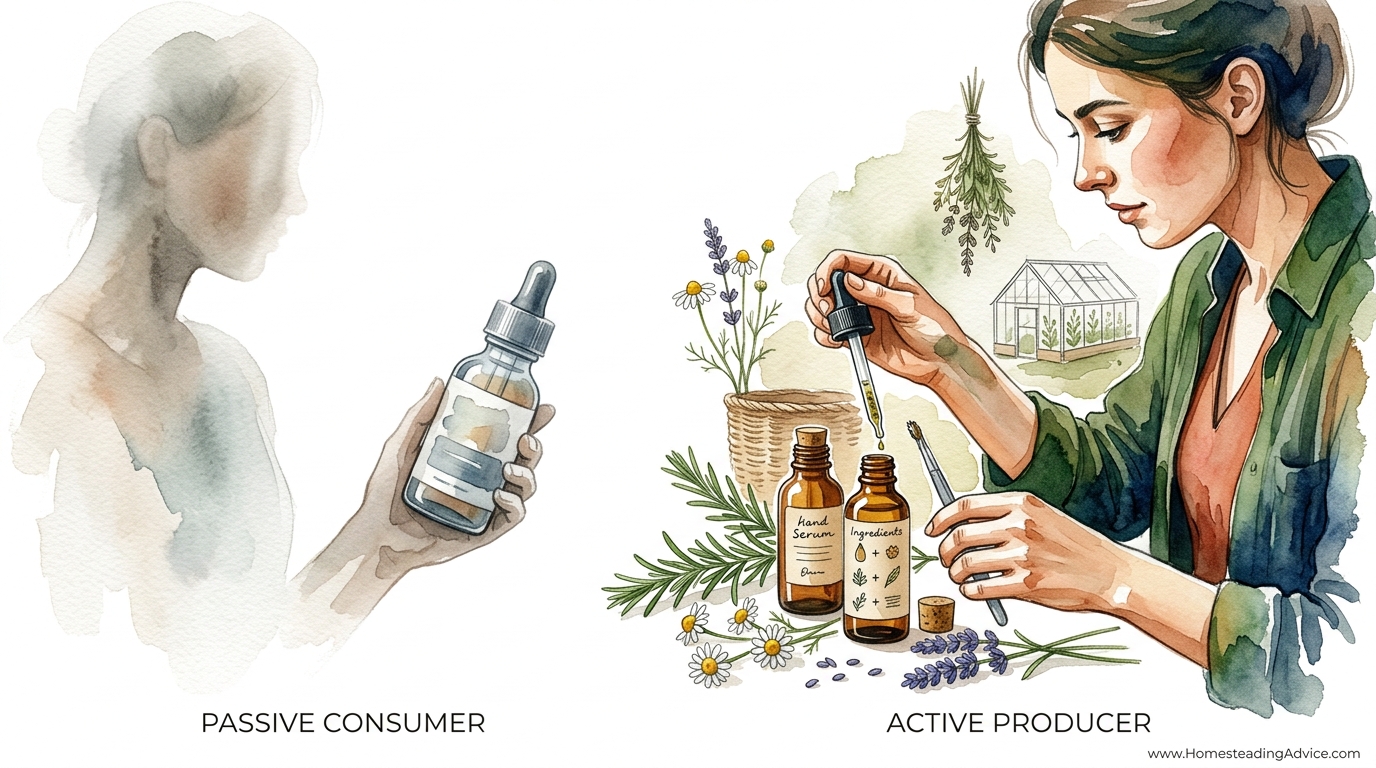
The ‘active ingredients’ you’re paying hundreds for are growing in your backyard for free. Why be a customer of a corporation when you can be a producer of your own medicine? Stop paying for water, fillers, and marketing. Learn to extract the soul of the plant yourself for a fraction of the cost and ten times the potency.
Modern skincare has become a complex web of synthetic isolates and laboratory-born molecules. While these have their place, the fundamental building blocks of skin health have existed in the botanical world for millennia. You likely walk past powerful anti-inflammatories, antioxidants, and regenerative compounds every time you step into your garden or a nearby meadow.
Taking control of your own apothecary transforms you from a passive consumer into an active producer. This shift is more than just a way to save money; it is a reclamation of ancestral wisdom. Creating a face serum at home allows you to bypass the chemical stabilizers and artificial fragrances that often do more harm than good to your delicate facial barrier.
Understanding the plants in your immediate environment reveals a hidden pharmacy. Dandelions offer detoxification, calendula provides unmatched healing, and rosehips deliver a potent dose of Vitamin C. When you extract these yourself, you ensure the highest possible concentration of the whole plant’s benefits, rather than a diluted version of a single isolated compound.
How To Make Your Own Face Serum
A face serum is a concentrated treatment designed to deliver specific nutrients deep into the skin. Unlike a heavy cream or lotion, which primarily acts as a barrier to lock in moisture, a serum is often composed of smaller molecules that can penetrate more effectively. In the world of natural medicine, a serum is typically an oil-based infusion or a high-potency water-based extract that targets issues like aging, inflammation, or dryness.
Making your own serum involves capturing the lipid-soluble or water-soluble “soul” of a plant and suspending it in a carrier that your skin can easily absorb. For the self-reliant practitioner, this usually means a high-quality oil maceration. This process uses a carrier oil to slowly pull the medicinal properties out of dried or fresh herbs over a period of time or through gentle heat.
Think of the carrier oil as a delivery vehicle. Every plant contains various phytochemicals—flavonoids, terpenes, and polyphenols—that have specific effects on human tissue. When you apply a homemade serum, you are applying a liquid concentrate of these chemicals. Because you are making it yourself, you can tailor the formula to your specific skin needs, whether that is balancing oily skin with jojoba or soothing sensitive areas with chamomile.
These serums are used daily, usually after cleansing and before applying a heavier moisturizer or sun protection. In a real-world scenario, a serum made from backyard calendula flowers can replace a $120 boutique “botanical oil” while providing a fresher, more potent array of healing triterpenoids. The simplicity of the ingredients belies the complexity of the medicine within.
How It Works: The Art and Science of Extraction
Extraction is the process of moving the medicinal compounds from the plant material into a solvent. For a face serum, your solvent is usually a carrier oil. Different compounds require different methods to be successfully “pulled” out of the plant. Understanding the physics of this process ensures your serum is actually effective rather than just a jar of scented oil.
The Solar Maceration Method
This is often called the “folk method” and relies on time and the gentle warmth of the sun. You fill a glass jar about halfway with dried herbs and cover them with your chosen carrier oil, leaving about 2.5 cm (1 inch) of headspace at the top. The jar sits in a sunny window or a warm spot for four to six weeks. The slow infusion allows the oil to break down the plant’s cellular walls and absorb its lipid-soluble vitamins and antioxidants. Shake the jar daily to ensure all plant surfaces are exposed to the solvent.
The Gentle Heat Method
If you need your serum sooner, you can use a double boiler or a slow cooker on the lowest possible setting. Maintaining a temperature between 38°C and 43°C (100°F to 110°F) is critical. Higher temperatures can damage delicate oils and destroy the very antioxidants you are trying to extract. Place your herbs and oil in a heat-safe glass jar, then set that jar into a pot of water. Heat the mixture for 4 to 8 hours. This accelerated process mimics weeks of solar infusion in a single afternoon.
The Alcohol Intermediary Method
Experienced herbalists often use a splash of high-proof alcohol—about 15 mL (1 tablespoon) per 30 grams (1 ounce) of dried herb—to “wake up” the plant material before adding oil. Moisten the dried herbs with the alcohol and let them sit in a sealed jar for 24 hours. The alcohol breaks the cell walls more aggressively than oil alone. When you add the oil the next day and begin your infusion, the medicine transfers much more efficiently. Most of the alcohol evaporates during the process or remains at the bottom of the jar after straining.
Straining and Storage
Once the infusion is complete, use a fine-mesh strainer lined with several layers of cheesecloth or a clean muslin cloth. Squeeze the cloth firmly to get every last drop of the concentrated oil. This “press” often contains the highest concentration of the plant’s soul. Transfer the finished serum to dark amber or cobalt glass bottles with a dropper. Darkness protects the serum from UV light, which can cause the oils to go rancid and the plant compounds to degrade.
Benefits of Homemade Serums
Crafting your own skincare offers measurable advantages over commercial products. The most immediate benefit is the elimination of “filler” ingredients. Most commercial serums are 70% to 90% water, which requires synthetic emulsifiers and heavy preservatives to remain shelf-stable. Your homemade oil-based serum is 100% active, meaning every drop provides nourishment to your skin.
Potency is another major factor. Commercial brands often use the smallest possible amount of an active ingredient to make a marketing claim on the label. When you grow and harvest your own calendula or rose, you can create a “saturated” infusion where the oil is dark, fragrant, and teeming with phytochemicals. You are getting a level of concentration that is rarely found in mass-produced items.
Cost savings are substantial. High-end facial oils can cost upwards of $10 per milliliter. A 30 mL (1 fl oz) bottle of organic jojoba oil costs a few dollars, and the herbs from your garden are free. You can produce a year’s supply of premium skincare for the price of a single lunch. This financial independence is a core pillar of the active producer lifestyle.
Customization allows you to address the changing needs of your skin. You can switch to a heavier, more protective avocado oil infusion in the winter and a lighter, faster-absorbing grapeseed oil infusion in the summer. You are no longer at the mercy of what a corporation decides to stock on a shelf; you are the formulator who knows your skin’s unique language.
Challenges and Common Mistakes
The greatest threat to a homemade oil-based serum is moisture. Even a single drop of water inside your infusion jar can lead to the growth of mold or, in rare cases, bacteria like Clostridium botulinum. This is why most practitioners prefer using dried herbs. If you must use fresh herbs, let them wilt for 24 hours to remove surface moisture, and use the heat method to help any remaining water evaporate during the process.
Oxidation is another common pitfall. All oils eventually go rancid when exposed to air and light. This process creates free radicals that actually age your skin—the opposite of what a serum should do. Avoid using oils with very short shelf lives, like flaxseed or hemp, unless you plan to keep them in the refrigerator and use them within a few weeks. Always use clean, dry equipment and store your final product in a cool, dark place.
Using the wrong ratio of herbs to oil can result in a weak, ineffective product. A common mistake is filling the jar with too much oil and not enough plant material. Aim for a ratio of at least 1 part dried herb to 2 or 3 parts oil by volume. If you can still see mostly oil and very little herb, your serum will likely lack the “punch” required to see real skin changes.
Skipping the patch test is a risk that many new makers take. Just because an ingredient is “natural” does not mean you cannot be allergic to it. Some plants, especially those in the Asteraceae family (like chamomile or dandelion), can cause reactions in sensitive individuals. Always test a small drop of your finished serum on your inner forearm and wait 24 hours before applying it to your face.
Limitations and Practical Boundaries
Homemade herbal serums are magnificent for nourishment, soothing, and light repair, but they have realistic limits. They cannot replace medical-grade treatments for severe cystic acne or deep hyperpigmentation. While some plants like licorice root or turmeric can help brighten the skin, they do not work with the same speed or intensity as synthetic hydroquinone or high-percentage Vitamin C serums formulated in a lab.
Sun protection is another area where DIY methods fall short. While some oils like raspberry seed or carrot seed have been touted as having natural SPF, their actual protection is inconsistent and often negligible. Never rely on a homemade serum to protect you from UV damage. It should be used as a recovery tool or a base under a dedicated, mineral-based sunblock.
Shelf stability is a trade-off for purity. Because you are not using synthetic biocides, your serum will not last for years on a shelf. An oil-based herbal infusion usually stays fresh for 6 to 12 months, depending on the carrier oil used. This requires you to make smaller batches more frequently, which ensures freshness but requires more active maintenance than buying a bottle once a year.
Choosing the Right Carrier Oil
The carrier oil you choose determines how the serum feels on your skin and how quickly it absorbs. Matching the oil to your skin type is the most important decision in the formulation process. Use the table below to understand the properties of common carrier oils.
| Carrier Oil | Skin Type | Comedogenic Rating (0-5) | Primary Benefit |
|---|---|---|---|
| Jojoba Oil | All / Oily | 2 | Mimics natural sebum; balances oil production. |
| Rosehip Seed Oil | Mature / Dry | 1 | High in Vitamin A; regenerates skin tissue. |
| Grapeseed Oil | Oily / Acne-Prone | 1 | Lightweight; astringent and fast-absorbing. |
| Sweet Almond Oil | Sensitive / Normal | 2 | High in Vitamin E; very soothing and softening. |
| Argan Oil | Aging / Dry | 0 | Deeply hydrating; will not clog pores. |
A comedogenic rating of 0 means the oil is highly unlikely to clog pores, while a 5 means it is very likely to cause breakouts. If you have acne-prone skin, stay away from coconut oil (rating of 4) for facial use, despite its popularity in body care. Focus on oils with a rating of 0 or 1 for the most reliable results in a facial serum.
Practical Tips and Best Practices
Sterilization is the most important step before you even touch an herb. Boil your glass bottles and jars for 10 minutes, then let them air dry completely. Use a 70% isopropyl alcohol spray to wipe down your funnel and strainer. Starting with a sterile environment is your best defense against the microbial growth that ruins homemade products.
Adding a natural antioxidant can significantly extend the life of your serum. Vitamin E oil (tocopherol) or a few drops of Rosemary Antioxidant CO2 extract will slow down the oxidation of your carrier oils. Use approximately 2 mL (1/2 teaspoon) of Vitamin E for every 240 mL (8 ounces) of finished oil. This small addition can add months to your serum’s shelf life.
Labeling your bottles is a habit that separates the hobbyist from the practitioner. Write down the exact date of production, the carrier oil used, and the specific herbs included. It is easy to think you will remember which bottle is “The Summer Blend,” but six months later, you will appreciate the clarity of a proper label. Always note the “Best By” date, which should be no more than one year from the production date.
Apply your serum to slightly damp skin. After washing your face or using a hydrosol toner, your skin is more receptive to lipids. The moisture on the surface of your skin helps “pull” the oil into the deeper layers and locks in hydration. You only need 3 to 5 drops for your entire face and neck; using more can lead to a greasy feeling and product waste.
Advanced Considerations for Serious Practitioners
Once you master basic infusions, you can begin exploring synergistic blending. This involves combining multiple infused oils to target several issues at once. For instance, you might blend a 50% calendula-infused jojoba oil with 50% rosehip oil to create a serum that both heals inflammation and provides anti-aging benefits. Understanding the “energetics” of plants—whether they are cooling, warming, drying, or moistening—helps you create more balanced formulas.
Scaling your production requires attention to sourcing. If you are not growing the herbs yourself, look for “certified organic” and “responsibly wildcrafted” labels. The quality of your serum is entirely dependent on the quality of the starting material. Old, grey, or scentless dried herbs have lost their volatile oils and medicinal potency. Freshly dried herbs should retain their vibrant color and a strong, characteristic aroma.
Consider the viscosity of your carrier oils when formulating. Castor oil is incredibly thick and difficult to spread, but it has powerful drawing and anti-inflammatory properties. Mixing it at a low percentage (5% to 10%) into a lighter base like grapeseed oil allows you to utilize its benefits without making the serum too heavy to use comfortably. Mastering these ratios is the key to creating a professional-quality product in your own kitchen.
Example Scenarios and Formulations
To help you translate these principles into action, consider these three foundational recipes. Each is designed for a 30 mL (1 fl oz) dropper bottle. Measurements are provided for a small batch to ensure freshness.
The “Garden Glow” (For All Skin Types)
This recipe focuses on repair and radiance using herbs found in almost any sunny backyard. You will need 15 grams (1/2 ounce) of dried calendula petals and 15 grams (1/2 ounce) of dried chamomile flowers. Infuse these in 120 mL (4 ounces) of jojoba oil using the solar method. After straining, fill your 30 mL bottle and add 2 drops of lavender essential oil and 1 drop of Vitamin E. This serum is gentle enough for daily use and helps maintain a clear, calm complexion.
The “Ancestral Shield” (For Dry and Mature Skin)
This formulation uses the deeper nourishment of rose and rosehips. Infuse 30 grams (1 ounce) of dried rosehips (crushed to expose the seeds) and 15 grams (1/2 ounce) of dried rose petals in a blend of 60 mL (2 ounces) argan oil and 60 mL (2 ounces) sweet almond oil. Use the heat method (4 hours at 40°C / 104°F) for this extraction. This serum is rich in fatty acids and Vitamin A, making it ideal for nighttime application to support skin regeneration.
The “Pioneer Balance” (For Oily and Congested Skin)
Using the astringent properties of plantain leaf and yarrow, this serum helps regulate oil production. Infuse 30 grams (1 ounce) of dried plantain leaf and a small handful of dried yarrow flowers in 120 mL (4 ounces) of grapeseed oil. Strain carefully and add 3 drops of tea tree essential oil to the final bottle. Plantain is a master at drawing out impurities, while yarrow helps tighten pores and reduce redness.
Final Thoughts
Reclaiming the ability to create your own skincare is a profound act of self-reliance. When you look at a bottle of face serum and see not a list of unpronounceable chemicals, but the infused spirit of your own garden, you have moved beyond being a consumer. You have become a steward of your own health and a practitioner of a craft that stretches back through human history.
Experimenting with different plants and oils will teach you more about your skin than any marketing pamphlet ever could. Start with simple infusions, observe how your skin reacts, and refine your process over time. The transition from corporation-dependent to self-sufficient is a journey of many small steps, and your morning skincare routine is a perfect place to begin.
Share your knowledge and your surplus. A bottle of high-potency, homemade serum is a gift of health and wisdom. As you continue to explore the botanical world, you will find that the “active ingredients” you once paid hundreds for are not just in your backyard—they are a part of a larger, living system of medicine that you are now a vital part of.