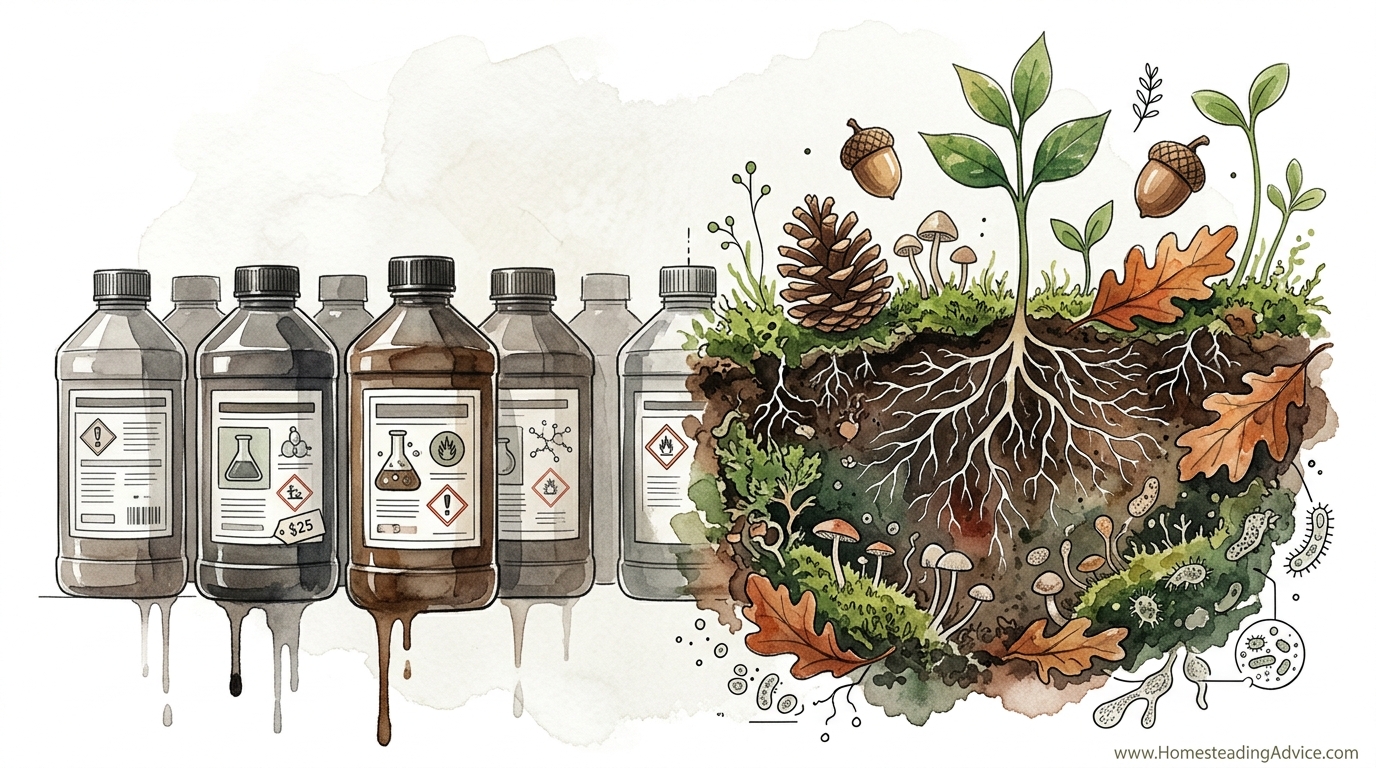
Why pay $50 for a shelf-stable extract when the most powerful growth engine on earth is currently living under the leaves of your local forest? Stop being a customer and start being a cultivator. While everyone else is buying dead nutrients in a plastic bottle, the pros are brewing living ecosystems in a barrel for pennies. This JADAM method mimics the forest floor to supercharge your soil’s biology and explode your yields.
For generations, we have been told that soil fertility comes from a bag or a jug. We have been conditioned to believe that the complex dance of microbiology is too difficult for a common gardener or farmer to manage without the help of a laboratory. This mindset has turned us into dependents of an industrial system that sells us back the very life that should naturally exist beneath our feet.
JADAM Organic Farming, founded by Youngsang Cho, flips this narrative on its head. It is a philosophy rooted in the idea that farming should be ultra-low cost, easy to perform, and completely independent of commercial monopolies. At the heart of this system is the JADAM Microbial Solution, or JMS. It is not just a fertilizer; it is a way to invite the ancient, powerful biology of the forest into your garden beds.
By using simple ingredients like leaf mold, boiled potatoes, and sea salt, you can cultivate billions of indigenous microorganisms that are perfectly adapted to your specific climate and soil. This article will guide you through the process of reclaiming your soil’s health and moving toward a future of true self-reliance.
How To Make Jadam Microbial Solution For Free
JADAM Microbial Solution (JMS) is a liquid inoculant designed to restore the biological diversity of your soil. It is created through a short-term fermentation process that multiplies the microorganisms found in forest leaf mold. Instead of buying lab-grown microbes that may or may not survive in your local conditions, JMS focuses on indigenous microorganisms (IMO). These are the survivors that already thrive in your backyard, regardless of the weather or soil type.
The solution exists because healthy soil is not just a collection of minerals; it is a living, breathing community. Over years of conventional gardening—using synthetic fertilizers, tilling, or even just leaving soil bare—this community is often destroyed. JMS acts as a massive “reboot” for your soil’s ecosystem, reintroducing the bacteria, fungi, and protozoa that plants need to unlock nutrients naturally.
In a real-world setting, a farmer might use JMS to revive a “dead” field that has been compacted by heavy machinery or sterilized by years of chemical use. A backyard gardener might use it to solve persistent pest problems, knowing that a biologically diverse soil creates stronger, more resilient plants. It is used anywhere the goal is to stop feeding the plant and start feeding the soil.
The Core Ingredients: Sourcing Life from Your Surroundings
The beauty of the JADAM method lies in its simplicity. You do not need a degree in microbiology or a high-tech laboratory. You only need a few items, most of which you can find for free or for very little cost. Each ingredient serves a specific, vital purpose in the brewing process.
1. Leaf Mold: The Source of the Microbes
This is your “starter culture.” Go to a local forest or a long-undisturbed area with old trees. Dig through the top layer of dry leaves until you find a dark, crumbly, moist layer that smells like earth. You are looking for the white, thread-like structures called mycelium. This handful of soil contains tens of billions of microorganisms that have been breaking down organic matter for years. This is the “blueprint” of a healthy ecosystem.
2. Boiled Potatoes: The Energy Source
To multiply those microbes, you need to feed them. Potatoes are the preferred food source in the JADAM method because they provide a complex starch that supports a wide diversity of microbial life. While some methods use simple sugars like molasses, JADAM avoids them because simple sugars often favor only a small group of bacteria. Starch from potatoes encourages a more balanced growth of both bacteria and fungi.
3. Sea Salt: The Mineral Selector
Sea salt is used in tiny amounts to provide essential trace minerals. It also acts as a “selector.” A 0.1% salt solution creates a very mild stress that favors the types of microbes that are most beneficial to plants while dampening the growth of less desirable ones. It mimics the mineral balance of the ocean, which is the ultimate source of all life on earth.
4. Water: The Living Medium
Water is the most critical ingredient. Ideally, you should use rainwater or well water. If you must use city tap water, you must be careful. Most municipal water contains chlorine or chloramines designed to kill microbes. If you brew JMS in chlorinated water, you will kill the very life you are trying to grow. If your water only has chlorine, letting it sit out for 24 hours in an open bucket may allow it to off-gas. However, if your city uses chloramines, you may need to neutralize it with a tiny amount of Vitamin C or humic acid.
The Step-by-Step Brewing Process
Making JMS is an easy process, but it requires attention to detail, especially regarding temperature and timing. Whether you are making a 20-liter (5-gallon) bucket for a small garden or a 500-liter (132-gallon) tank for a farm, the proportions remain the same.
For a standard 20-liter (5-gallon) batch, follow these steps:
- Step 1: Fill your container with 20 liters of clean, non-chlorinated water.
- Step 2: Add 20 grams (about 0.7 ounces) of sea salt and stir until dissolved.
- Step 3: Boil two or three medium-sized potatoes (about 100-200g total) until they are soft. Do not peel them.
- Step 4: Place the boiled potatoes into a fine mesh bag or a clean sock. Mash them thoroughly inside the bag until they are a pulp.
- Step 5: Place a large handful (about 200g) of forest leaf mold into a separate mesh bag.
- Step 6: Suspend both bags in the center of the water. You can use a stick laid across the top of the bucket to hang them.
- Step 7: Use your hands to “knead” the bags inside the water. Squeeze the potato pulp through the mesh so it clouds the water, and massage the leaf mold bag to release the microbes into the liquid.
- Step 8: Cover the container loosely to keep out dust and bugs, but allow for some air exchange. Store it in a warm, dark place.
The microbes will now begin to feast on the potato starch. In a few hours, you will see small bubbles appearing on the surface. Within 24 to 72 hours, depending on the temperature, the surface will be covered in a thick layer of white bubbles. This is the sign that your microbial population has exploded.
Identifying the “Peak” of Activity
Timing is everything when it comes to JMS. You are looking for the moment when the microbial population is at its absolute maximum. This is known as the peak. If you use it too early, you haven’t given the microbes enough time to multiply. If you wait too long, the microbes will exhaust their food supply and the population will crash, often turning the solution anaerobic and smelly.
At temperatures around 25°C to 30°C (77°F to 86°F), the peak usually occurs between 24 and 48 hours. In cooler weather (15°C to 20°C / 59°F to 68°F), it can take 72 to 96 hours. You know you are at the peak when the bubbles are most vigorous and form distinct rings or a thick foam across the entire surface. The liquid will have a sweet, earthy, or slightly fermented smell.
Crucial Rule: Once the bubbles begin to recede and leave a “ring” around the edge of the bucket, the peak has passed. You should apply the solution within a 12-hour window of hitting that peak. JMS cannot be stored; it must be used immediately while the life is most active.
Benefits of Using JADAM Microbial Solution
Why go through this effort instead of just buying a bottle of “Liquid Dirt” or a microbial inoculant from the store? The advantages are both practical and biological.
- Unmatched Diversity: Commercial products usually contain only 5 to 15 different strains of microbes. A handful of forest leaf mold contains thousands of species of fungi, bacteria, protozoa, and beneficial nematodes. This diversity makes your soil more resilient against specific diseases.
- Climate Adaptation: Lab-grown microbes are often cultured in controlled environments. They may not survive a frost in Maine or a heatwave in Texas. Indigenous microbes from your local forest are already survivors in your specific environment.
- Extreme Low Cost: You can produce thousands of liters of JMS for the cost of a few potatoes and a pinch of salt. This makes it accessible to everyone, regardless of their budget.
- Rapid Results: Because JMS is a liquid drench, the microbes move deep into the soil profile quickly. You will often see a noticeable improvement in plant vigor and soil texture within a single growing season.
- Soil Structure Improvement: Beneficial fungi in JMS produce glomalin, a “glue” that helps bind soil particles into aggregates. This improves aeration and water retention, effectively “loosening” compacted clay soils over time.
Challenges and Common Mistakes
While the process is simple, there are a few places where beginners often stumble. Understanding these pitfalls will save you from a wasted batch of solution.
Using Treated Water: As mentioned before, chlorine is the enemy. Even small amounts can stall the fermentation. If your JMS isn’t bubbling after 48 hours in warm weather, your water quality is the likely culprit. Always try to use rainwater if possible.
Temperature Fluctuation: Microbes are sensitive to temperature. If the water gets too cold (below 15°C / 59°F), the process will be extremely slow. If it gets too hot (above 35°C / 95°F), you may encourage the wrong type of bacteria. Try to keep your brewing container in a stable environment. Some people use small aquarium heaters to maintain a steady 25°C (77°F) for consistent results.
Wrong Food Source: Some people try to substitute the potatoes with white sugar or molasses. While this will produce bubbles, it creates a “bacterial dominant” solution. The potato starch is essential for encouraging fungal growth, which is often what is most lacking in garden soils.
Waiting Too Long: The most common mistake is thinking “more is better.” Leaving the solution to sit for a week will result in a foul-smelling liquid with very little beneficial life. If the bubbles have disappeared and it smells like rotten eggs, do not put it on your plants; pour it on a compost pile and start over.
Limitations: When This May Not Be Ideal
JMS is a powerful tool, but it is not a magical cure-all for every garden problem. There are situations where its effectiveness is limited.
In soils that have been heavily contaminated with heavy metals or toxic chemicals, reintroducing microbes is only half the battle. You may also need to practice phytoremediation (using plants to pull out toxins) alongside biological inoculations. Furthermore, if your soil is severely lacking in basic minerals like calcium or phosphorus, JMS can help unlock what is there, but it cannot create minerals out of thin air. You must still address the mineral balance of your land.
Environmental constraints also play a role. If you live in an extremely arid region where the soil is bone-dry for months, the microbes you introduce will likely go dormant or die unless you can maintain some level of moisture. Biology requires water to stay active. Applying JMS to dry, sun-baked soil without mulch or irrigation is a waste of effort.
Comparison: JADAM JMS vs. Commercial Bottled Microbes
| Feature | JADAM JMS | Bottled Extracts |
|---|---|---|
| Cost | Pennies per batch | $30 – $100+ per bottle |
| Species Diversity | Thousands (Indigenous) | 5-15 (Laboratory strains) |
| Freshness | Used at peak activity | Often dormant or expired |
| Environment Match | Perfectly adapted to local soil | General purpose; may not survive |
| Complexity | Requires 1-3 days of brewing | Instant use from bottle |
Practical Tips and Best Practices
To get the most out of your JADAM Microbial Solution, follow these field-tested tips. These small adjustments can make a significant difference in the health of your soil.
- Application Timing: Apply JMS early in the morning or late in the evening. Ultraviolet (UV) light from the sun can kill the microbes before they have a chance to hide in the soil. Applying during a light rain is the absolute best time, as the rainwater helps carry the microbes deep into the earth.
- Dilution Rates: For a general soil drench, a dilution of 1:10 to 1:20 is standard. This means 1 liter of JMS for every 10 to 20 liters of water. If you are applying to very sensitive seedlings, you can go as high as 1:30.
- The Power of Mulch: Always apply JMS to soil that is covered with mulch (straw, woodchips, or leaves). The mulch provides a habitat and a food source for the newly introduced microbes, protecting them from the sun and keeping them moist.
- Clean Your Equipment: Microbes are everywhere. To ensure you are growing the “good guys,” wash your buckets and mesh bags after every use. A simple rinse with clean water is usually enough, but avoid using harsh detergents that leave a residue.
- Don’t Forget the Salt: It is tempting to skip the sea salt, but don’t. Those minerals are not just for the microbes; they are for the plants. The tiny amount of salt helps the microbes transport nutrients more effectively.
Advanced Considerations: Customizing Your Solution
Once you have mastered the basic recipe, you can begin to specialize your JMS for specific needs. This is where the art of JADAM truly begins.
If you are growing a specific crop, such as tomatoes, you can add a handful of healthy tomato soil or even some crushed tomato leaves into the leaf mold bag. This helps cultivate the specific microbes that have a symbiotic relationship with that plant family. This is known as “target-specific” JMS.
For those dealing with extreme disease pressure, you can incorporate JADAM Liquid Fertilizer (JLF) into the mix. JLF is made by fermenting plant matter (like weeds or crop residues) in water for several months. Adding a small amount of this highly concentrated nutrient liquid to your JMS during the last few hours of brewing can create a “super-brew” that both inoculates and feeds the plant simultaneously.
Another advanced technique is the use of different starch sources. While potatoes are the standard, some practitioners use sweet potatoes for a higher sugar content or even cooked grains like rice. Experimenting with local starches can lead to different microbial profiles that might better suit your specific soil conditions.
Example Scenarios
Scenario 1: The New Garden Bed. You have just moved into a new home where the “garden” is nothing but compacted clay and weeds. After clearing the weeds, you apply a 1:10 dilution of JMS across the entire area. You then cover it with 4 inches of woodchips. Two weeks later, you apply it again. By the time you plant your first vegetables, the clay has begun to crumble, and the soil is full of earthworms. The microbes have already begun the work of building soil structure for you.
Scenario 2: The Sick Fruit Tree. You have an apple tree that looks stunted and has yellowing leaves. Suspecting a lack of biology in the root zone, you brew a 20-liter batch of JMS. You use a garden fork to make small holes around the drip line of the tree and pour the diluted solution directly into the holes. You do this three times over the course of the spring. By mid-summer, the leaves have turned dark green, and the tree shows a flush of new, healthy growth.
Final Thoughts
The JADAM method is more than just a set of recipes; it is a declaration of independence. By learning to make your own microbial solutions, you are choosing to work with nature rather than trying to dominate it. You are stepping away from the cycle of dependency on expensive, plastic-bottled products and stepping back into the role of a true steward of the land.
Restoring your soil’s health is a journey, not a single event. It takes time for the microbial communities to re-establish themselves and for the soil structure to heal. But by consistently applying JMS and following the principles of low-cost organic farming, you will see a transformation that no chemical fertilizer could ever achieve.
Do not be afraid to experiment. Take a walk in your local forest, find that beautiful, white mycelium, and bring it home. The most powerful growth engine on earth is waiting for you under the leaves. Start brewing, start cultivating, and watch your garden come to life.