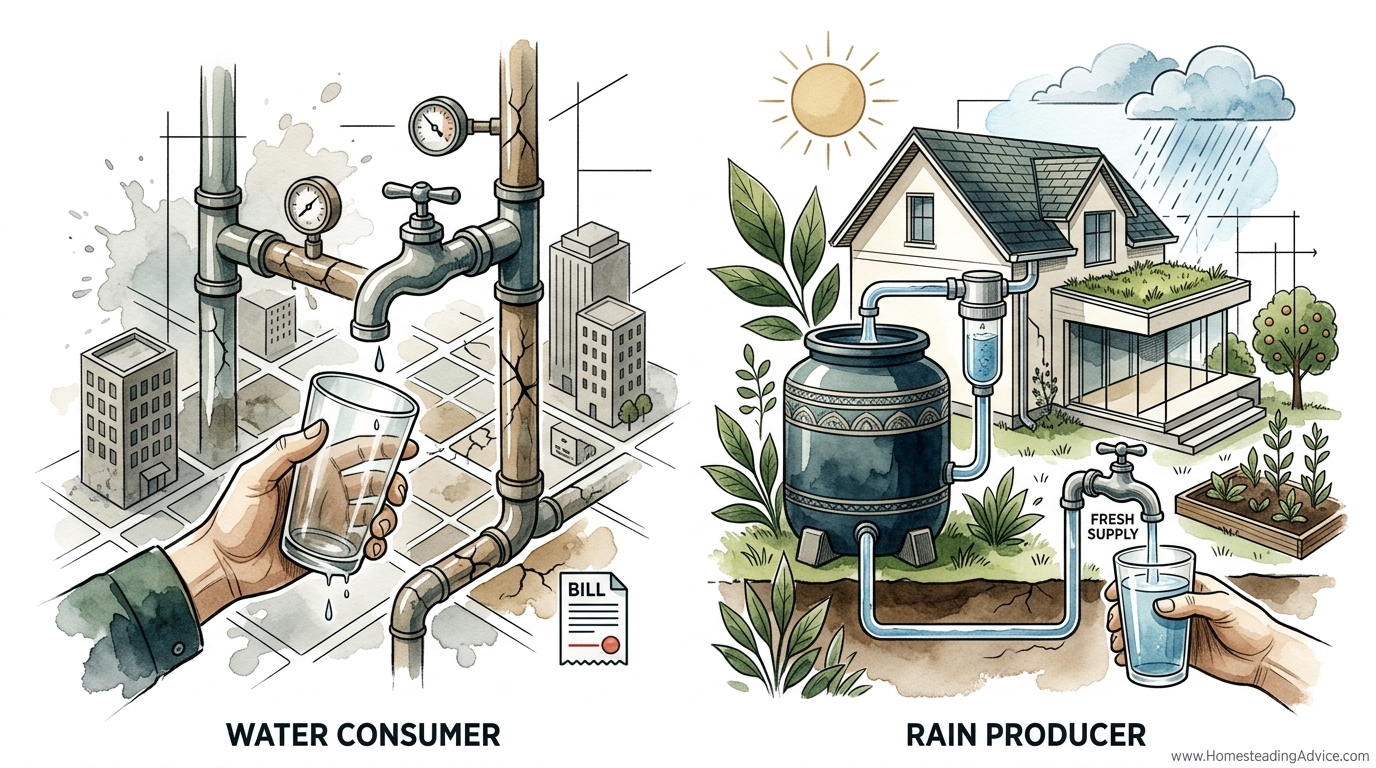
Your roof is currently shedding thousands of gallons of liquid gold while you pay for every drop from a failing municipal tap. The average 1,500 square foot roof sheds nearly 1,000 gallons of water for every inch of rain. Why are you still paying a monthly fee for a resource that falls from the sky for free? Transitioning from a water consumer to a water producer changes your relationship with the environment and guarantees your garden thrives even when the city turns the taps off.
For generations, our ancestors didn’t rely on a complex network of underground pipes and billing departments to keep their homesteads hydrated. They looked to the clouds. They understood that self-reliance starts with securing the most fundamental requirement for life. By capturing what the sky provides, you step out of a fragile system of consumption and into a position of stewardship. This guide is designed to take you from a curious observer to a master of your own watershed.
How To Become Water Independent With Rainwater
Water independence is the practice of capturing, storing, and treating precipitation on your own property to meet your household and agricultural needs. Instead of being the final destination for a municipal utility, you become the manager of a localized cycle. This isn’t just about a plastic barrel under a downspout; it is about designing a system that respects the volume of water your land actually receives.
In the modern world, we have been trained to see rain as a “drainage problem”—something to be shunted away into storm sewers as quickly as possible. When you shift your mindset to that of a RAIN PRODUCER, you realize that the rain falling on your roof is a high-quality, soft water resource. It is naturally free of the chlorine, chloramines, and fluoride found in city water, making it far superior for your plants and, with the right filtration, your own body.
Real-world water independence scales from simple garden irrigation to full-house potable systems. In arid regions like the high deserts of Arizona or the outback of Australia, rainwater harvesting isn’t a hobby; it is a survival strategy. In wetter climates, it serves as a massive buffer against rising utility costs and the inevitable infrastructure failures that occur during extreme weather events.
The Mechanics of Catchment: How It Works
To build a system that lasts decades, you must understand the journey of a single raindrop from your shingles to your glass. The process is a sequence of stages designed to move water efficiently while stripping away contaminants at every step.
The Catchment Surface (The Roof)
Your roof is your collection engine. The material of this surface dictates the quality of the water before it even hits the gutters.
- Metal Roofs: Galvalume or standing-seam metal is the gold standard. It is smooth, meaning debris washes off easily, and it doesn’t leach the chemicals found in petroleum-based products.
- Clay and Concrete Tiles: These are excellent for durability but can be porous. They may harbor more bird droppings or lichen, requiring more robust pre-filtration.
- Asphalt Shingles: Common but less ideal for drinking water. They “shed” small grit and can leach trace amounts of petroleum products, making them best suited for landscape-only systems unless high-end carbon filtration is used.
The Conveyance System (Gutters and Downspouts)
Gutters act as the “arteries” of your system. They must be sized to handle the “100-year storm” in your specific region. If your gutters overflow during a heavy downpour, you are losing your most valuable harvest.
Standard 5-inch (127 mm) gutters are sufficient for most homes, but 6-inch (152 mm) K-style gutters are recommended for larger roof areas to prevent bypass during intense bursts of rain.
The Pre-Filtration Stage
This is where many beginners fail. You must stop the “large” contaminants before they enter your tank.
1. Leaf Guards: Fine mesh screens over the gutters prevent leaves and twigs from creating a “tea” that rots in your pipes.
2. First Flush Diverters: This is a simple vertical pipe that captures the first few gallons of a rain event. This “first flush” contains 90% of the dust, bird droppings, and pollutants on the roof. Once this pipe is full, a ball float seals it, and the clean water is diverted into your main storage tank.
Sizing Your System: The Math of the Harvest
You cannot guess how much water you need; you must calculate it based on your catchment area and local rainfall. The math is surprisingly simple and should be the foundation of your design.
The Catchment Formula (Imperial)
The “Rule of Thumb” is: Square Footage of Roof × 0.623 = Gallons per inch of rain.
If you have a 2,000 sq ft (185 sq m) roof, a single 1-inch (25.4 mm) rain event will yield 1,246 gallons (4,716 liters). Even in a semi-arid climate that only gets 15 inches (381 mm) of rain a year, that single roof produces nearly 19,000 gallons (71,922 liters) annually.
The Catchment Formula (Metric)
Roof Area (sq m) × Annual Rainfall (mm) = Total Liters.
A 150 sq m roof in a region with 800 mm of rain will capture 120,000 liters per year.
Determining Storage Capacity
Your tank size shouldn’t just be “as big as you can afford.” It should be based on your **longest dry spell**. If you go 60 days without rain in the summer and your garden requires 200 gallons a day, you need a minimum of 12,000 gallons of storage to bridge that gap without touching the municipal supply.
Storage Solutions: Choosing Your Cistern
The tank (or cistern) is the most expensive and permanent part of your system. Choosing the right material depends on your budget, your soil, and your aesthetic preferences.
| Tank Material | Longevity | Cost (per gallon) | Best Use Case |
|---|---|---|---|
| Polyethylene (Plastic) | 20–30 Years | $0.50 – $1.20 | DIY setups, above-ground, ease of installation. |
| Galvanized Steel | 30–50 Years | $1.50 – $3.00 | Large scale (10k+ gallons), high-grit aesthetic. |
| Concrete (Poured) | 50+ Years | $2.00 – $4.00 | Underground storage, keeps water cool and dark. |
| Fiberglass | 30–40 Years | $1.50 – $2.50 | Corrosive environments, potable water certified. |
Above-Ground vs. Underground
Above-ground tanks are easier to maintain and cheaper to install. However, they are subject to UV degradation and temperature swings. Always use opaque (usually black or dark green) tanks to prevent sunlight from entering, which stops algae from growing.
Underground cisterns save space and keep water at a constant, cool temperature (around 55°F or 13°C), which naturally inhibits bacterial growth. However, they require professional excavation and must be engineered to withstand soil pressure when empty.
The Benefits of Becoming a Water Producer
Transitioning to rainwater harvesting offers advantages that far outweigh the initial setup labor. These benefits are both financial and biological.
Superior Plant Health
Municipal water is treated with chlorine or chloramines to kill bacteria. While necessary for pipes, these chemicals can damage the delicate microbial life in your soil. Rainwater is naturally “soft” (no dissolved minerals) and slightly acidic (pH 5.5 to 6.5), which helps plants absorb nutrients more efficiently.
Infrastructure Resilience
When a water main breaks or a drought triggers mandatory restrictions, your household remains unaffected. Having 5,000 gallons of stored water is the ultimate insurance policy. It allows you to maintain a food forest or garden even when the external world is in a state of scarcity.
Financial Independence
While the ROI (Return on Investment) can take 5 to 10 years depending on local water rates, the long-term savings are absolute. Once the system is paid for, your cost per gallon is effectively zero. You are no longer subject to the price hikes that come with aging city infrastructure.
Challenges and Common Mistakes to Avoid
Many well-meaning pioneers build systems that fail within the first two years because they overlook the “grit” of maintenance.
Mistake #1: Undersized Overflows
If you have a 3-inch (76 mm) downspout feeding into a tank, you must have an overflow pipe that is at least 3 inches, if not 4 inches (102 mm). During a deluge, if the water cannot leave the tank as fast as it enters, the pressure will blow the lid off your tank or, worse, saturate the ground around your foundation. Always direct overflow at least 10 feet (3 meters) away from any structure.
Mistake #2: Forgetting the “Wet System” Pitfall
A “wet system” is where the pipes from your downspouts go underground and then back up into the tank. Water stays in these pipes between rains. If you live in a climate where it freezes, these pipes will burst. If you live in a hot climate, the stagnant water will become a breeding ground for anaerobic bacteria. If using a wet system, you must install a drain valve at the lowest point to clear the lines periodically.
Mistake #3: Neglecting Mosquito Proofing
A single crack in a screen is an invitation for mosquitoes. Every entry and exit point of your tank—including the overflow—must be covered with stainless steel mosquito mesh (less than 1/16th inch or 1.5 mm).
Limitations and Realistic Constraints
Rainwater harvesting is not a “magic bullet” for every property. You must understand the boundaries of the technology.
Legal Restrictions
In the United States, water law is a patchwork. In Colorado, residential harvesters are capped at two 55-gallon (208 liter) barrels for a total of 110 gallons. In Utah, you can store up to 2,500 gallons but must register with the Division of Water Rights. Always check local ordinances before investing in large-scale tanks.
Environmental Limitations
If you live in a region with a 6-month dry season, you need massive storage to survive. If you only have 500 gallons of storage and it doesn’t rain from May to October, you will run dry by June. In these cases, rainwater is a supplement, not a total replacement, unless you have the space for 20,000+ gallons of storage.
Practical Tips for System Optimization
Once your basic system is up, these “pro-level” adjustments will improve water quality and system longevity.
- Calming Inlets: Instead of letting water splash into the tank from the top, run a pipe to the bottom of the tank and turn it upward. This prevents the “sediment layer” at the bottom from being stirred up every time it rains.
- Floating Intakes: If you are pumping water out of the tank, use a floating intake. The cleanest water in a tank is usually 4 to 6 inches (10-15 cm) below the surface. A floating hose ensures you aren’t sucking up bottom sediment or surface film.
- Tank Foundation: A full 5,000-gallon tank weighs over 40,000 lbs (18,000 kg). You cannot place this on bare soil. Use a 4-inch (10 cm) compacted gravel pad or a reinforced concrete slab to prevent the tank from tilting or cracking.
Advanced Considerations: Going Potable
If you want to drink your rainwater, you must move beyond simple screens. Converting rain to drinking water requires a multi-stage approach to ensure biological safety.
Stage 1: Sediment Filtration. Use a 20-micron pleated filter followed by a 5-micron spun-poly filter to remove fine particulates.
Stage 2: Carbon Block. A high-quality carbon filter removes odors, tastes, and any trace organic chemicals (like those from asphalt shingles).
Stage 3: UV Sterilization. This is the most critical step for potable water. An Ultraviolet (UV) light chamber scrambles the DNA of bacteria, viruses, and cysts (like Giardia or Cryptosporidium), making them unable to reproduce. Unlike chlorine, it leaves no chemical residue.
Note: To maintain a UV system, you must replace the bulb annually and ensure the water is clear (low turbidity) before it enters the chamber, or the light won’t reach the pathogens.
Scenario: The Suburban Homestead
Imagine a household in a temperate zone with 30 inches (762 mm) of annual rain. They have a 1,500 sq ft roof and a family of four.
By installing two 2,500-gallon (9,463 liter) tanks, they can capture roughly 28,000 gallons (106,000 liters) a year. While the average American uses 80-100 gallons a day, a conservation-minded household can easily thrive on 25-30 gallons per person per day.
In this scenario, the family uses rainwater for all laundry, toilet flushing, and gardening. These three uses alone account for nearly 60% of indoor water use. By switching to rain, they slash their utility bill by more than half and ensure their vegetable garden survives even during the hottest, driest weeks of July and August.
Final Thoughts
Securing your own water supply is one of the most empowering steps you can take toward true self-reliance. It requires a shift from the “turn the tap and forget it” mentality to a conscious awareness of the seasons and the sky. When you look at your roof and see a collection engine rather than just a shelter, you have begun to reclaim a piece of ancestral wisdom that modern life has tried to erase.
Start with what you can manage. Perhaps it is a single 500-gallon tank for your fruit trees this year. As you see the plants thrive on the “liquid gold” that is pure rainwater, you will likely find yourself planning for larger cisterns and more complex filtration. The goal isn’t just to save a few dollars on a bill; it is to build a resilient home that stands firm regardless of the failures of the wider world.
Take the time to do the math, invest in quality components, and maintain your screens. The rain will fall whether you catch it or not. The only question is whether you will let that resource wash into the gutter or turn it into the lifeblood of your home.