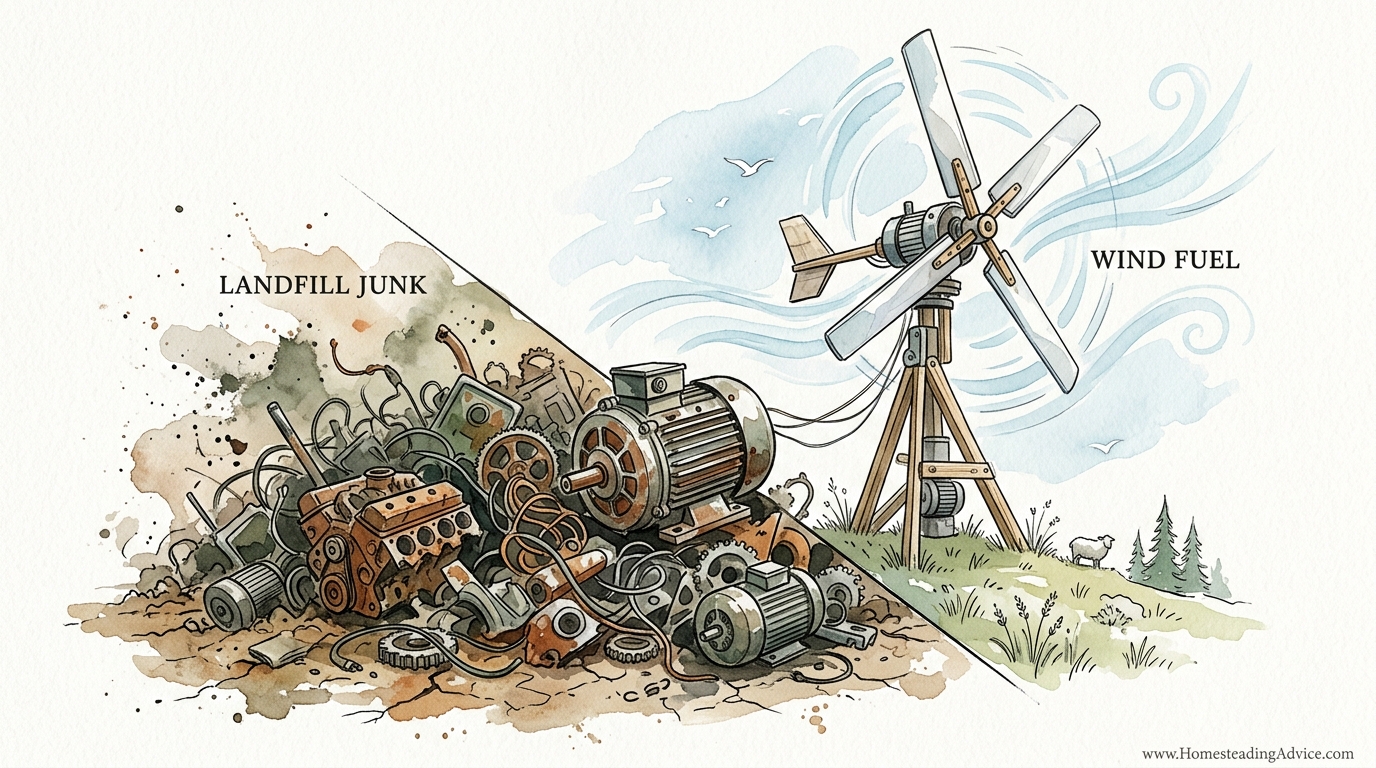
Your neighbors see a broken appliance; you see the heart of your next power plant. Don’t spend $2,000 on a commercial turbine when the local dump is full of high-quality permanent magnet motors. With a few modifications, that old treadmill is ready to charge your battery bank for the next decade.
Finding free energy doesn’t require a laboratory or a massive bank account. It requires the eyes of a scavenger and the hands of a maker. Most modern conveniences are driven by motors that are remarkably efficient at turning electricity into motion, and fortunately for us, that process works perfectly in reverse.
This guide will walk you through the art of the “junk” conversion. We will explore which motors provide the best return on your time and how to turn a piece of landfill waste into a reliable source of wind fuel for your off-grid needs.
Turning Junk Motors Into Wind Generators
A wind generator is essentially just a motor running backward. When you feed electricity into a motor, magnets and copper coils interact to spin a shaft. When the wind spins that same shaft, those magnets and coils interact to push electricity out of the wires.
However, not every motor is up to the task. Most household motors, like the ones in your vacuum cleaner or table saw, are “induction motors” or “universal motors.” These require a power source just to create a magnetic field before they can start generating, making them nearly useless for simple wind projects.
The “holy grail” of the scrapyard is the Permanent Magnet (PM) motor. These contain high-strength magnets that provide a constant magnetic field. As soon as the wind begins to turn the shaft, electrons begin to move. You can find these in treadmills, certain high-end washing machines, hoverboards, and old computer tape drives.
In real-world terms, using a salvaged motor is the difference between a $50 project and a $1,500 investment. These salvaged units are often built to much higher industrial standards than the cheap “DIY wind kits” sold online. By repurposing them, you are saving high-grade copper and neodymium magnets from a landfill and putting them to work in your backyard.
The Scrapyard Gold Mine: Best Motors to Salvage
Success in DIY wind power starts with the hunt. You need to know exactly what you are looking for before you start hauling heavy appliances into your workshop.
Treadmill Motors (PMDC)
Treadmill motors are the most common starting point for beginners. They are usually Permanent Magnet Direct Current (PMDC) motors, often rated for 90V to 130V DC. They are heavy, robust, and designed to run for thousands of hours.
The main challenge with treadmill motors is the RPM (revolutions per minute) requirement. Most are designed to reach their rated voltage at 2,000 or 3,000 RPM. A wind turbine might only spin at 400 to 600 RPM. This means a 130V motor might only produce 12V to 15V in a stiff breeze. This is actually perfect for charging 12-volt battery banks, but it requires large blades to get the shaft moving.
Fisher & Paykel “Smart Drive” Motors
If you find an old top-loading washing machine from Fisher & Paykel or certain Whirlpool models, you have hit the jackpot. These “Smart Drive” motors are “pancake” style brushless motors with a massive ring of magnets.
Unlike treadmill motors, these are designed for high torque at low speeds. They are three-phase AC motors, meaning they produce a very smooth stream of power once you run the wires through a rectifier. With a simple rewiring of the copper coils, these can be optimized to start charging a battery at very low wind speeds, sometimes as low as 60 or 70 RPM.
Hoverboard Hub Motors
Hoverboards contain two powerful brushless DC motors in the wheels. These are incredibly efficient and weather-sealed, making them excellent candidates for small-scale wind turbines. They are designed to carry the weight of a human, so the bearings are world-class.
Because they are three-phase motors, you will need a 3-phase bridge rectifier to convert the output to DC for your batteries. They are smaller than treadmill motors but can easily produce 50 to 150 watts of power in a decent wind.
How to Convert the Motor: Step-by-Step
Once you have your motor, you cannot just plug it into a battery. You need to prepare the “generator” to handle the wild, fluctuating energy of the wind.
Testing the Potential
Before building a frame, test the motor with a simple handheld drill. Connect a multimeter to the output wires and set it to DC (for treadmill motors) or AC (for washing machine/hoverboard motors). Spin the shaft with the drill. If you see the voltage climb quickly as the RPM increases, the motor is healthy.
A good rule of thumb is the “open circuit” test. If a treadmill motor produces 30V DC at a moderate drill speed, it will likely be a great 12V charger once it is under the “load” of a battery.
Converting AC to DC (The Rectifier)
If you are using a brushless motor (like the Fisher & Paykel or hoverboard motor), it will output three-phase Alternating Current (AC). Batteries only accept Direct Current (DC). You must use a 3-phase bridge rectifier. This is a small, inexpensive electronic component with five terminals: three for the motor wires and two for the battery (positive and negative).
For treadmill motors, which are already DC, you still want to use a “blocking diode.” This acts as a one-way valve. It allows power to flow from the generator to the battery but prevents the battery from sending power back to the motor and spinning it like a fan when the wind stops.
Dealing with Cogging Torque
Cogging is that “notchy” feeling you get when you turn a magnet-based motor by hand. It is caused by the magnets wanting to stay aligned with the steel teeth of the motor. If the cogging is too strong, the wind won’t be able to start the turbine spinning in light breezes.
You can reduce cogging in some motors by slightly “skewing” the magnets or by using longer blades to provide more starting torque. Fisher & Paykel motors are famous for low cogging, which is why they are so beloved by the off-grid community.
Designing Blades for Maximum Torque
The motor is the heart, but the blades are the lungs. Without a well-designed set of blades, even the best motor will sit still. For salvaged motors, you generally have two choices for blade material: PVC pipe or carved wood.
The PVC Pipe Hack
PVC is the friendliest material for a beginner. By cutting a large diameter pipe (6-inch or 150mm) into longitudinal sections, you create a natural airfoil shape. This curve helps create “lift,” much like an airplane wing, allowing the blades to spin much faster than the wind itself.
- Blade Length: Aim for 3 feet to 4 feet (0.9m to 1.2m) for a treadmill motor.
- Blade Count: Three blades are the “goldilocks” zone—offering a balance between high speed and easy balancing.
- Pitch Angle: The blades should be angled at about 4 to 7 degrees relative to the wind for the best efficiency.
Carved Wood Blades
Serious practitioners often graduate to wood. Cedar or pine is lightweight and easy to carve. Wood blades allow you to “twist” the profile, having a steep angle at the hub for high torque (to start the motor) and a flat angle at the tips for high speed. This is more complex but can significantly increase your power output in low-wind conditions.
Protection Systems: Furling and Braking
Wind is a double-edged sword. A gentle breeze provides power, but a storm can turn your turbine into a collection of flying shrapnel. You must have a way to stop the turbine when the wind gets too high.
The Furling Tail
The most reliable protection is a “gravity furling” system. By mounting the tail of the turbine on a slightly angled hinge, the force of a high wind will eventually push the turbine sideways, turning it out of the direct path of the wind. When the wind dies down, gravity pulls the tail back into place, and the turbine faces the wind again.
Short-Circuit Braking
Most permanent magnet motors can be stopped by “shorting” the wires. If you connect the positive and negative output wires together, the magnetic resistance inside the motor becomes so high that the shaft becomes nearly impossible to turn. You can install a simple “stop switch” in your house that shorts the turbine during a storm.
Benefits of Using Scrap Motors
Choosing the salvage route offers several practical advantages over buying a cheap, pre-made plastic turbine from a retail site.
- Durability: Treadmill motors are industrial-grade. They use massive bearings and thick copper windings meant to handle heat and friction.
- Cost Efficiency: You can often build a 200-watt system for under $100 using scrap parts, whereas a commercial 200-watt unit might cost $400 and have thinner, more fragile components.
- Repairability: When you build it yourself from “junk,” you know exactly how to fix it. If a bearing goes out, you can find a replacement at any local hardware store.
- Environmental Impact: You are directly converting “landfill junk” into “wind fuel,” reducing waste and lowering your carbon footprint simultaneously.
Challenges and Common Mistakes
The path to free power is littered with burnt-out motors and broken blades. Knowing the pitfalls will save you weeks of frustration.
1. Using the Wrong Motor: This is the most frequent error. If you see “Capacitor Start” or “Induction” on the label, put it back. These will not work as simple generators without extreme modification. Always look for “Permanent Magnet.”
2. Ignoring the RPM: A motor that needs 4,000 RPM to make 100V is a poor choice for a direct-drive wind turbine. You will either need a gearbox (which adds complexity and friction) or massive 10-foot (3-meter) blades that are dangerous to manage.
3. Weak Mounting: The “gyroscopic” force of a spinning turbine is immense. If your mounting pole or the bracket holding the motor isn’t over-engineered, the vibration will eventually tear the system apart. Use heavy-duty steel brackets and locking nuts for every connection.
Limitations of Salvaged Wind Power
While scrap-built turbines are excellent for charging batteries, they have realistic boundaries. A single treadmill motor turbine is unlikely to power an entire modern home with air conditioning and electric ovens.
Wind is also highly variable. Unlike solar, which is predictable based on the sun’s path, wind can disappear for days or come in gusts that are difficult to harvest efficiently. These systems are best used as “hybrid” additions to a solar array, providing power during the night or during stormy weather when the sun isn’t shining.
Also, consider the “cut-in speed.” This is the wind speed required to actually start charging. A salvaged motor might spin in a 5 mph (8 km/h) breeze but won’t produce enough voltage to overcome the battery’s pressure until the wind reaches 10 or 12 mph (16-19 km/h).
Motor Comparison: Which Scrap is Best?
| Motor Type | Output Type | Ease of Use | Best For |
|---|---|---|---|
| Treadmill (PMDC) | DC | High | High-wind areas, simple 12V charging. |
| Fisher & Paykel | 3-Phase AC | Medium (needs rewire) | Low-wind areas, high efficiency. |
| Hoverboard Hub | 3-Phase AC | Medium | Small, portable/stealth turbines. |
| Car Alternator | DC (Rectified) | Low (needs high RPM) | Gearing or belt-drive setups. |
Practical Tips for the DIY Workshop
To make your conversion successful, keep these professional-grade tips in mind during the build process.
- Weatherproofing: Most scrap motors were designed to live indoors. Use a plastic “rain shield” (even a simple 5-gallon bucket cut in half) to keep water away from the motor shaft and wiring terminals.
- The Slip Ring: As the turbine turns to face the wind, the wires coming down the pole will eventually twist and snap. To avoid this, you can use a “slip ring” or simply leave enough slack in the wire to handle a few rotations, checking it periodically.
- Balancing: If your blades are not perfectly balanced, the turbine will vibrate like a jackhammer. Use a simple balance stand and add small weights (like screws or epoxy) to the lighter blades until the set stays perfectly still in any position.
- Fuse Everything: Always place a fuse between the turbine and the battery. If a short circuit occurs, you want a 10-cent fuse to blow rather than having your motor or battery bank catch fire.
Advanced Considerations: Scaling and MPPT
Once you have a basic turbine spinning, you might want to squeeze more power out of it. This is where advanced electronics come into play.
Standard “PWM” charge controllers are cheap, but they are inefficient for wind. They essentially “clip” the voltage to match the battery. If your turbine is producing 40V and your battery is at 12V, a PWM controller wastes that extra voltage. An MPPT (Maximum Power Point Tracking) controller for wind turbines can convert that high voltage into higher current, significantly increasing your charging rate in high winds.
You can also explore “multi-motor” arrays. Instead of one giant turbine, some builders use three or four smaller hoverboard motors on a single mounting frame. This distributes the weight and makes the system easier to manage if one motor needs maintenance.
Example Scenario: The 12-Volt Orchard Charger
Imagine a small orchard or a remote garden shed where running a power line is too expensive. By salvaging a 1.5 HP treadmill motor and cutting three 36-inch (91cm) blades from 6-inch PVC pipe, you can create a dedicated charger.
In a 12 mph (19 km/h) wind, this setup might spin at 400 RPM, producing about 18 volts of DC. After passing through a blocking diode and a simple fuse, it delivers a steady 2 to 3 amps of current to a lead-acid deep-cycle battery. This is enough to power LED security lights, a small water pump, or a weather station indefinitely, all sourced from materials that were headed for the dump.
Final Thoughts
Building your own wind generator from scrap motors is a masterclass in self-reliance. It forces you to understand the relationship between magnetism, motion, and electricity. When you finally see that multimeter jump as the wind picks up, you aren’t just seeing voltage—you are seeing the result of your own ingenuity.
The world is full of high-quality components waiting for a second life. By looking past the rusted casing of a treadmill or the cracked tub of a washing machine, you can unlock a source of energy that is as old as the hills and as free as the air.
Start small, test your motors thoroughly, and always build with the next storm in mind. Once you have mastered the art of the junk-motor conversion, you will never look at a “broken” appliance the same way again.