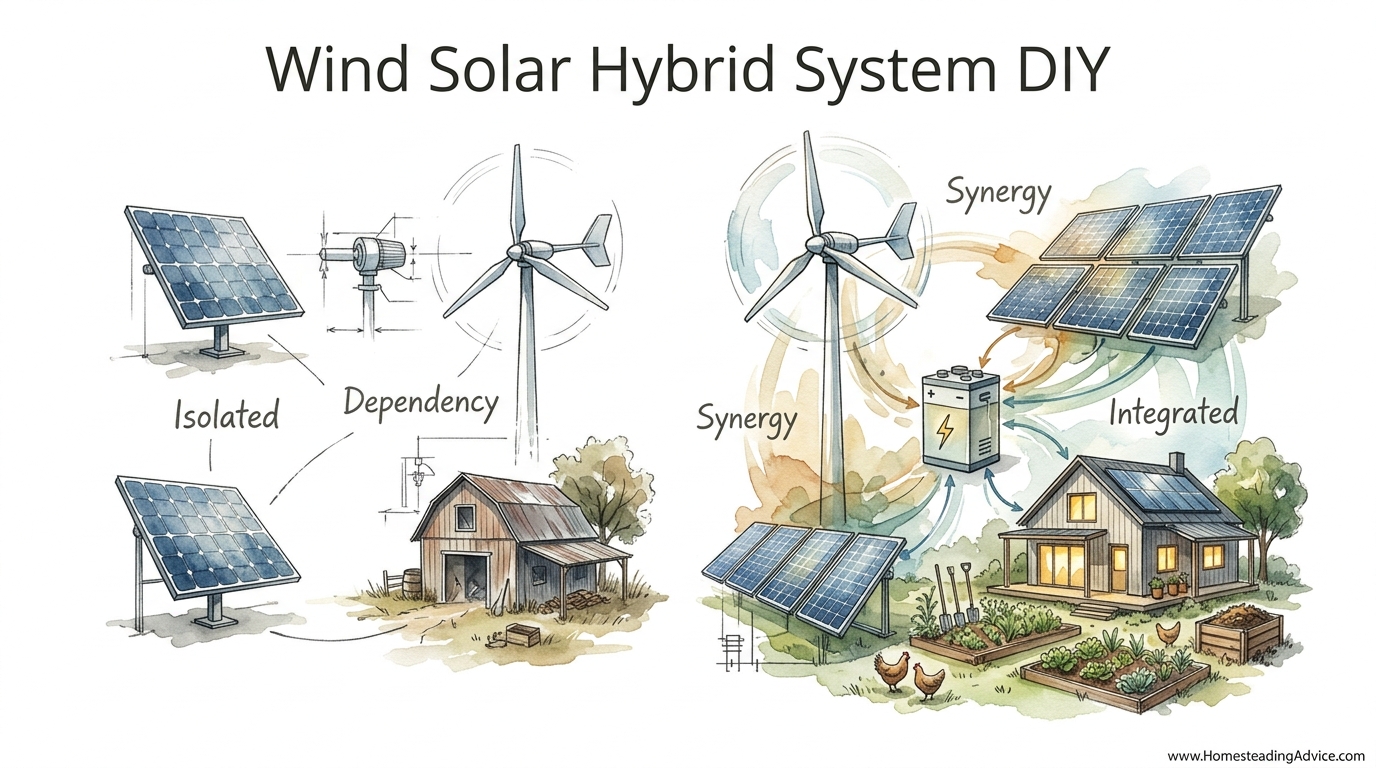
The sun and the wind are the perfect teammates, but most people only hire one of them to run their home. Relying on a single energy source is a recipe for a dark house. Integrated systems use the wind’s strength during the solar ‘dead zones’—storms and nighttime. Discover how to wire these two giants together for true energy independence.
Building a hybrid system is not just about mounting hardware; it is about creating a resilient ecosystem. When the clouds roll in and the sun hides, the wind usually picks up. By the time the gale dies down, the sky often clears. This natural handoff ensures your battery bank stays topped off regardless of the weather.
In this guide, we will walk through the mechanics of a wind solar hybrid system DIY project. We will look at how to size your components, how to safely wire high-current circuits, and how to avoid the mechanical failures that plague poorly planned setups. Whether you are looking to shave money off a utility bill or cut the cord entirely, this is the path to a steadier, more reliable power source.
Wind Solar Hybrid System DIY
A wind solar hybrid system DIY project is the process of combining photovoltaic (PV) panels and a wind turbine into a single power plant for your home. It exists because the sun and wind are intermittent. Solar is predictable but limited to daylight hours; wind is erratic but often strongest at night and during winter months when solar production dips.
In the real world, these systems are common in remote cabins, off-grid homesteads, and coastal regions. Think of it like a two-horse team pulling a wagon. If one horse tires, the other takes the brunt of the load. In a hybrid setup, the solar panels provide a steady baseline during the day, while the wind turbine acts as a high-output charger during storms or overnight.
To visualize this, imagine a cold November night. Your solar panels are dormant, but a 15 mph (24 km/h) breeze is spinning your turbine. While a solar-only house would be draining its batteries to run the lights, your hybrid system is actively pushing 400 or 500 Watts back into the cells. This synergy reduces the depth of discharge on your batteries, significantly extending their lifespan.
How to Build Your Hybrid Power System Step-by-Step
Starting a hybrid build requires more than just buying parts; it requires a systematic approach to electrical integration. You cannot simply twist the wires of a wind turbine and a solar panel together and expect them to work.
1. Site Assessment and Resource Mapping
Before you turn a single bolt, you must measure your resources. For solar, this means checking for shade from 9:00 AM to 4:00 PM. For wind, it means measuring the “cleanliness” of the air. Wind is like water; it becomes turbulent when it hits obstacles like trees or buildings. Your turbine should ideally be 30 feet (9 meters) higher than anything within a 500-foot (152-meter) radius.
2. Selecting the Right Charge Controller
This is the brain of your system. You have two main options: a single hybrid charge controller or two separate controllers. A hybrid controller has dedicated inputs for both AC wind (three-phase) and DC solar. It simplifies wiring but creates a single point of failure. Separate controllers allow you to use a high-efficiency MPPT (Maximum Power Point Tracking) controller for your solar and a specialized wind controller with a dump load for your turbine.
3. Wiring the Solar Array
Modern DIY builds often use 400W to 550W bifacial panels. You will typically wire these in “strings”—connecting panels in series to increase voltage while keeping amperage low. This allows you to use thinner, more manageable 10 AWG (6 mm²) PV wire. Ensure your string voltage does not exceed the maximum input rating of your inverter or charge controller, especially in cold weather where panel voltage naturally spikes.
4. Installing the Wind Turbine and Dump Load
Most small wind turbines produce three-phase AC power. This must be run through a rectifier (often built into the controller) to become DC power for your batteries. A critical component here is the dump load. Because a wind turbine cannot simply “turn off” like a solar panel, it needs a place to send energy once the batteries are full. A dump load is usually a set of high-wattage resistors that turn excess electricity into heat, preventing the turbine from overspeeding and self-destructing.
5. Connecting to the Battery Bank
Your energy storage is the heart of the system. LiFePO4 (Lithium Iron Phosphate) batteries are the modern standard due to their 10-year lifespan and deep discharge capabilities. Connect your controllers to a central busbar using heavy-gauge battery cables, such as 2/0 AWG (70 mm²), to minimize voltage drop. Always install a high-amp DC circuit breaker between the battery bank and the rest of the system for emergency shutoff.
Benefits of a Hybrid Setup
The primary advantage of a hybrid system is “continuity of charge.” In a solar-only system, your batteries begin discharging the moment the sun sets. In a hybrid system, the wind can keep the batteries at 100% State of Charge (SOC) throughout the night.
- Reduced Battery Sizing: Because you have power coming in more frequently, you can often get away with a smaller (and cheaper) battery bank than a solar-only system would require for the same level of reliability.
- Seasonal Balancing: In many climates, winter is windier but darker. A hybrid system compensates for the lack of winter sun with increased wind production.
- Redundancy: If a bird strikes your turbine or a hailstone cracks a solar panel, you still have a secondary power source to keep the lights on while you perform repairs.
- Lower Levelized Cost of Energy (LCOE): By utilizing both sources, you maximize the “up-time” of your inverter and battery infrastructure, getting a better return on your investment over 20 years.
Challenges and Common Mistakes
The most common mistake in a wind solar hybrid system DIY project is underestimating the mechanical requirements of wind. A wind turbine is a moving machine that vibrates. If your tower is not properly guyed or if you mount it directly to your home’s roof, the noise and vibration will be unbearable.
Another frequent error is ignoring “voltage drop.” Because wind turbines are often placed far from the house to reach clear air, the electricity has a long way to travel. If you use wire that is too thin, you might lose 10% to 20% of your power just in the resistance of the copper. For a 100-foot (30-meter) run, you may need 6 AWG (16 mm²) or even 4 AWG (25 mm²) wire to ensure the energy actually reaches your batteries.
Failure to install a dump load is a “fatal” mistake for wind turbines. When a battery reaches its full capacity, the charge controller will stop accepting current. Without a dump load to provide resistance, the wind turbine will “freewheel.” In a high wind, the RPMs can exceed the structural limits of the blades, leading to a catastrophic mechanical failure where the turbine literally flies apart.
Limitations: When Hybrid Is Not Ideal
A hybrid system is not a “magic bullet” for every location. If you live in a deep valley or a dense urban forest, your wind potential is likely zero. Wind turbines require a “laminar flow” of air—smooth, steady wind. If your area is prone to “turbulent” air caused by nearby obstacles, the turbine will hunt back and forth (yawing), which causes excessive wear on the bearings without producing much power.
Furthermore, wind turbines require more maintenance than solar panels. Solar panels have no moving parts; you clean them twice a year and they work for 25 years. A wind turbine has bearings that need grease, bolts that can vibrate loose, and blades that can be damaged by ice or high-velocity dust. If you are not comfortable climbing a tower or lowering a tilt-pole twice a year for inspections, a standalone solar system with a larger battery bank might be a better choice.
Comparison: Hybrid vs. Standalone Systems
| Factor | Solar Only | Wind Only | Hybrid System |
|---|---|---|---|
| Reliability | Medium (Daylight dependent) | Low (Erratic) | High (24/7 Potential) |
| Maintenance | Very Low | High | Medium-High |
| Complexity | Low | Medium | High |
| Cost (Per Watt) | Lowest | Highest | Moderate |
Practical Tips for System Optimization
To get the most out of your DIY setup, focus on the details that professional installers often overlook.
- Use a Tilt-Up Tower: For DIYers, a tilt-up tower is far safer and easier to maintain than a fixed lattice tower. You can lower it with a winch to service the turbine on the ground.
- Oversize Your Battery Busbars: As you add more charging sources (wind, solar, and perhaps a backup generator), your central connection points can get crowded. Use massive solid copper busbars to keep your wiring clean and cool.
- Ground Everything: Wind towers are lightning magnets. Use 8-foot (2.4-meter) copper-clad ground rods and 4 AWG (25 mm²) bare copper wire to bond your tower, solar racks, and equipment housings together.
- Monitor Your “Tail”: Watch how your turbine reacts to high winds. If it is “furling” (turning away from the wind) too early, you are losing power. If it isn’t furling at all, you are risking a blow-out. Adjustment of the tail spring or hinge can fine-tune this safety mechanism.
Advanced Considerations: Diverting “Waste” Energy
For the serious practitioner, the dump load represents a missed opportunity. In a standard setup, that excess wind energy is simply burned off as heat in a resistor box in your shed. Advanced DIYers use “diversion controllers” to send that energy into a DC water heating element in a pre-heat tank.
By doing this, you are not just keeping your batteries safe; you are using the wind to lower your water heating bill. This effectively turns your wind turbine into a thermal storage device. Additionally, look into “AC Coupling.” If you have a large system, you can use a grid-tie inverter for your wind turbine and “couple” it to the AC output of your battery-based inverter. This allows the turbine to power your heavy loads (like a well pump or a dryer) directly, without ever touching the batteries.
Example Scenario: The 5kWh Daily Homestead
Let’s look at a realistic application for a medium-sized home requiring 5 kilowatt-hours (kWh) of energy per day.
To meet this need with solar alone in a region with 4 peak sun hours, you would need at least 1.5 kilowatts (kW) of solar panels, accounting for losses. However, if you add a 400W wind turbine, your requirements change. In a windy location (averaging 12 mph or 19 km/h), that turbine might contribute 1.5 to 2 kWh per day.
This allows you to reduce your solar array to 1kW while maintaining the same reliability. Your battery bank, typically sized for 2 to 3 days of “autonomy” (storage for when there is no sun or wind), could be reduced from a 15kWh bank to a 10kWh bank. This saves roughly $1,500 to $2,000 in lithium battery costs, which can be reinvested into a higher-quality turbine or a more robust tower.
Final Thoughts
The transition to a wind solar hybrid system DIY setup is a journey toward true self-reliance. It forces you to understand the rhythms of your local environment—when the gusts come, how the sun tracks across your specific patch of earth, and how your appliances consume that captured energy. It is an authoritative way to say that your home’s survival is not dependent on a fragile, aging power grid.
While the complexity of wiring and mechanical maintenance is higher than a standard solar install, the peace of mind is unparalleled. Knowing that a midnight storm is actually charging your batteries rather than threatening your power supply changes your relationship with the weather. It turns a “dark house” scenario into an opportunity for energy abundance.
As you move forward, start small. Build your solar core first, then integrate the wind component once you have a handle on your battery management. The sun and the wind are waiting to work for you; you just need to give them the right tools to do the job.